Learn How to Apply "Baking," the Most Effective Makeup Technique, in 6 Easy Steps
Alex is an esthetician from St. Catharines, Ontario with a passion for makeup and beauty.
These six easy steps will help you apply the most affective makeup!
Baking... What's All This Hype About?
It started with contouring, then highlighting, and has now turned into baking. New techniques to apply makeup and achieve a flawless finish are ever changing with the evolving beauty world.
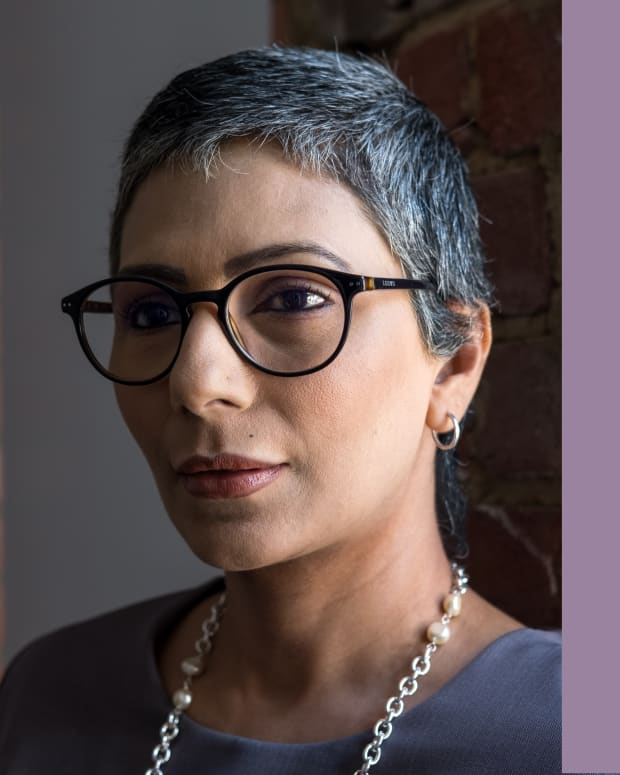
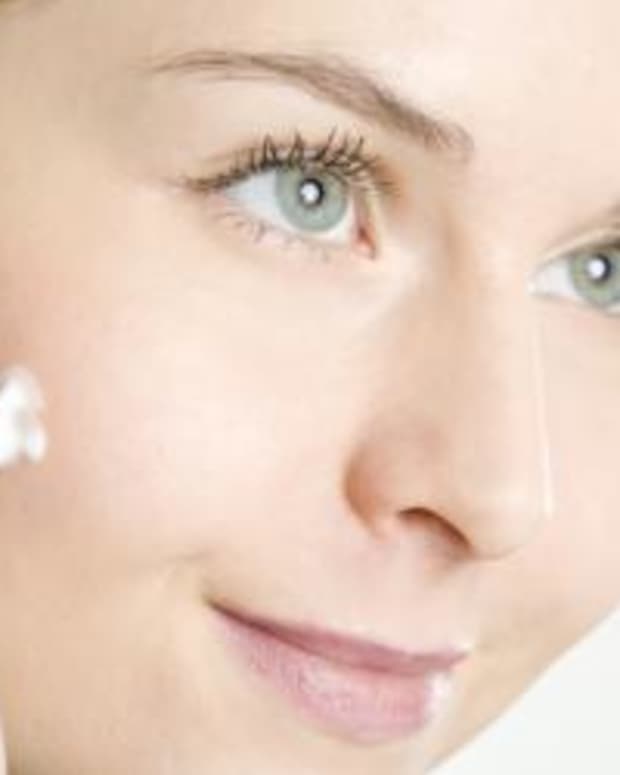
The term "baking," which originated from the drag community, means to let your concealer or translucent powder sit on your face for 5-10 minutes before blending so your body heat "melts" the makeup into your skin—changing it's colour and texture— making it more bendable and smooth. This technique is used for highlighting, and is extremely effective in having flawless crease free concealer even for your longest of days. This method is amazing for deep-set under-eye circles. Baking gives the perfect, flawless under-eye look.
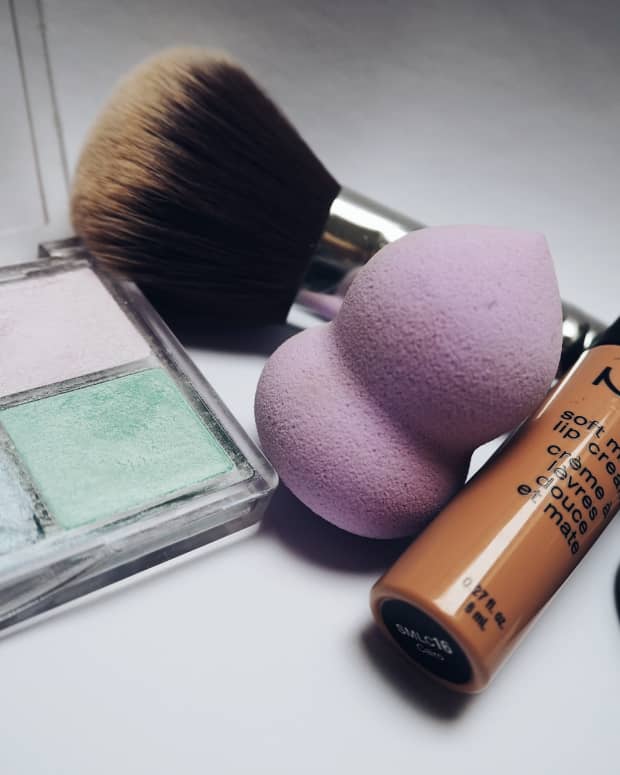
To achieve a flawless baked look, make sure you use your favourite makeup that you use on an every day basis- you also need a DAMP beauty blender, ceaseless under-eye concealer, and loose setting powder. (Kat Von D or Laura Mercier Loose Setting Powder are not required but are suggested for this look). This process will take a total of 15-20 minutes.
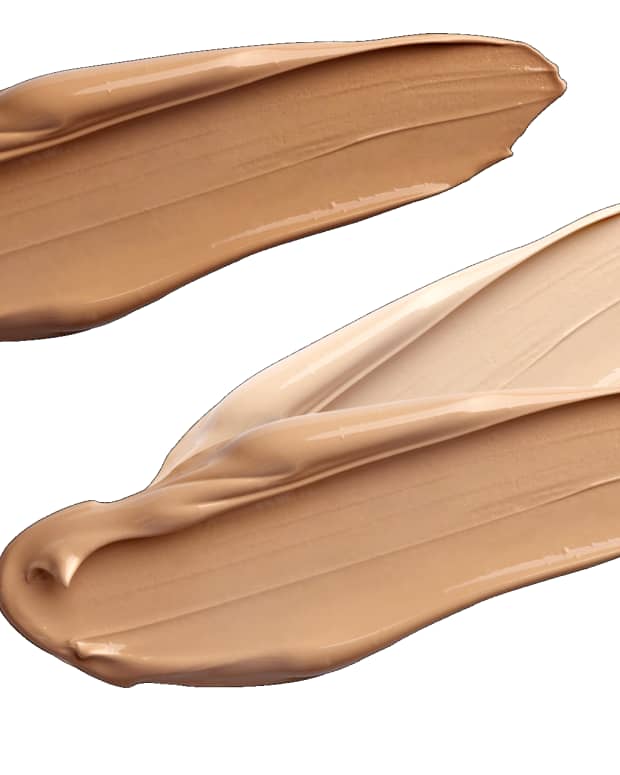
- Step 1: Apply pore minimizer (NYX's pore filler or Benefit's POREfessional pore eraser are excellent options), primer and foundation as usual.
Tip: Add a mist of Urban Decay's All-Nighter setting spray after primer as well as after foundation and contour for some extra protection. - Step 2: Apply your favourite creamy concealer in a upside-down triangle formation underneath your eye (similar to the clown contouring method). Make sure to make the coat of concealer quite thick. Pat in lightly with a damp Beauty Blender.
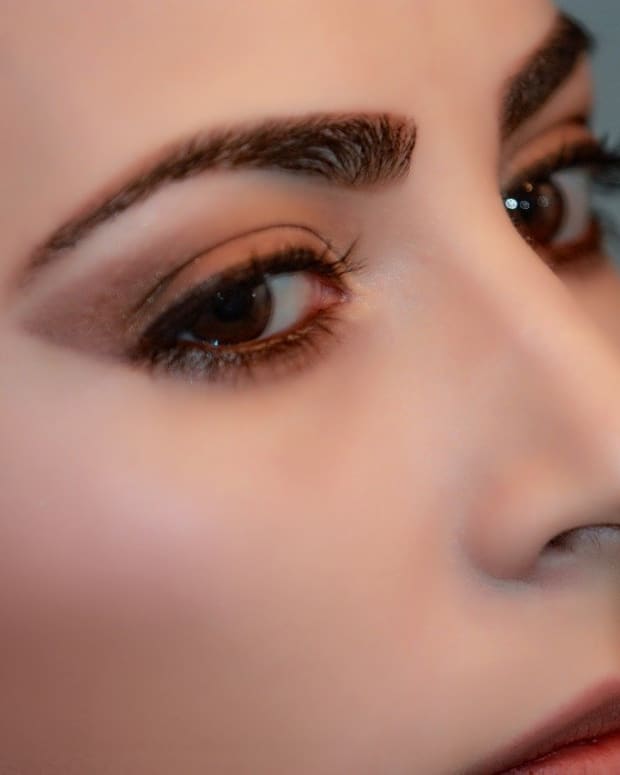
- Step 3: Apply a heavy layer of translucent powder overtop of your concealer and let sit for about 10 minutes... (this is the perfect time to fill in brows, do your liquid eyeliner, or apply eyeshadow
- Step 4: After 10 minutes, use a blush brush to dust away the excess translucent powder, using short, flicking motions.
Tip: use the blush brush lightly to prevent taking all of the translucent powder off... Leaving some of the powder on adds an extra highlighted finish and makes your under-eyes pop and look awake, - Step 5: Continue your contour as usual.
- Step 6: Apply another light sweep of translucent loose powder and secure with setting spray. (Urban Decay's All-Nighter Setting Spray, or your favourite usual setting spray is a must have for this look).
Congratulations! You now know how to create a flawless baked and highlighted look for your under-eye concealer! If you happen to run into difficulties with this tutorial, view the video below created by Heidi Hamoud on Youtube!
Read More From Bellatory


If Extra Help Is Needed for This Technique, Watch the Video Below.
This content is accurate and true to the best of the author’s knowledge and is not meant to substitute for formal and individualized advice from a qualified professional.
© 2016 Alexandra Dianne