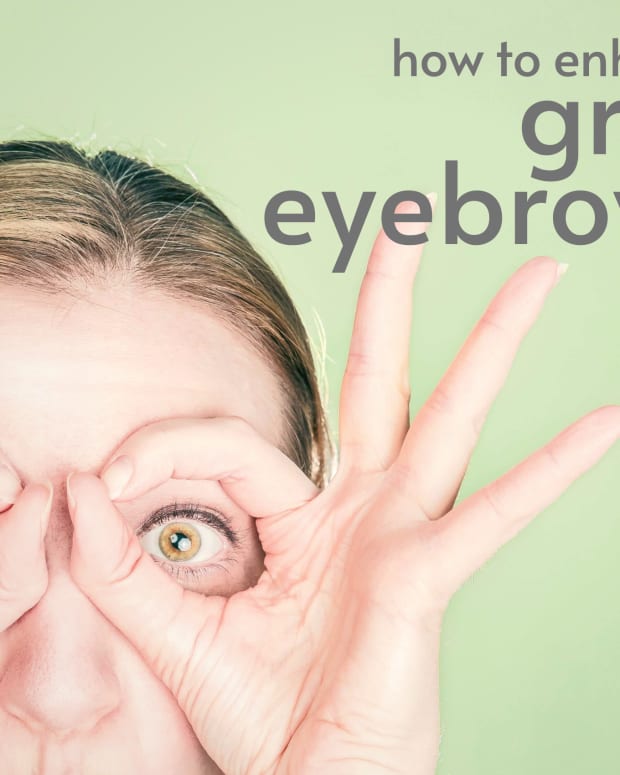
How to Create Eyebrows When You Have No Hair
Lizzy is a MUA with 4 years of experience. She has worked on people of all skintones/types and is sharing some of the skills she perfected.
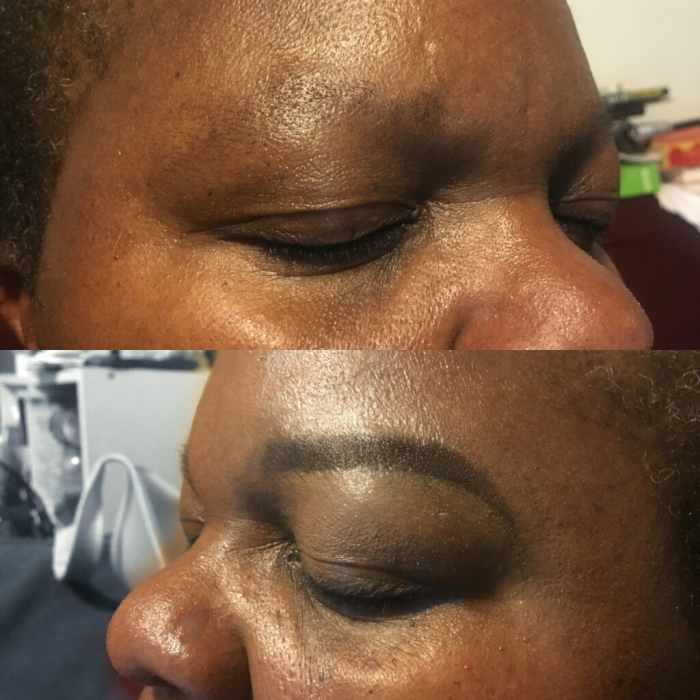
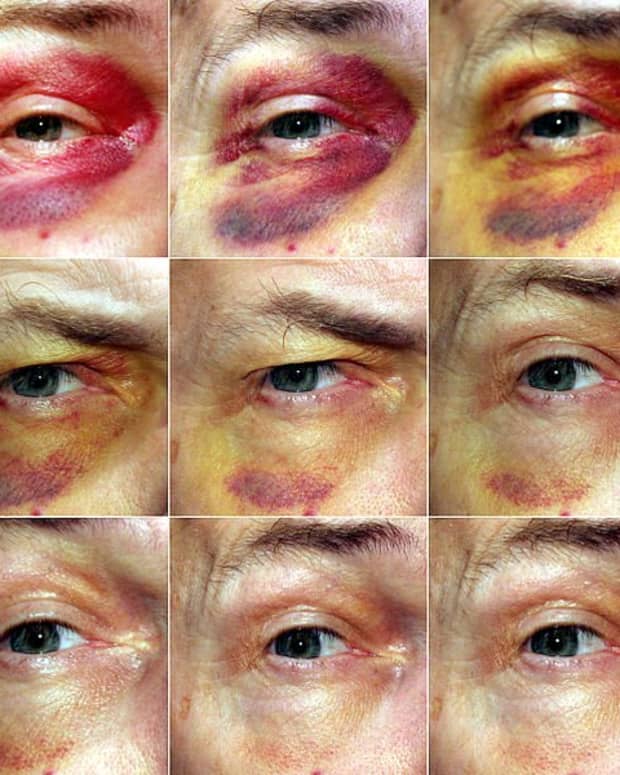
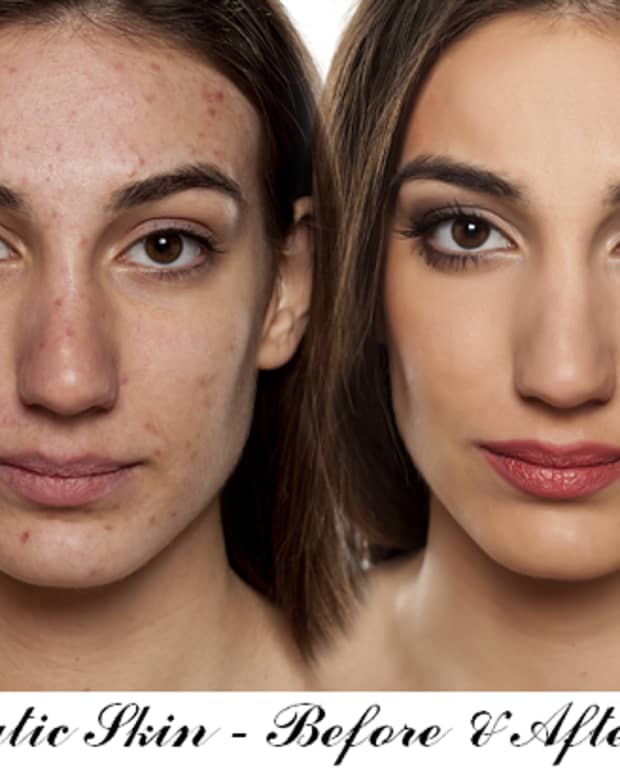
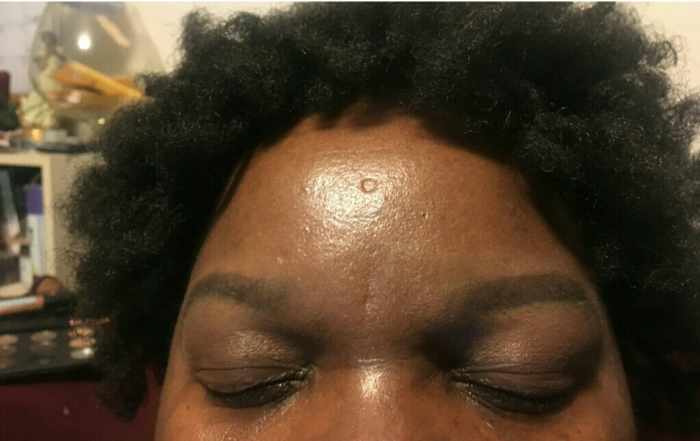
Before and after
LizzydoesTHAT
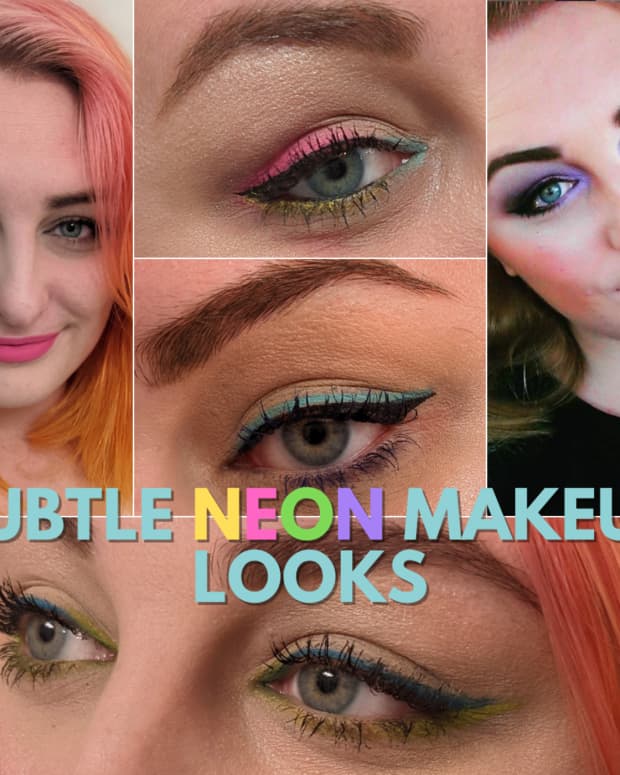
From No Brow to Wow
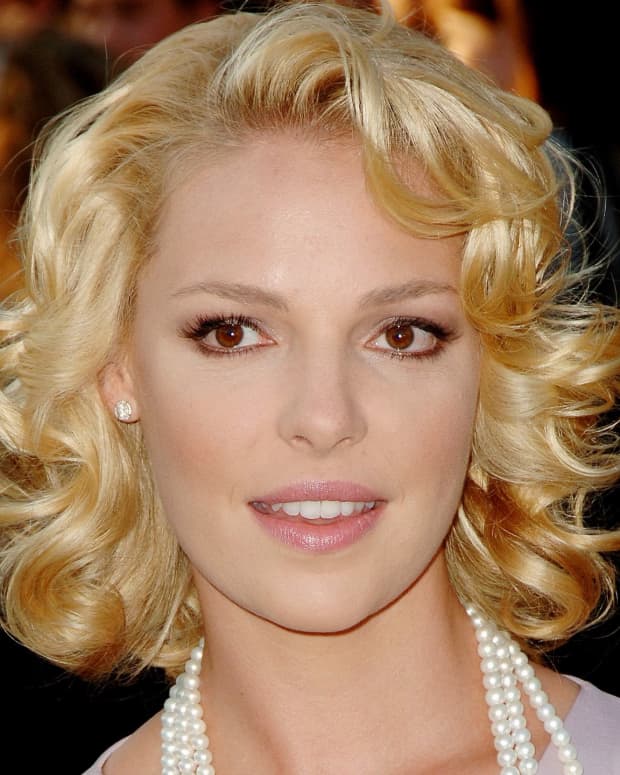
If you have even grazed across makeup on Instagram or Twitter, you have seen a step-by-step tutorial of how to do your eyebrows or eyeshadow but rarely do you see one of people without eyebrow hair at all.
So I have made this tutorial to show people with very little to no hair how to easily shape their eyebrows.
Measuring Your Brow
No, you don't need to break out the tape measure for this.
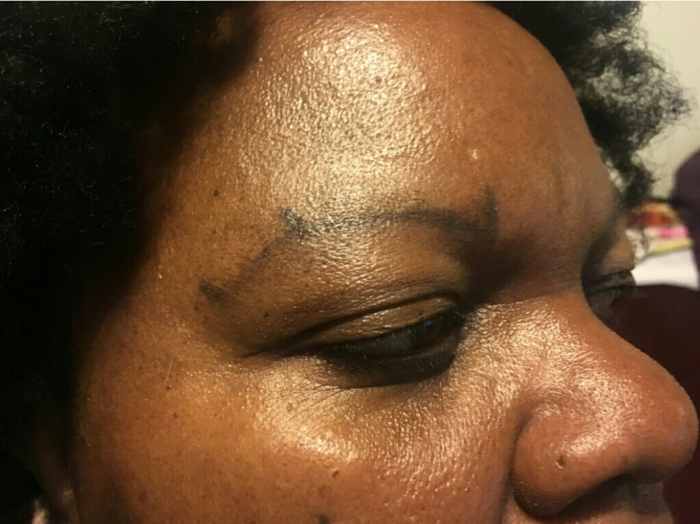
Measuring your brow involves making three lines using your nose as a guideline; one vertical line from the edge of your nose to mark the beginning, one diagonal line from the edge of your nose through the center of your eye to create the arch, and another diagonal line from your nose aligned with the outermost part of your eye.
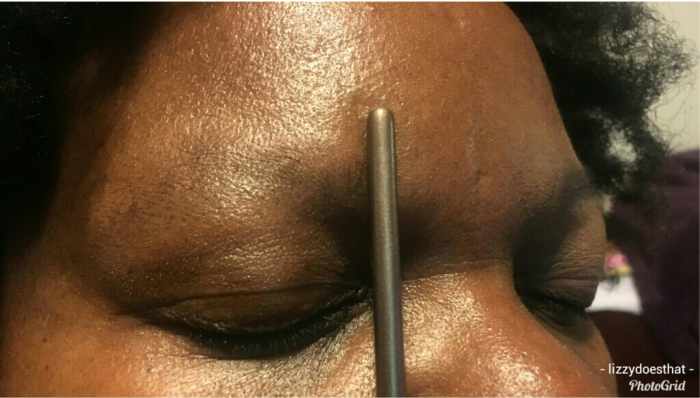
Step 1: Making a mark for the beginning of the brow.
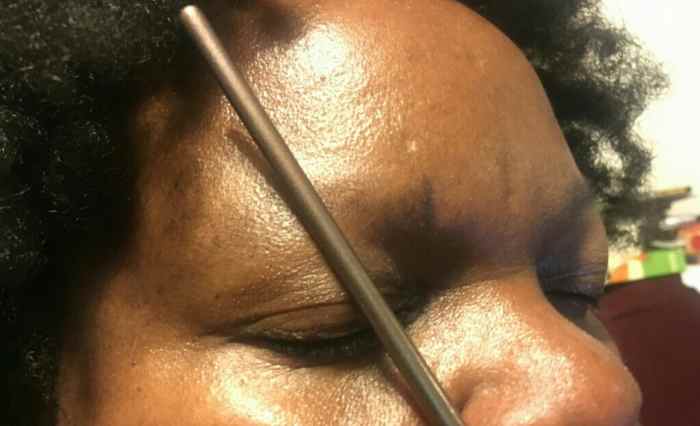
Step 2: Placing the mark for where the arch of the eyebrow will go.
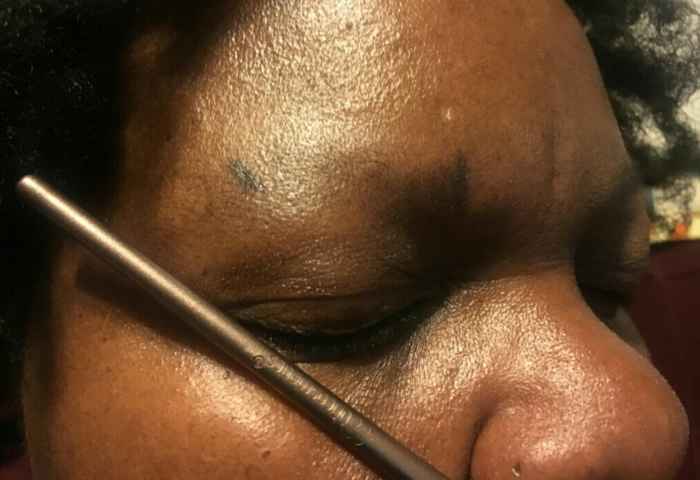
Step 3: The final mark to create the tail, or end, of the eyebrow.
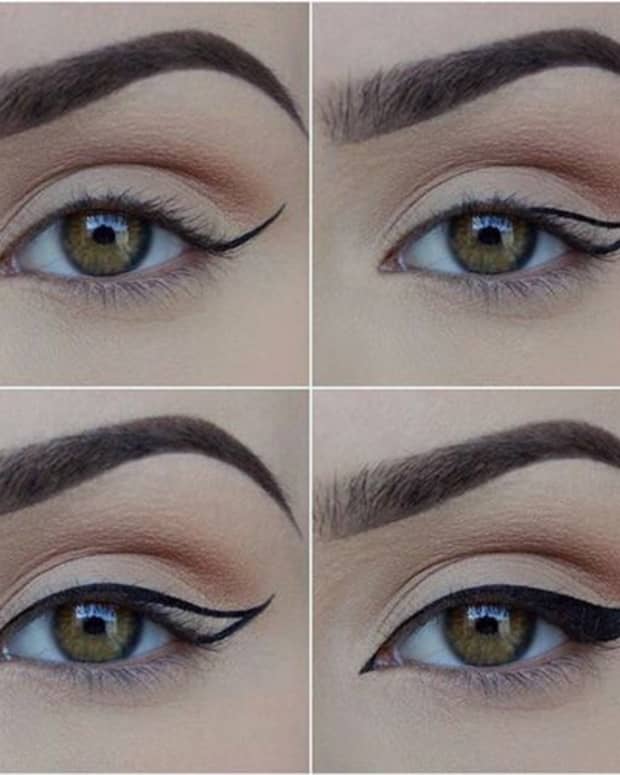
Creating the Outline and Filling It In
Now it's time to get to the real stuff. After you have put down your three marks, you will start to fill in and create the full eyebrow.
First, draw a line creating the bottom of the brow following the marks, making the line darker at the tail (end) and lighter at the front. Then make another line again following the marks to create the top.
After drawing the lines, fill in your eyebrows, starting a little before halfway and moving towards the tail because that's where the most product will go and you want this area to be the darkest. Not picking up any more product start to create 'hair' by doing short strokes in an upward motion at the front. If you feel like it is too dark, you can take a spooly or any small brush and, in the same upward motion, brush some of the product away.
If you're not happy with how they look now, don't be upset because you can always clean up and perfect the shape with concealer.
Step 4: Draw a line connecting all three marks at the bottom.
Read More From Bellatory


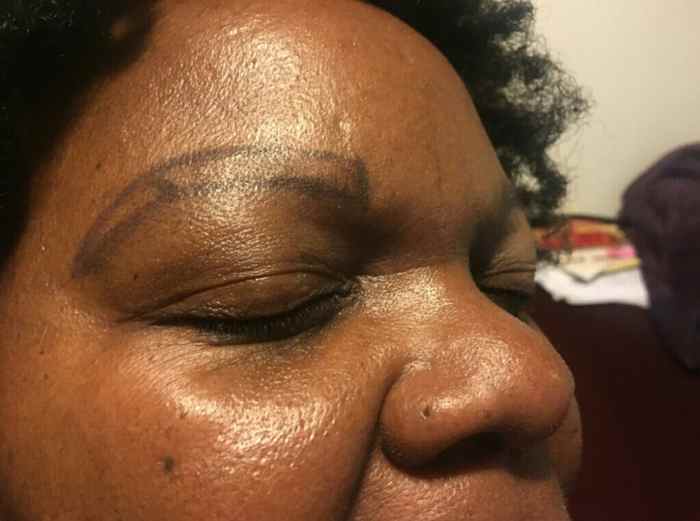
Step 5: Draw a line at the top again connecting the three marks.
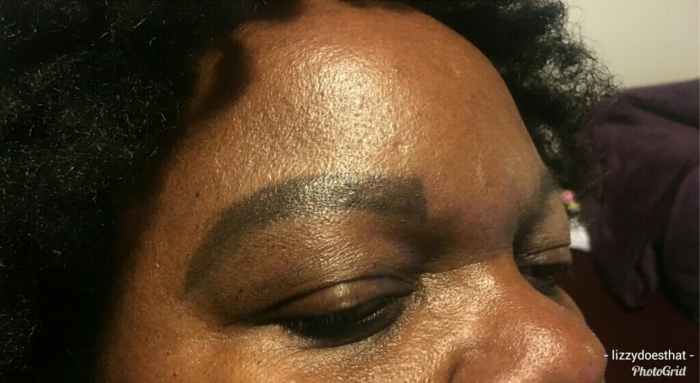
Step 6: Fill in the brow keeping it darker at the tail and lighter at the front to avoid it looking boxy or harsh.
The Clean Up
After what seems like 30 minutes to finish, this is the final step in completing your new eyebrows.
Using a flat brush and your concealer shade with a steady hand, follow the shape of the bottom of your eyebrow to create a sharp line. If you want a sharper, even cleaner brow, take your foundation shade and follow the shape along the top. And because blending is key, take your beauty blender or a brush and blend both concealer and foundation into your skin.
Voila! We are finished!
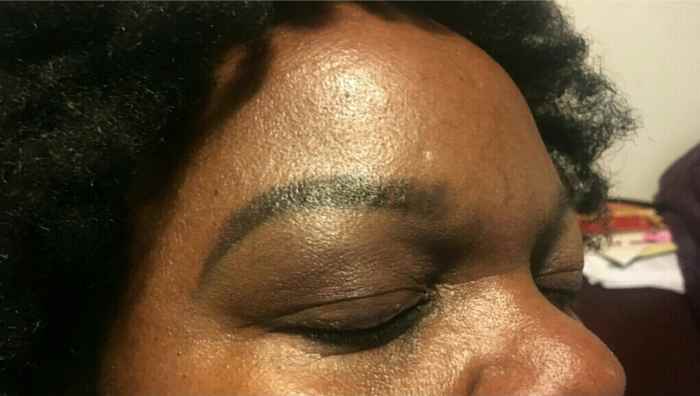
Step 7: Cleaning up the eyebrows using concealer.
The front look of both completed eyebrows.
Tips
Here's a couple of things to know when doing your eyebrows.
- Use a brow color that is the same as or close to your hair color, so the lighter your hair the lighter your eyebrows should be.
- Using your foundation shade to clean up above your brows instead of your concealer shade prevents halo eyebrows.
- If you want to do just your eyebrows for the day and nothing else, stick to concealer that is one shade lighter than your skintone/foundation.
- The higher you put the second mark (which is where your arch is), the more raised your eyebrows will look
- The shorter your mark is, the smaller your eyebrow will be.
- Most important: This is a general shape just for demonstration. Your eyebrows do not have to turn out like this nor do they have to look like this. The beauty of makeup is in the eye of the beholder do what you think looks good on you!
© 2018 Lizzy Musaga
Comments
Scott on July 07, 2020:
I'm attempting to put the Brows on without using a brow pencil. Can I use a makeup of some kind and Im using a stencil.
Ann810 from Sunny Cali on July 02, 2018:
Nice illustration on create eyebrows from no brows. Cool