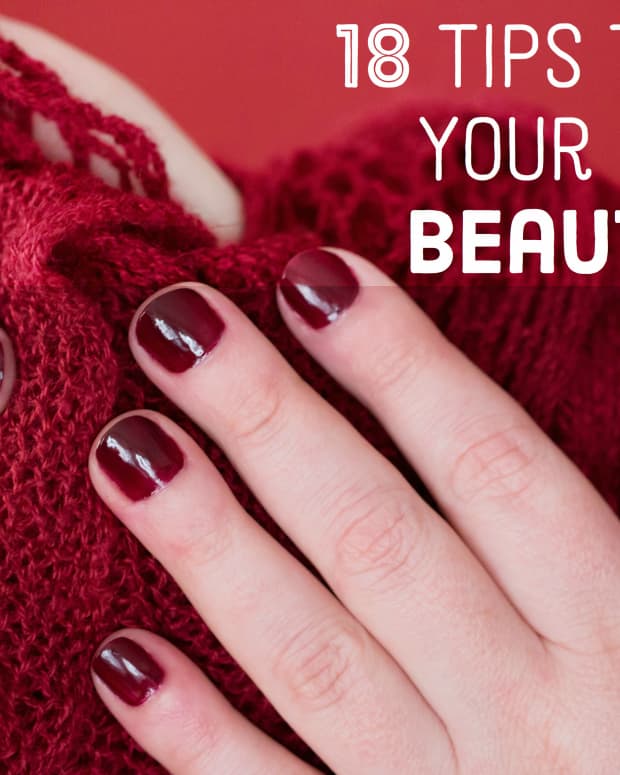
How to Paint Your Nails Properly
Lynsey loves trying out beauty tips and products. She often makes her own products and enjoys sharing any useful information that she finds!
How to Get a Salon-Quality Manicure at Home
Painting your nails properly can have a massive effect on the overall look of your at-home manicure. A rushed job can look messy and childish, so it is worth putting a bit of time and effort into it. If done properly, your nail paint can last 7–10 days.
As a recently recovered nail biter, I have made up for lost time experimenting with my shoebox full of nail varnish! In this article, I will teach you the secret of getting salon results from a home manicure, no matter what kind of varnish is used!
I must point out that I am not a nail art expert. But since I stopped nail-biting around six months ago, I have painted my nails every colour combination you could possibly think of, perfecting the method each time!
If you follow these five steps, you will have evenly distributed, long-lasting, chip-resistant nails.
1. Remove Residue
Using some nail polish remover, gently remove any residual nail varnish, oils or creams from the nail area. If the nail polish is particularly thick, soak the nail in remover for 30 seconds to penetrate the layers, then wipe off with cotton wool. This prevents over-rubbing and possibly thinning the nail.
If there is any staining left on the nails, you can usually remove this using lemon juice or whitening toothpaste. Personally, I don't see the point in this step unless I am using clear nail polish.
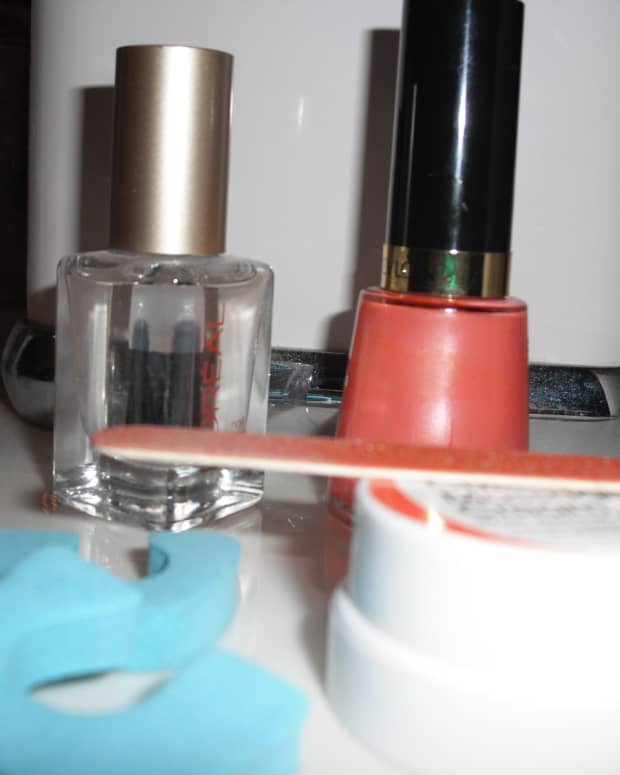
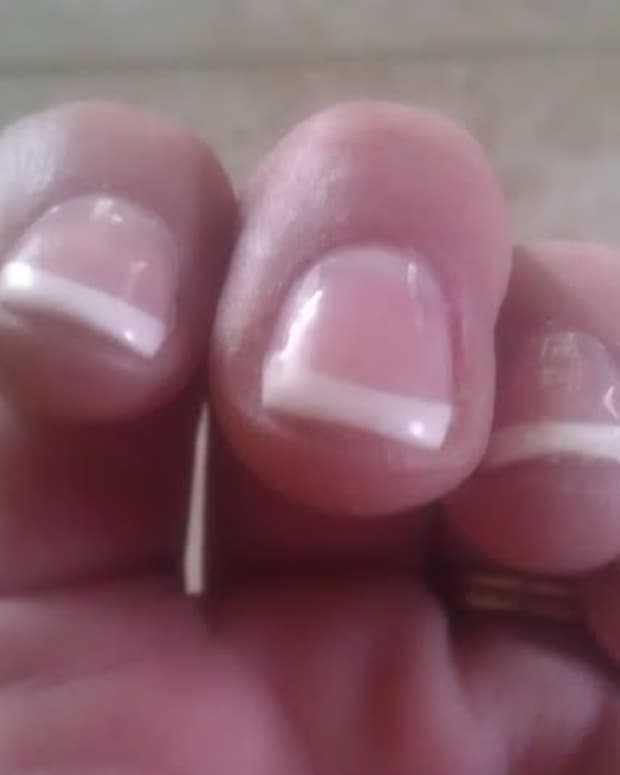
2. Apply Base Coat
The base coat is a necessary step for a number of reasons:
- It prevents staining from the colour of the varnish.
- It strengthens the nail and prevents snapping.
- It smooths ridges without having to file and thin the nail.
- It allows a better application of the nail colour.
Apply a generous amount, and allow to dry thoroughly for the best protection of the nail.
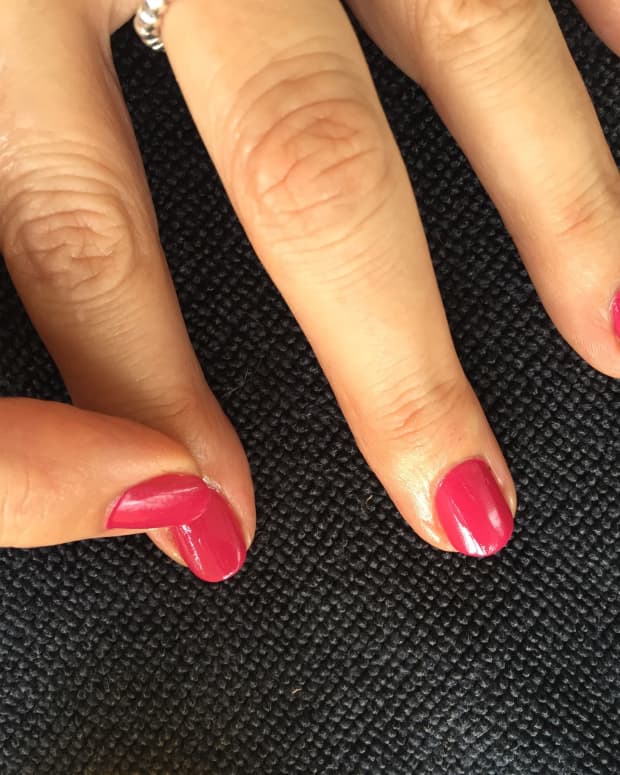
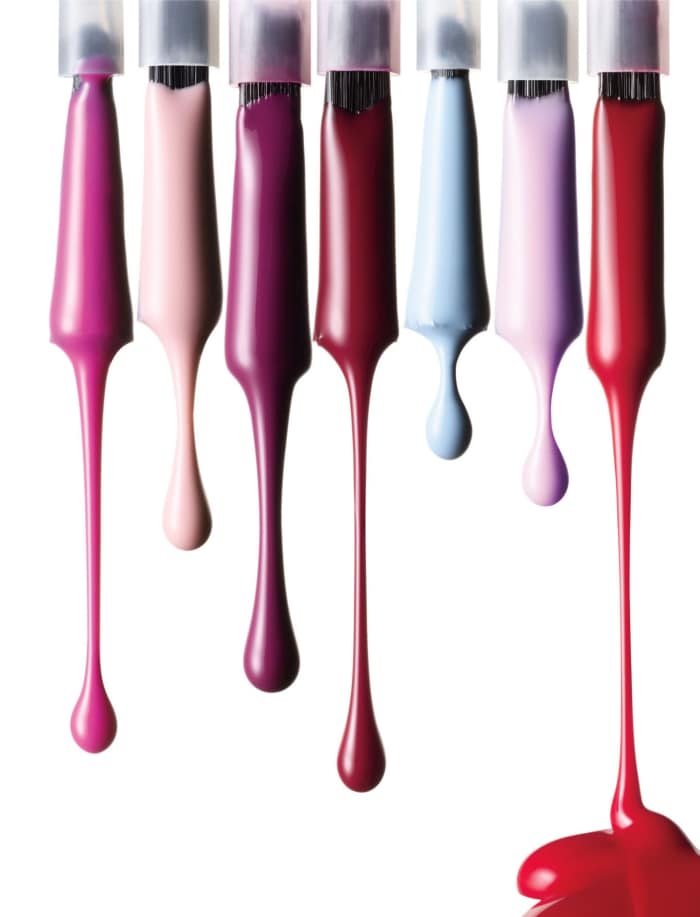
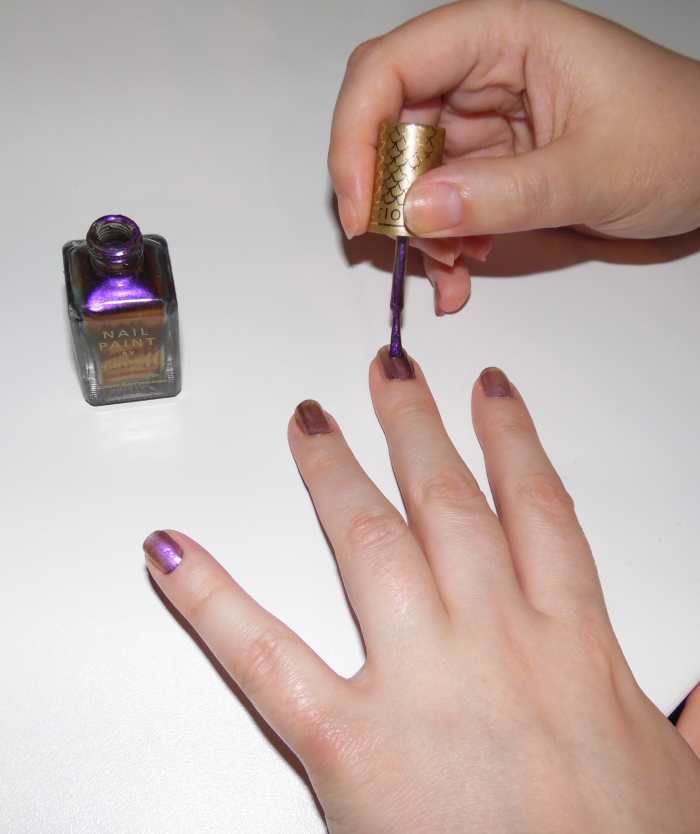
3. Apply Nail Colour
How you apply the colour is a personal preference, but my technique ensures an even distribution with no overpainting of a particular area.
- Paint from the bottom of the nail to the tip.
- Start on one side of the nail, then the other, then finally, the middle.
- Apply in thin, even coats.
- Allow to dry thoroughly between coats.
- Don't worry too much about smudges—these will be removed later.
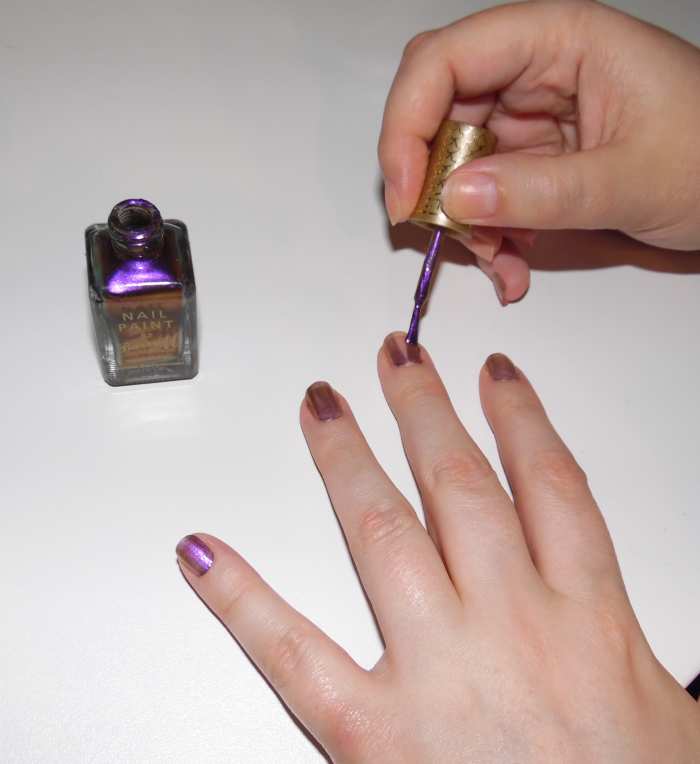
Paint a thin coat on each side first.
Paint a thin coat down the middle last.
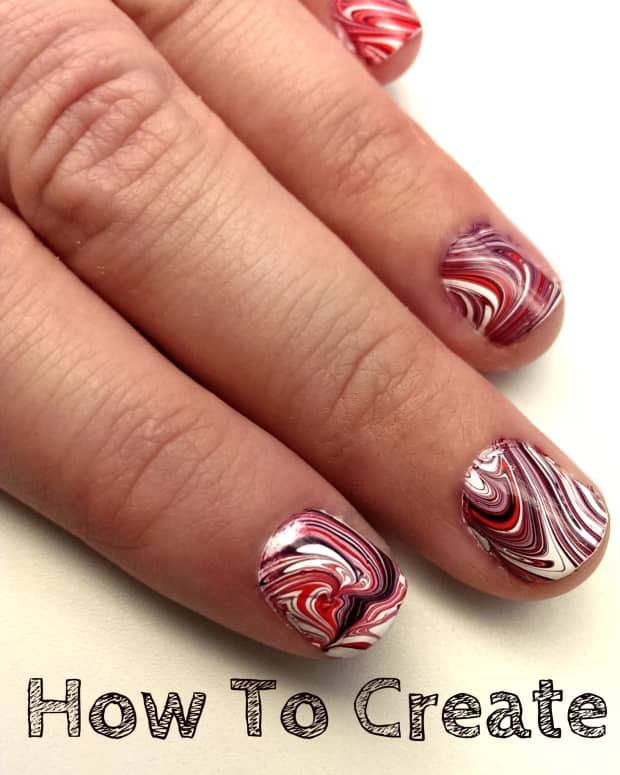
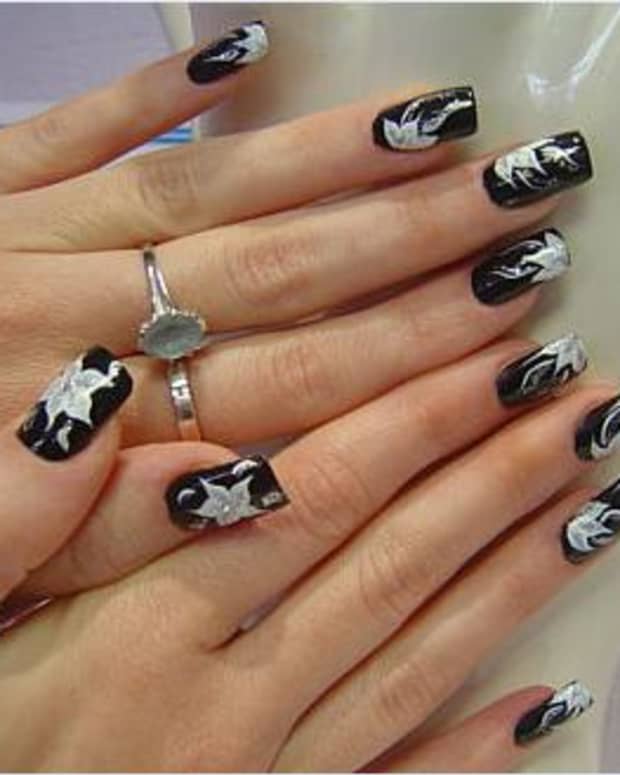
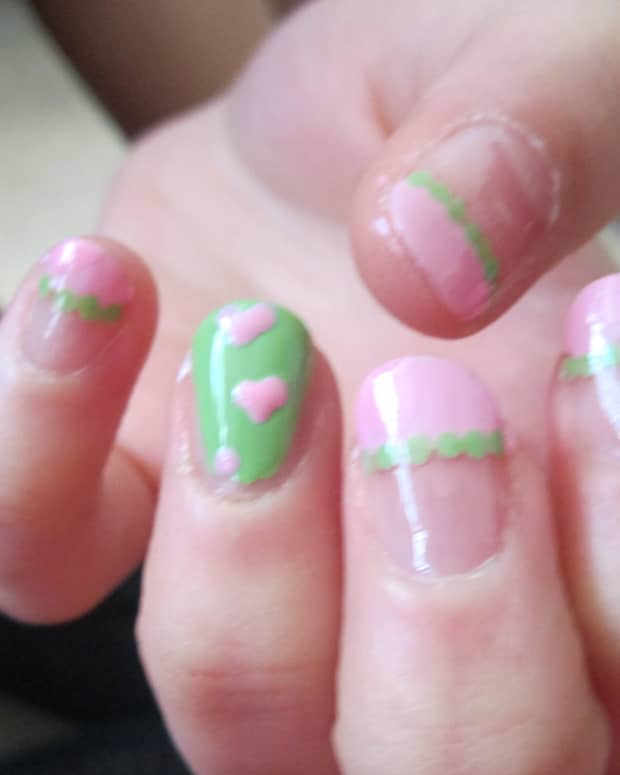
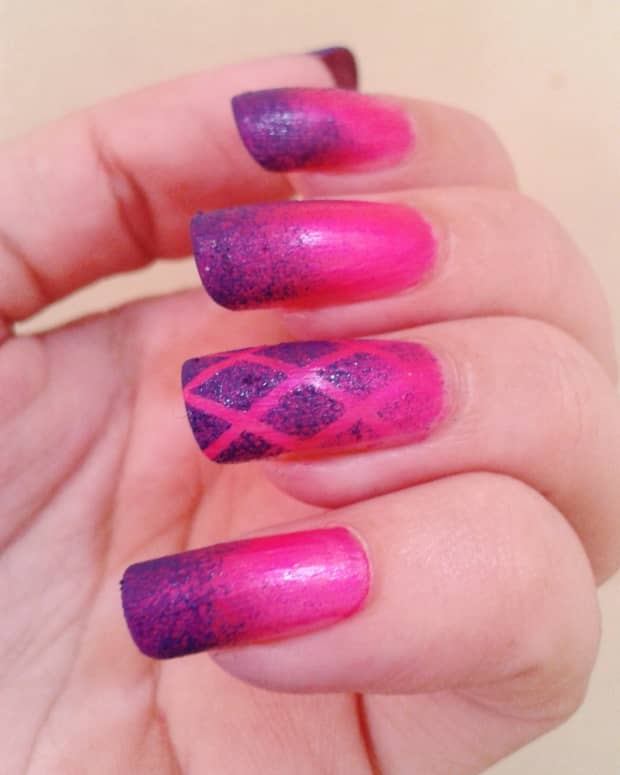
4. Apply Effect
Apply any special effects at this stage. You could experiment with feather, velvet or silk effects. You can also add glitter, nail stamps, polka dots, nail beads or diamantes—it's really up to you!
Remember to apply any effects per the product instructions.
After this has dried, use a cotton bud (q-tip) dipped in nail varnish remover to remove any excess nail colour on the fingers. Be careful to avoid getting any remover on the nails themselves.
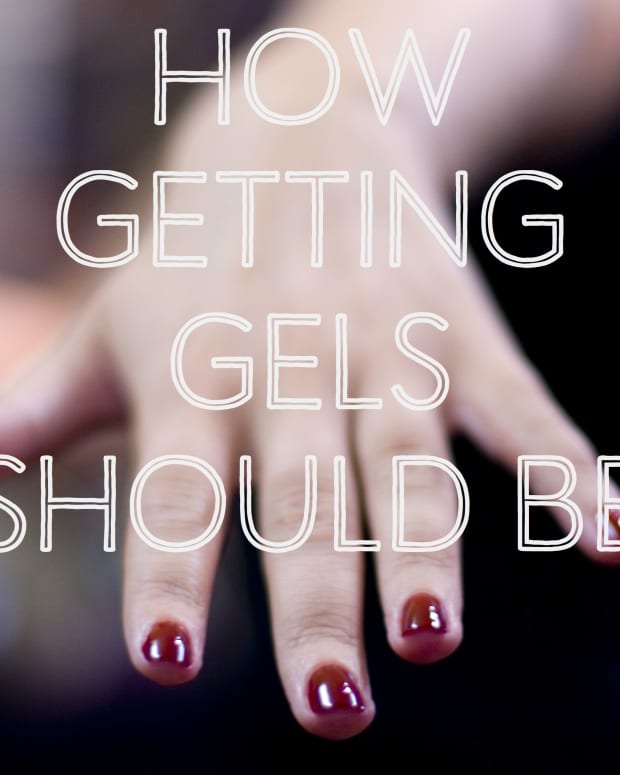
5. Apply Top Coat
This is probably the most important step to ensure a long-lasting finish. A top coat is important for a number of reasons|
- It smooths the final appearance of the nail.
- It can give a nice shiny effect—giving the appearance of a gel nail colour.
- It stops the colour underneath chipping.
Read More From Bellatory


I recommend a good quality top coat, and this again is a recent lesson I have learned. I was gifted a bottle of Seche Vite top coat, and I was converted. This particular product penetrates the nail colour underneath to form a solid gel-like coat that simply does not chip. I now grow bored with my colour, whereas before I had to redo my nails after a few days due to chips.
Be aware that a top coat should not be used with certain effects, such as velvet effect or some 3D nail effects. Check the effect instructions for further information.
Repeat!
Now that you know the secret to a salon-quality manicure at home, you can experiment and perfect your own method of application. There are plenty of inspirational ideas for nail art on Pinterest to keep your nails decorated for a while. You can rest assured that your chosen designs will last as long as you want them to.
© 2014 Lynsey Hart
Comments
Lynsey Hart (author) from Lanarkshire on May 08, 2014:
Lol!! I'm actually pretty sure it was my gran! Hahahaha thanks for the view, votes and comment!
FlourishAnyway from USA on May 08, 2014:
I wonder who -- I mean what -- caused your nail biting? ;-) Congrats on stopping. I liked your tips here, AA doing a good job yourself can save a lot of money! Voted up and more.
Lynsey Hart (author) from Lanarkshire on April 15, 2014:
Thanks! Yeah the profile pic was when I had stumpy nails... Couldn't keep the glitter on them :-p I know, the set is nice! If I didn't already have a shoebox full of varnish, I'd probably buy it lollol! Thanks for the visit and comment!
Suzanne Day from Melbourne, Victoria, Australia on April 15, 2014:
Love your profile pic which is somewhat related to this hub! Thanks for the useful information and that SHANY Nail Art Set is quite brightly coloured nailpolish for all occasions. Voted useful.
Lynsey Hart (author) from Lanarkshire on February 27, 2014:
Thanks btrbell ! :-) glad it could help!
Randi Benlulu from Mesa, AZ on February 27, 2014:
Thank you! Just in time! I need to do my nails today! Congrats on stopping nail biting! Up+
Lynsey Hart (author) from Lanarkshire on February 25, 2014:
Thanks for your view and comment jasmeetk :-)
Jasmeet Kaur from India on February 24, 2014:
interesting hub!!