Ombre French Manicure Tutorial
I'm a published children's book author, magazine writer, and technology blogger.
Ombre French manicure
Prokidwriter
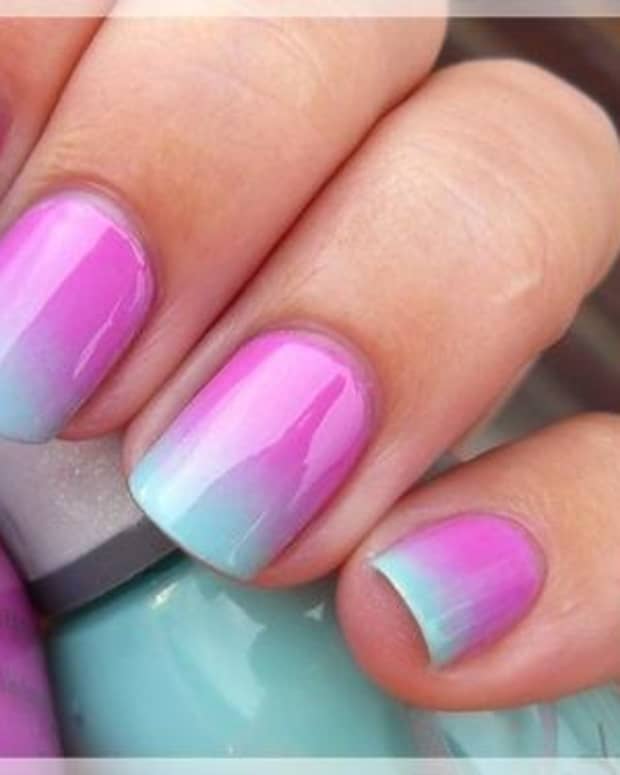
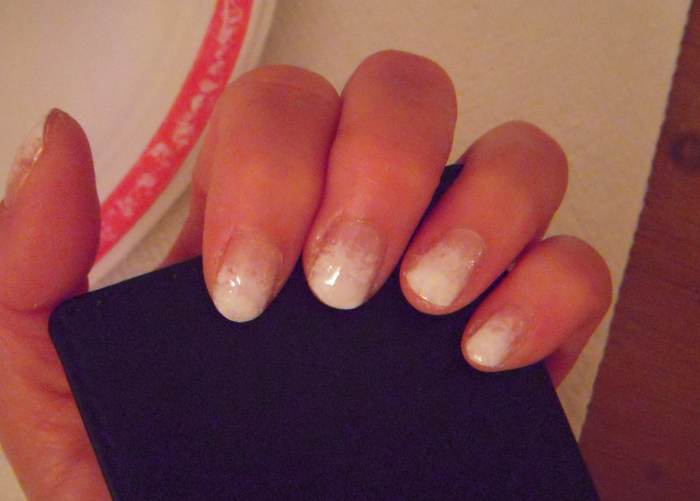
The Ombre Nail Look
Ombre nails are everywhere, easy to dress up or down, and a fun way to express yourself! The ombre French manicure is a twist on the formal French tip, but instead of a distinct white line at the end of a pink, taupe or buff nail, the ombre French manicure has a longer, gradient look over the nail's surface. You can get the look by doing it yourself at home. It's a bit messy, and it takes some practice to get it right, but once you get the hang of it, it's a snap to do.
Here are a couple of methods that work well, the sponge method and the brush method. First, we'll take a look at the sponge method. This is the messiest way to get the ombre French manicure look, but probably the easiest.
Materials, Sponge Method
Materials for an ombre french manicure
prokidwriter
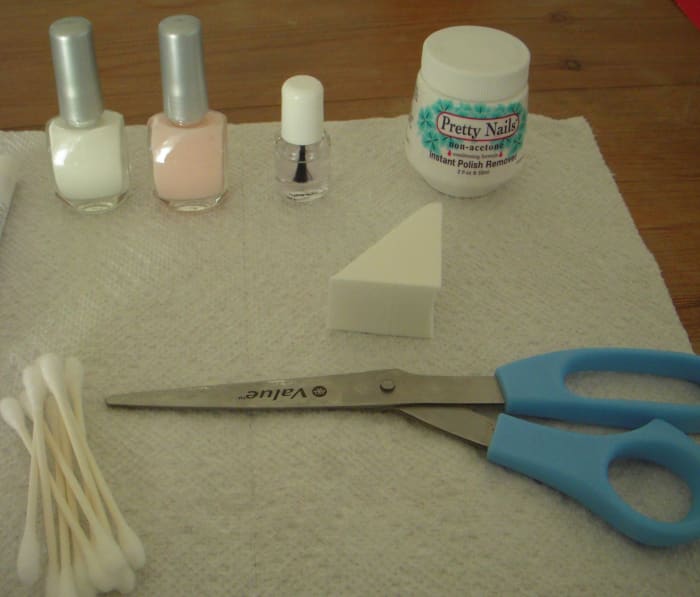
Step 1: Gather Materials
The manicure is made up of two colors, I used CQ French Pink 416 and CQ French White103. You'll also need a clear top coat. I used Nailene Clear Top Coat. While any non-flocked makeup sponge will work, I recommend using a wedge shaped sponge that you will cut to the right size. It's easier to handle, especially when working with your non-dominant hand. Nail polish remover, cotton swabs, paper towels or a paper plate, and a pair of scissors are musts.
Prepare the Sponge Tool
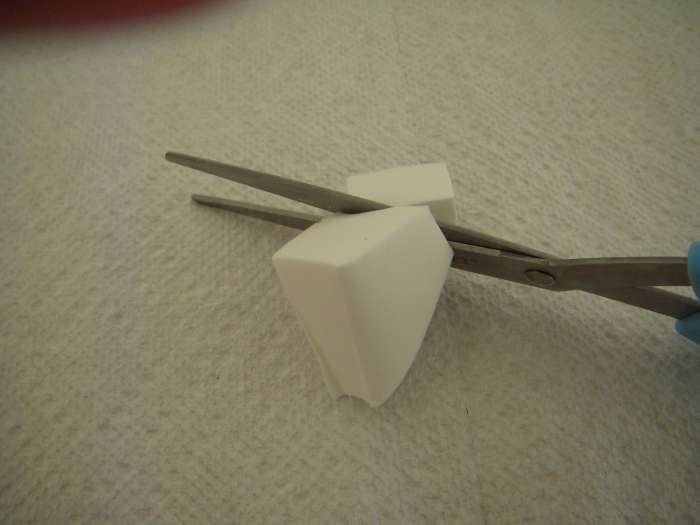
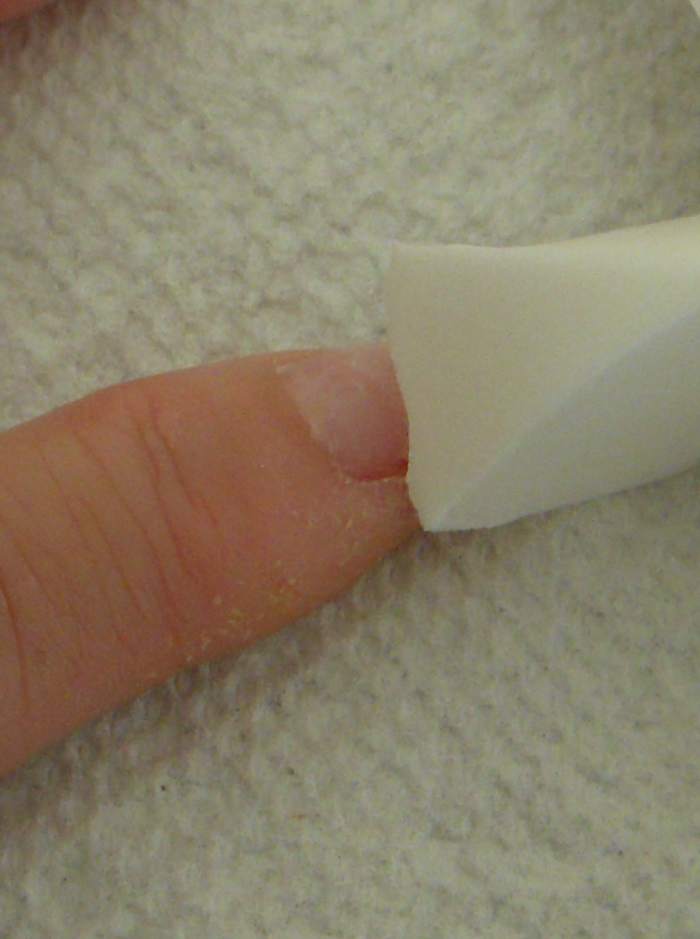
Cut a section of the wedge shaped sponge to make a small piece. The cut side of the small piece should be about as wide as your thumb.
prokidwriter
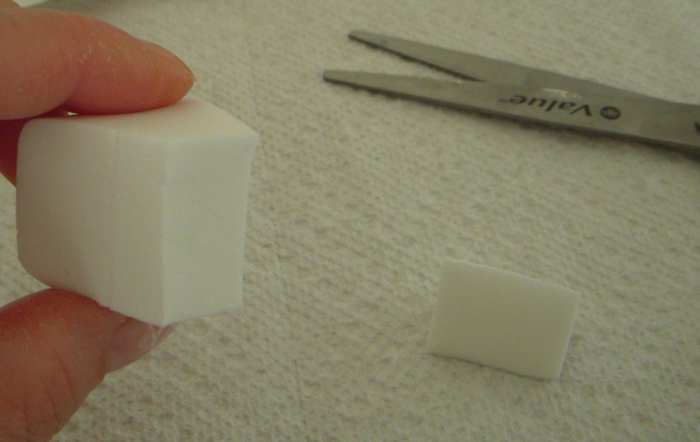
The wedge sponge, cut into two pieces. The large piece (holding) is too wide. You'll want the smaller piece, which is on the paper towel.
prokidwriter
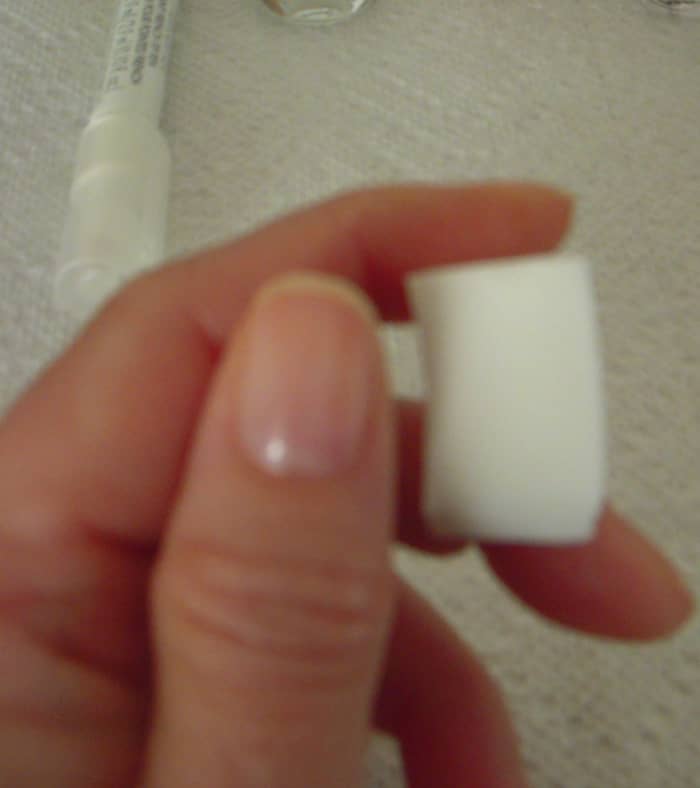
The small wedge piece is just the right size.
prokidwriter
Step 2: Prepare the Sponge Tool
To make your sponge tool, use a pair of scissors to cut a smaller piece from the larger sponge. With a wedge, cut off one triangular-shaped piece so that the cut surface is about the same width or slightly larger than your thumb.
Base Coat

French pink base coat
Prokidwriter
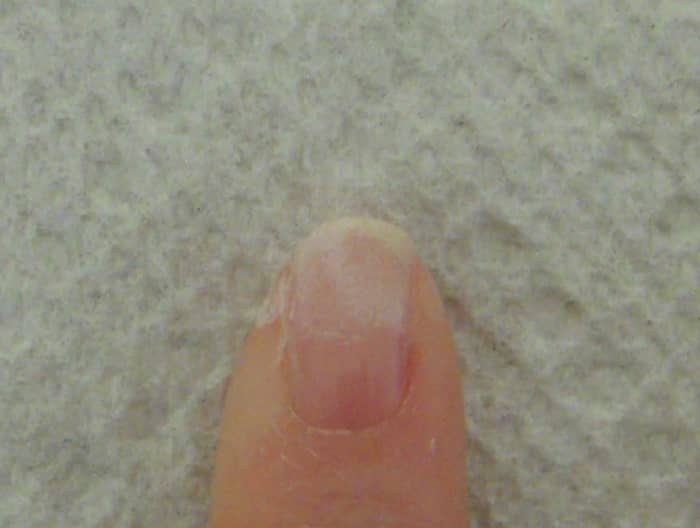
Step 3: Apply Base Coat to Nails
Set aside your sponge tool and paint the base coat of polish (French Pink) onto your nails, just as you would if you were doing a regular French manicure. Allow the base coat to dry thoroughly.
Apply Polish to Sponge
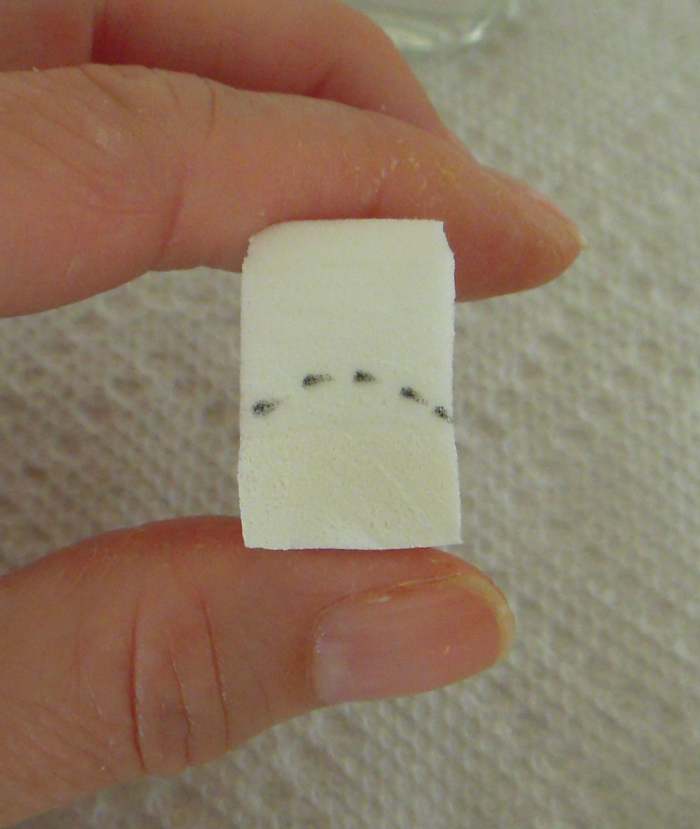
Apply polish in two curved strokes below the dashed line.
prokidwriter
Step 4: Apply White Polish to Sponge Tool
The photo above shows a curved dashed line. You don't have to mark the sponge, but if you do, use a Sharpie or other permanent ink pen and let it dry. The curve is just to indicate how you will apply polish to the sponge, since white polish on a white sponge doesn't show up in photos. Apply polish in curved strokes below the dashed line.
Once your base coat (French Pink) is dry, you are ready to add the white polish for the Ombre effect. Apply two strokes of white polish to the sponge and blot excess onto paper plate or paper towel.
Apply Polish to Nail
Apply polish in one quick roll from edge to edge.
Prokidwriter
Step 5: Apply White Polish to Nail
Working quickly and confidently, apply the polish from the sponge onto your first nail by rolling the sponge from edge to edge onto the nail. The white polish will go about 2/3 the way up onto the nail.
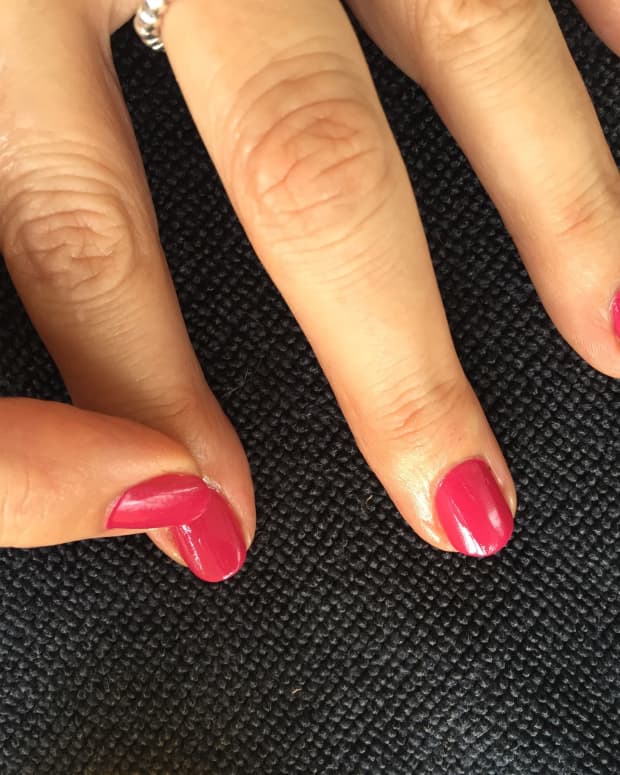
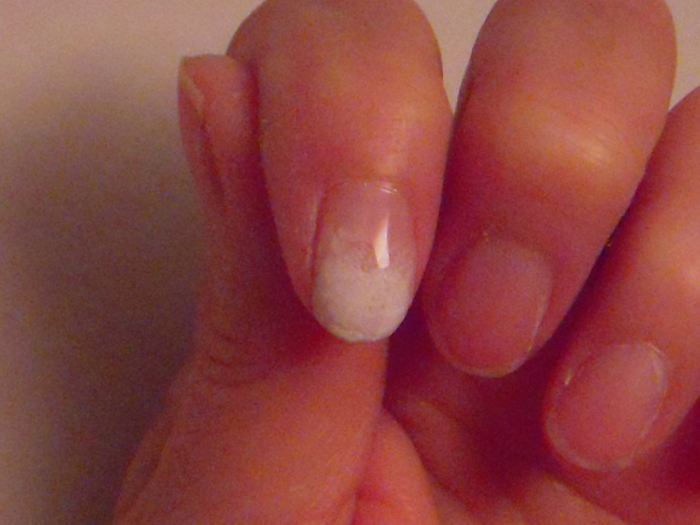
Nail, After One Coat
After one coat. It will be messy.
Prokidwriter
Step 6: Add Additional Coats of Polish With Sponge
Resist the temptation to continue to add white color to your nail while the polish is still damp! Instead, allow the first coat of white polish to dry, and move on to sponge color onto each successive nail.
After the first coat of white polish is thoroughly dry, repeat step 5 and continue adding successive coats of white polish, using the sponge, until you have the desired ombre look. Don't worry if the surface is uneven or "bumpy" in appearance. The top coat will smooth things out. Also, don't worry about how messy your fingers get. It's part of the process with the sponge method.
Read More From Bellatory


Step 7: Clean Up and Seal
After you have the ombre look that you want, use a cotton swab dipped in nail polish remover and clean your fingers, cuticles and nail edges.
Use top coat polish to seal the look, and to even out bumpy surfaces. It will usually take at least 3 coats of clear polish to get a smooth, even surface!
Getting the Ombre French Manicure Look With a Brush
Now that you've gotten the hang of the sponge method, try using a brush to get the ombre French manicure look. Although using a brush is less messy, it is more time-consuming and takes a bit of artistic ability to get right.
Materials
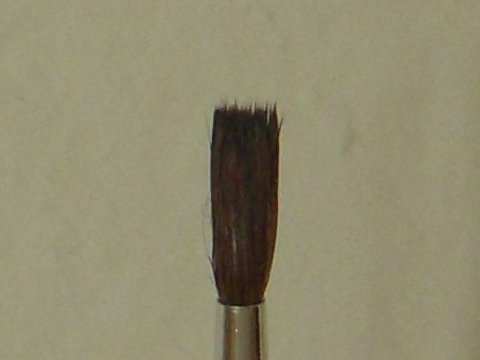
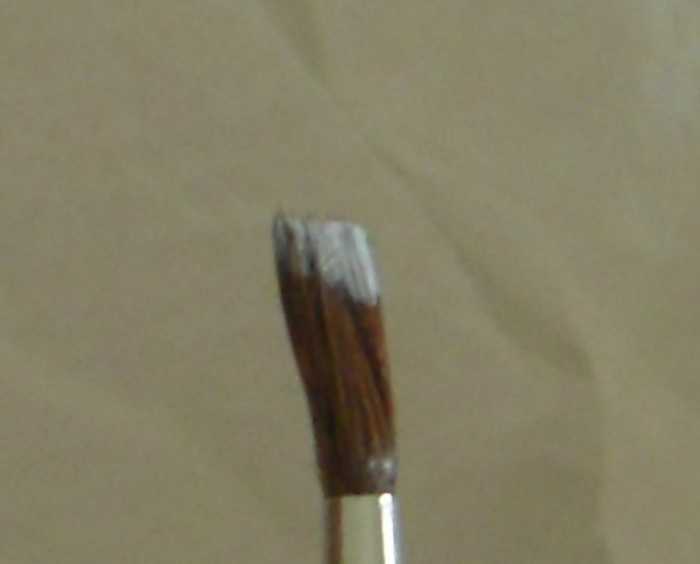
Art brush, #2 round, with ends blunted.
Prokidwriter
Materials
In addition to the materials you used in the sponge method, you'll need a brush. Rather than using your nail polish brush, use a separate watercolor type brush. I used a #2 round with nylon bristles. Trim up the ends so that the bristles are blunt and do not come to a point.
Apply Base Coat
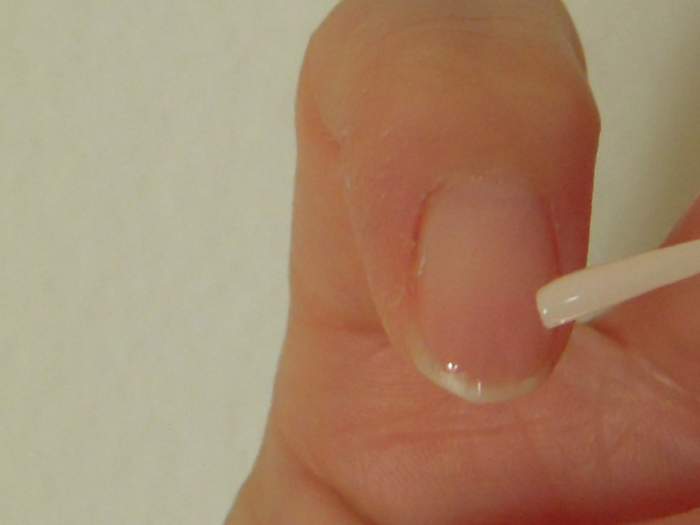
Apply pink polish on all nails.
prokidwriter
Step 1: Apply Base Color
As you did in the sponge method, begin by applying your base color, French Pink, to all nails and allow to dry completely.
Load Up the Brush
Load a #2 round brush, with ends blunted, with white polish.
prokidwriter
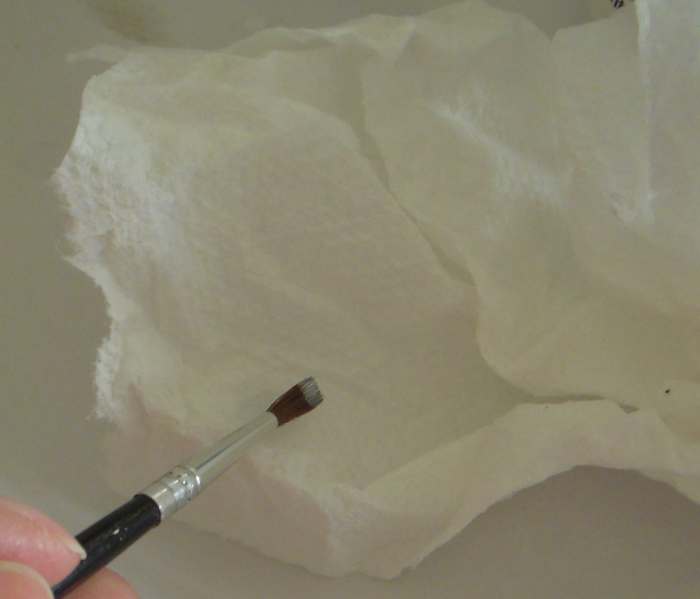
Dab excess polish onto paper towel.
prokidwriter
Step 2: Load Brush With Polish
Load a small amount of white polish onto the ends of the brush and dab off excess onto a paper towel.
Stipple First Coat
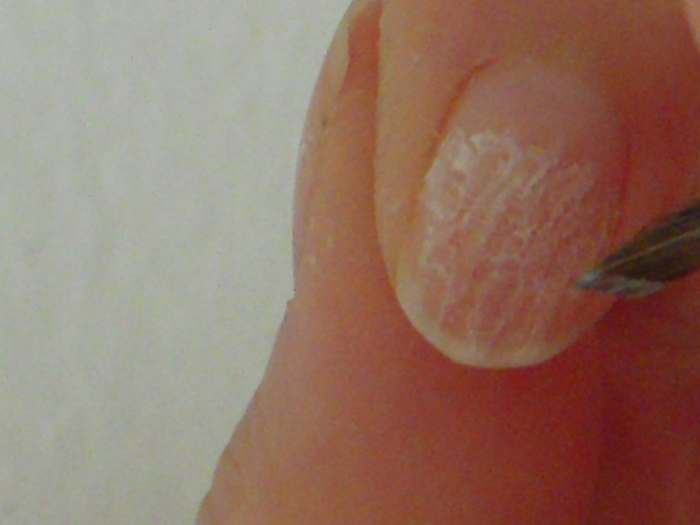
Stipple the first coat of white polish onto nail
prokidwriter
Step 3: Stipple First Coat of Polish Onto Nail
Stipple the polish from the brush onto the nail by using a quick dabbing motion. Don't sweep the color on the way you would normally do when polishing your nails. Avoid the temptation to go back over already polished areas, instead, move on to the next nail and allow polish to dry completely between coats.
Successive Coats of Polish

2 coats of polish stippled on nail.
prokidwriter
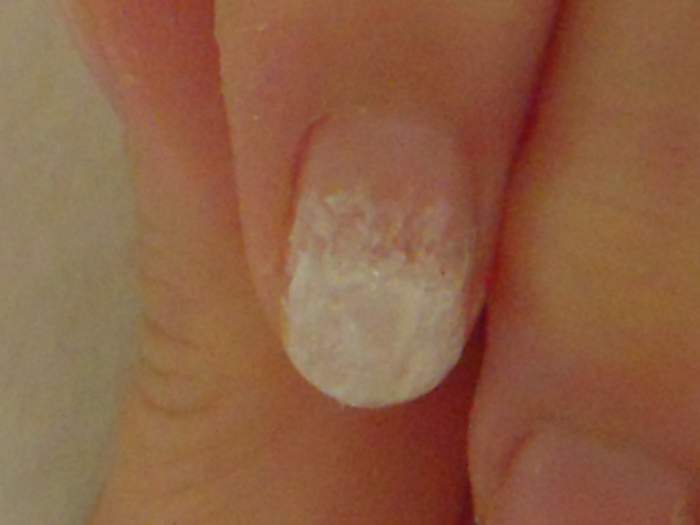
3 coats of polish stippled on nail.
prokidwriter
Step 4: Add Additional Coats of Polish
Continue to stipple on successive coats of white polish, allowing each coat to dry completely between coats. You may need 3 or 4 coats of white polish before you get the coverage you desire.
It takes some practice to get the ombre look using the brush method! But there is less clean-up involved and you can get more exact in how your create the look you want.
Add Top Coat
One layer top coat added to ombre French manicure. Will need at least 2 more coats.
Prokidwriter
Step 5: Add Top Coat
Once the white polish is completely dry, protect the look with a top coat of clear polish. To smooth out the bumpy appearance of the polish, you'll need apply 3-5 coats of clear polish.
Ombre Manicure Tips
- Use good quality nail polish with lots of pigment. Rimmel is quite good.
- Practice, practice! It takes practice to get the ombre look.
- It's imperative to let polish dry completely between coats to avoid pulling up the polish. You'll have to start over on that nail if that happens.
- The top coat is perhaps the most important part of the ombre manicure look! It smooths out bumps, softens harsh lines, and creates glowing nails!
- If you get white polish too high on the nail when using the brush method, you can load the brush with pink polish to correct it. Stipple it on the same way you did with the white polish.
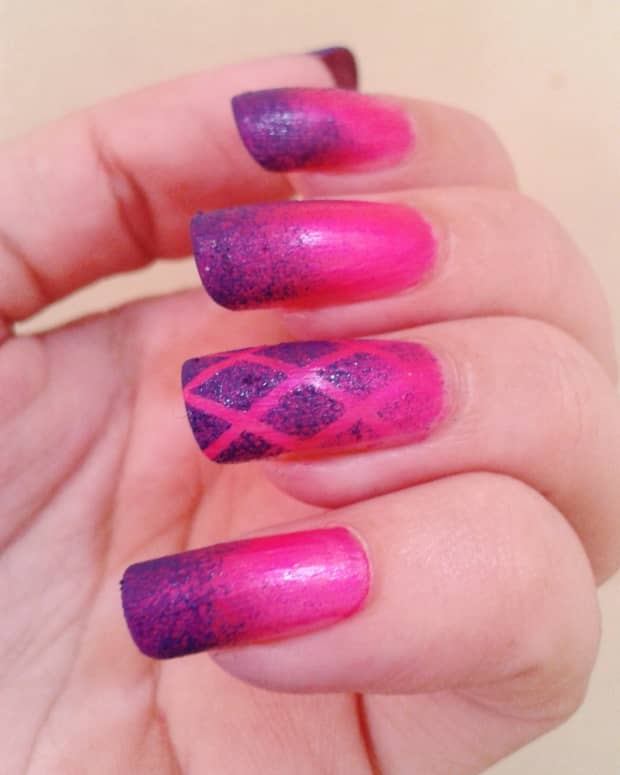
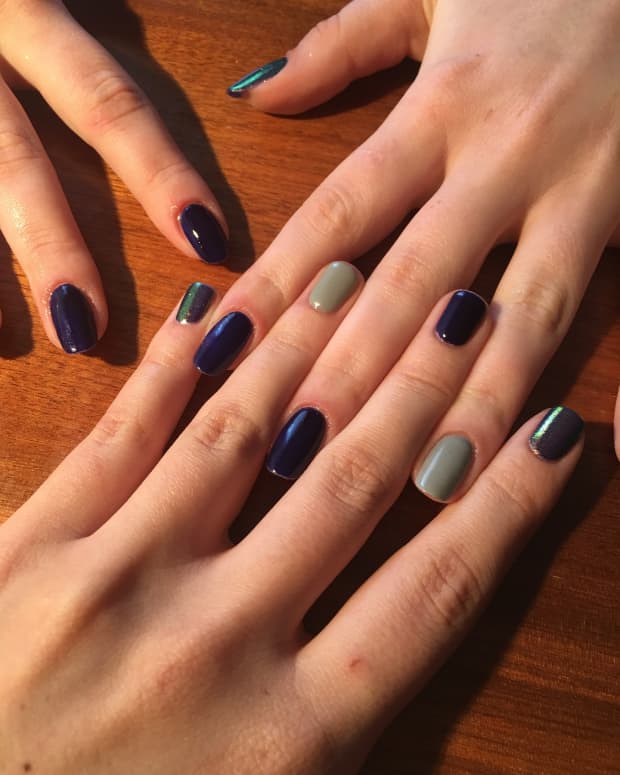
- If you like the look of the French ombre manicure, try other colors. Or try 3 colors!
This content is accurate and true to the best of the author’s knowledge and is not meant to substitute for formal and individualized advice from a qualified professional.
Comments
L.L. Woodard from Oklahoma City on December 14, 2012:
Nail polish and new techniques seem to be a easy way to add glamor or fun without a lot of cost. I'm passing this hub on to my granddaughters. Your instructions and pictures are very helpful.
Great hub; voted up and Shared.