Nails DIY: How to Use Multichrome or Holographic Powder Without Gel Nail Polish
Tori loves dying her hair all colors of the rainbow and shares her tutorials with others.

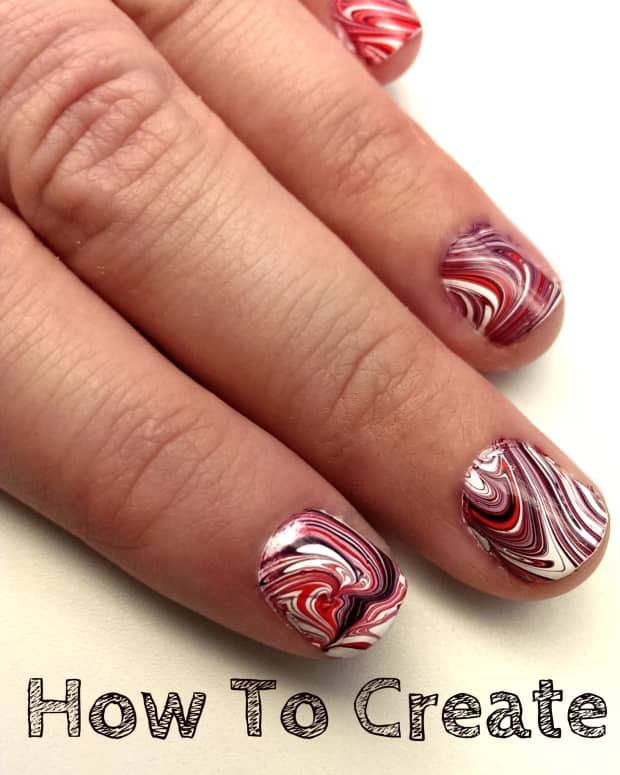
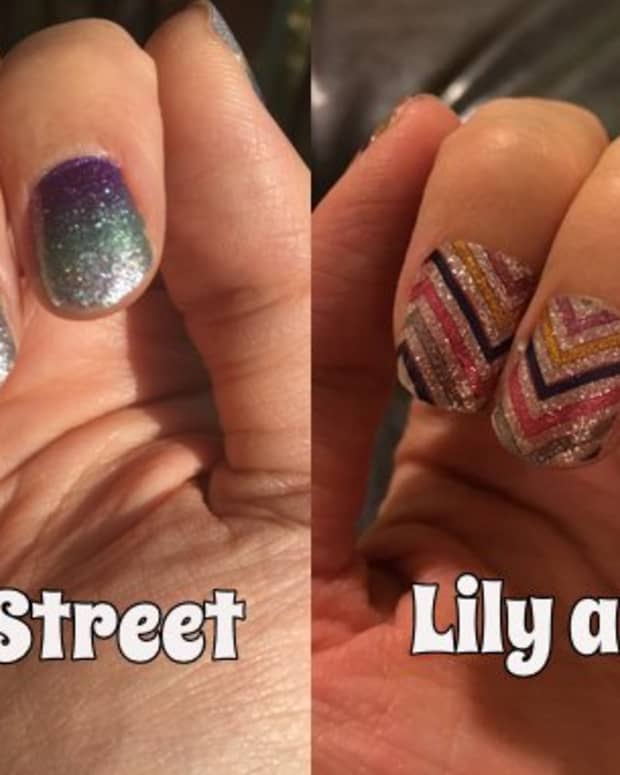
DIY multichrome powder manicure without gel nail polish.
hellovictoria
Why Should I Try Nail Powders?
I love multichrome or holographic anything. I even own a pair of holographic silver tennis shoes. I am to the point of my multichrome/holo obsession that my boyfriend's eyes can't roll any further back into his head when I find something that is holographic or multichrome. I can't help it—I want it all!
Nail polish, in particular, gets me. The first time I ever got anything chrome or holographic on my nails was about a year ago, the day that I quit my job in preparation to start a new role. I got black SNS (SNS is a brand) with silver chrome in gel over top on all fingers except the ring finger, on which I got silver holographic. I continued on the SNS path for a while, but let me tell you . . . when I decided to stop using it, my nails were ruined. I knew I had to figure out a way to still have my multichrome and holographic nails without using gel or SNS to achieve it.
I immediately went to Amazon and shopped around for some powders. I settled on a couple and purchased them, and got to work as soon as they came a couple of days later.

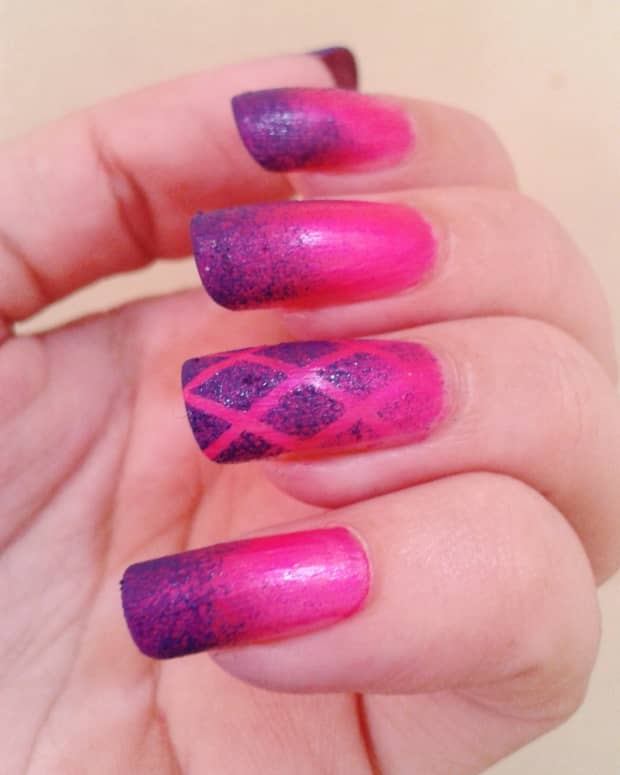
My very first multichrome nail—black SNS with gel/powder over top.
hellovictoria
How Did I Figure This Out?
Honestly - figuring it out was pretty dang easy! I was already obsessed with nail color, and I had quite a collection already. I knew the trick was going to be using the right kind of base coat. I knew it would have to be a sticky base coat because if it wasn't, the powder would have nothing to stick to when I rubbed it on.
I only had to try two base coats. The first base coat I tried was Revlon Quick Dry Base Coat. For normal nail polish, this is one of my favorites. But unfortunately, it wasn't sticky enough for the nail powder.
The next one that I tried was ORLY Bonder Rubberized Base Coat. I had to look no further. This one was sticky enough once dry for the powder, because of its rubbery properties. The next trick was finding out the best process for application to get the most reflection and best results out of my nail powder.
After some experimentation, I came up with the below process for applying. Follow this process and you'll have great results on your own too!
Supplies Needed
| Supplies | Cost |
|---|---|
PUEEN Latex Tape Peel Off Cuticle Guard Skin Barrier Protector Nail Art Liquid Tape | $8.88 |
Orly Nail Bonder Rubberized Base Coat | $8.84 |
Colored Nail Polish of Your Choice | varies |
Nail Powder (For This Tutorial I Used What's Up Nails Paradise Powder) | $21.75 |
Sally Hansen Miracle Gel Top Coat | $7.19 |
Makeup Sponges or Eyeshadow Applicators | varies |
Acetone Nail Polish Remover | varies |
Q-Tips/Cotton Swabs | varies |

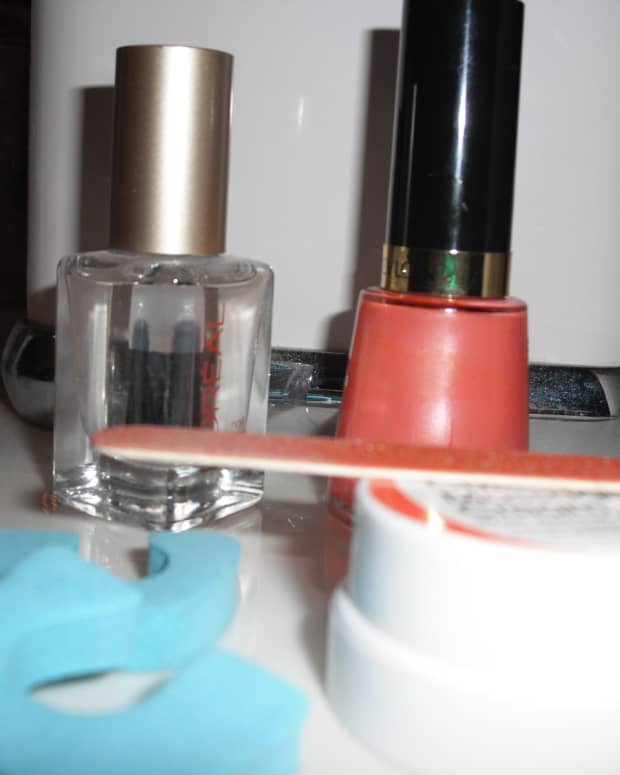
Here's everything I used to create these nails!
hellovictoria
1. Apply Peel Off Latex
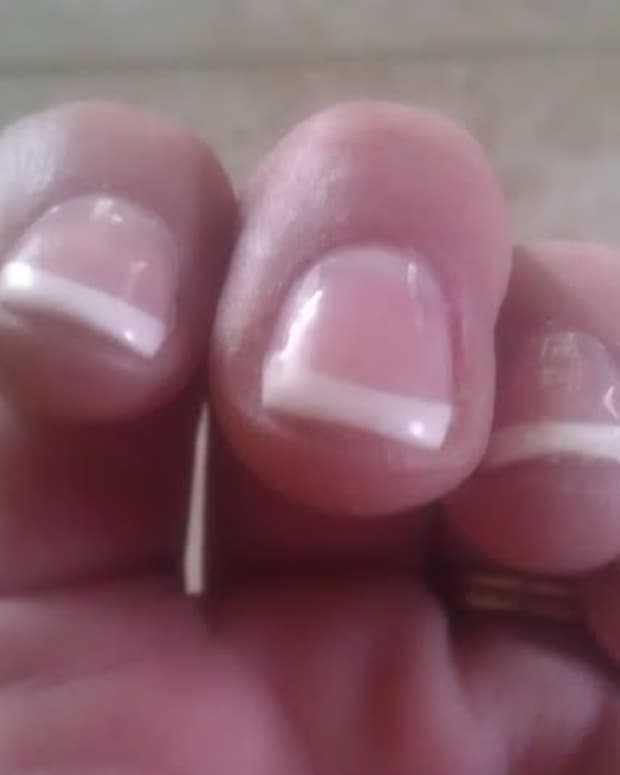
First, you'll need to start by applying peel off latex around your nails to assist with mistakes. If you're anything like me and you get nail polish and powder all over the place when you paint your nails, then peel off latex is a literal god-send and makes cleaning up mistakes so much easier. I love Pueen Peel Off Latex. It is easy to use and dries quickly. It is also easy to see when it is dry—it turns from an opaque baby pink to a translucent "barbie" pink.

What it looks like after you apply the latex. make sure you apply on your finger tip above the nail too.
hellovictoria
2. Apply Base Coat
After the latex dries, apply one coat of the ORLY Rubberized base coat. Allow it to dry for about a minute and a half. Then, apply a thin coat of base color of your choice. I recommend the base color be a color you have used in the past so you know how it dries. You don't want to use anything that peels off easily or doesn't dry very well. I particularly like using Sinful Colors Black Nail Polish or Essie Penny Talk Nail Polish as base coats. Both of these dry relatively quickly into a hardened state and do not peel.
Let the base color dry for a couple of minutes. You want to make sure it is fully dry before proceeding any further. If you're impatient like me, watch a 5 minute YouTube video in between layers. That helps the time pass so you're not just staring at the walls waiting for your nails to dry!

Painting the base coat
hellovictoria
Read More From Bellatory


Painting the base color
hellovictoria
3. Apply the Powder
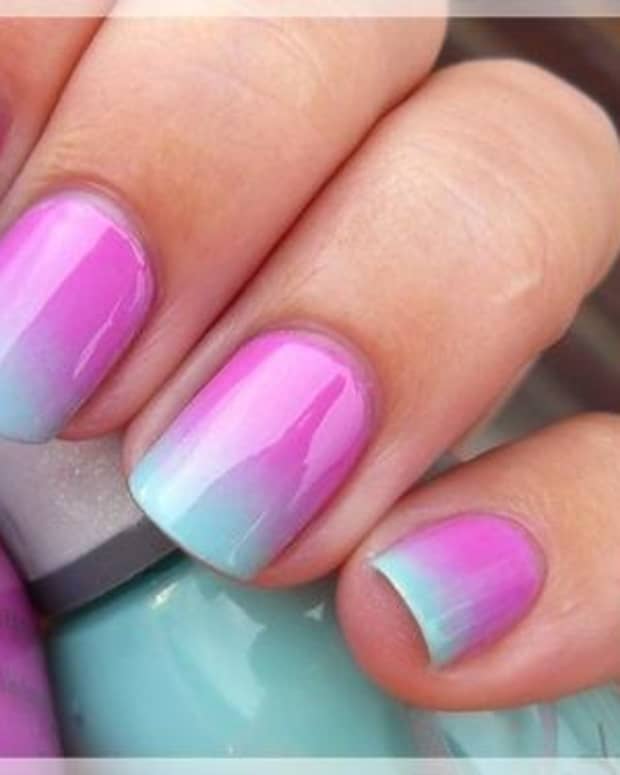
After the base coat is dry, paint another layer of the ORLY base coat on top. Let this fully dry. Now you are ready for the powder. I purchased all of my powders from Amazon, and my favorite ones are by What's Up Nails. In this tutorial, I used What's Up Nails Paradise Powder, which is a multichrome powder that shifts from teal to purple.
Using a makeup sponge or an eyeshadow applicator, dab lightly into the powder container. Then press lightly onto your nail. Once you have pressed powder in, gently rub it in. The more you rub it in, the smoother it will get.

Dab the sponge into the nail powder very lightly.
hellovictoria

Apply a layer of ORLY and then gently dab and rub the powder in.
hellovictoria
4. Apply Base Coat Again and Repeat
You'll notice after the first layer of powder that there's not a whole lot of sheen or color difference there. That will happen. This is why we do two layers.
After your first layer has been buffed in, Carefully, with extremely light pressure on the brush, apply another layer of the ORLY base coat on top of the powder. This step is critical. Do NOT go over your nail more than twice with the brush, because if you do it will remove some of the powder and make it look streaky. This needs to be done in one swoop motion with a second only for light touchups.
Let the base coat dry fully again. After the base coat has dried fully, follow the same process of dabbing the powder on, then rubbing it in. If you would like, you can repeat this step one more time for additional coverage.
The base coat is looking much more colorful after the second coat of ORLY and powder. Apply a third coat if you think you need it.
hellovictoria
5. Apply Top Coat
After you have finished your layers of powder and ORLY base coat, it is time to apply your top coat, which will protect the powder for even longer. My favorite top coat to use with powders is Sally Hansen Miracle Gel Top Coat. It is not actual gel, but it dries to look in a similar fashion, and helps my nail polish stay on longer without chipping. This top coat is my go-to for any nail look.
Again with the top coat, you need to use a light hand and as few strokes as possible. Let this dry fully. After the top coat has fully dried, peel off the latex around your nails. There will still be some residue to clean up, but not nearly as much as if you didn't have the latex. To clean up the residue around your nail bed, dip a Q-Tip in acetone nail polish remover and gently rub around the nail, being careful to avoid any contact with the nail itself so that you don't accidentally rub off your nail polish.

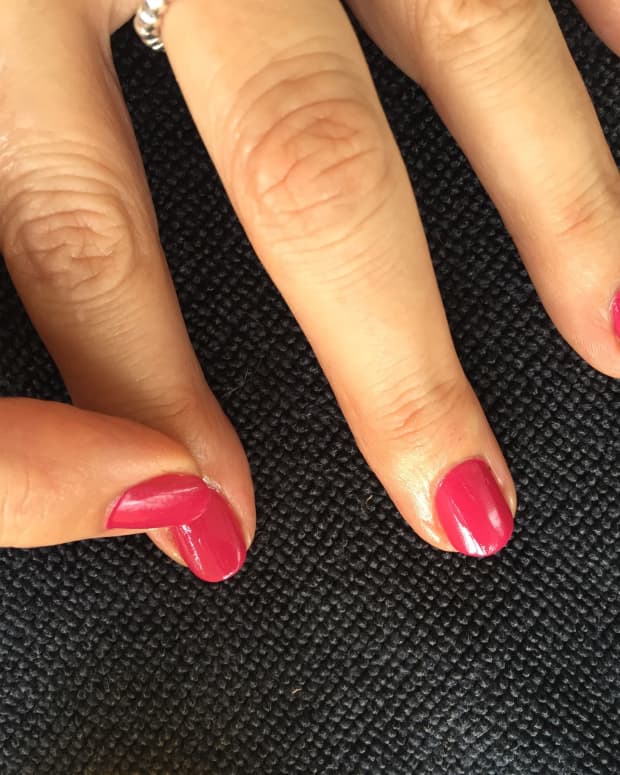
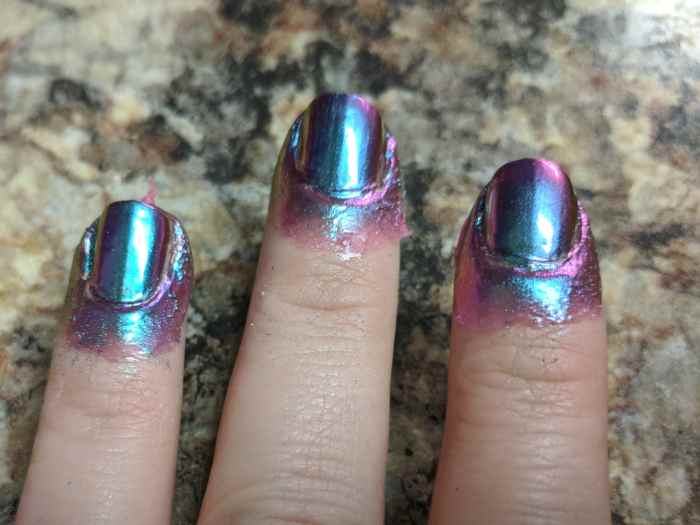
After removing the latex and cleaning up the edges with a Q-tip and acetone, you now have gorgeous nail polish without using gel!
hellovictoria
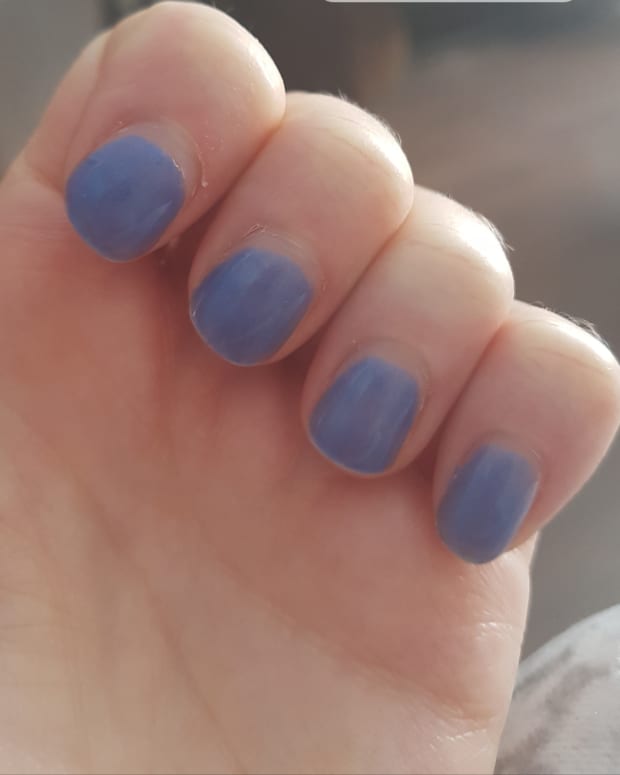
Results
After your layers have fully dried, you will end up with beautiful, multichrome nails that last for about a week and a half. Depending on your line of work, this could increase or decrease how much time the polish will stay without chipping. If you are in a role where you have to do a lot of typing, you may notice more chipping than someone who doesn't spend a lot of time typing.
I hope this tutorial was informative. The most important parts are the ORLY base coat and the Sally Hansen top coat. Without those, your multichrome or holographic effect will not show up as well.
Happy Nail Painting!

Finished multichrome nails!
hellovictoria
This content is accurate and true to the best of the author’s knowledge and is not meant to substitute for formal and individualized advice from a qualified professional.