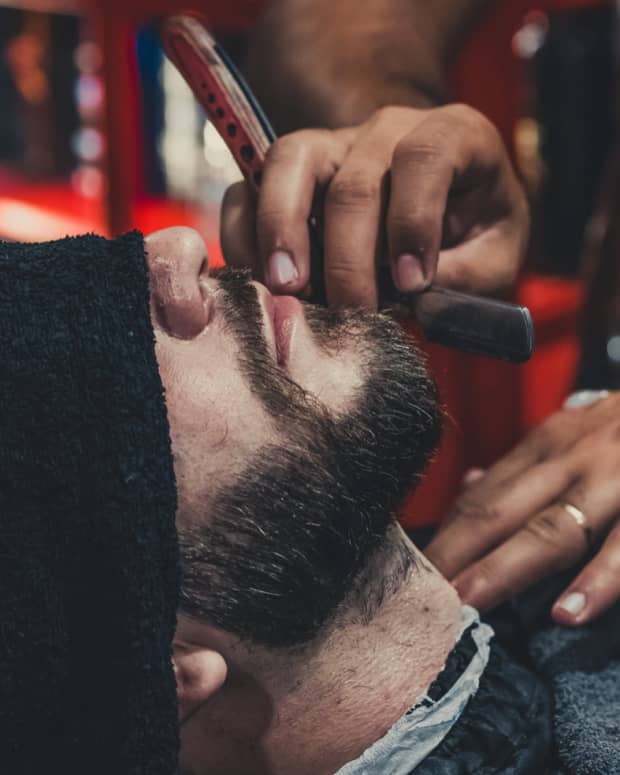
How to Shave With a Straight Razor
When I do a shave in the salon, I make sure it's a luxurious experience for my clients. Here's how to get the same sumptuous shave at home.
Shaving with a straight razor can be daunting at first, but the super-smooth results are so worth it.
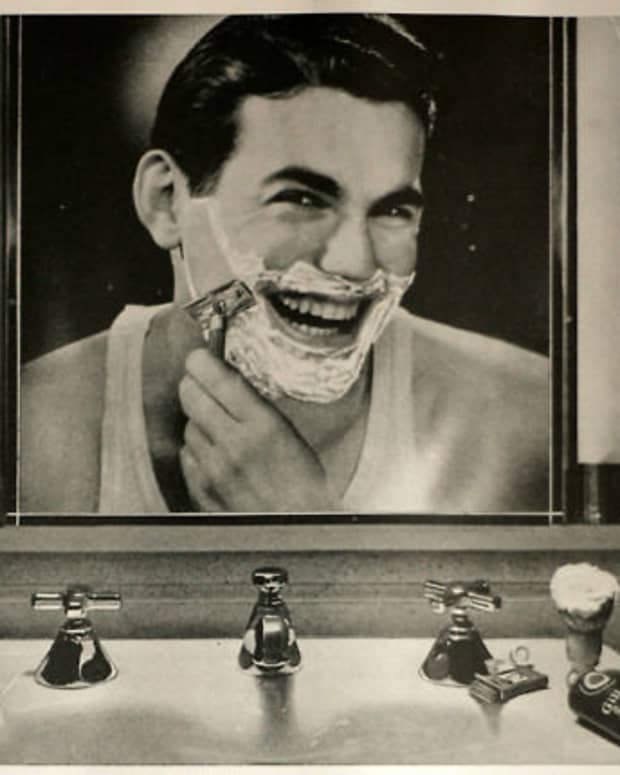
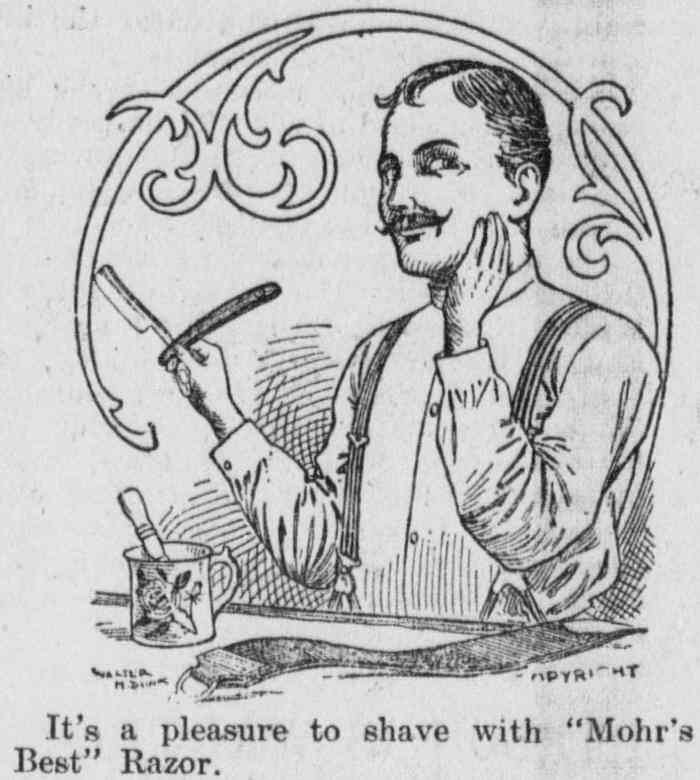
There are many recycled trends throughout history, most of them relating to some sort of fashion. Whether it's a plaid flannel shirt, tight jeans, or a pompadour haircut, all of these were big at one time, and styles eventually fall by the wayside. Then after decades, we seem to be enticed by their nostalgia and want to revive certain parts of an era long since forgotten.
Straight Razors Are a Classic Choice
When it comes to shaving, the straight razor has always been the best method, even though convenience had overshadowed this tradition with cheap, disposable, multi-blade razors. But men's grooming is getting more serious, more refined, and more like the traditional styles and methods we're used to seeing in shows like Mad Men or Boardwalk Empire.
There is a generation of people starting to want quality over quantity and a good quality shave includes a straight razor. Here is an overview of everything you need to know to get started.
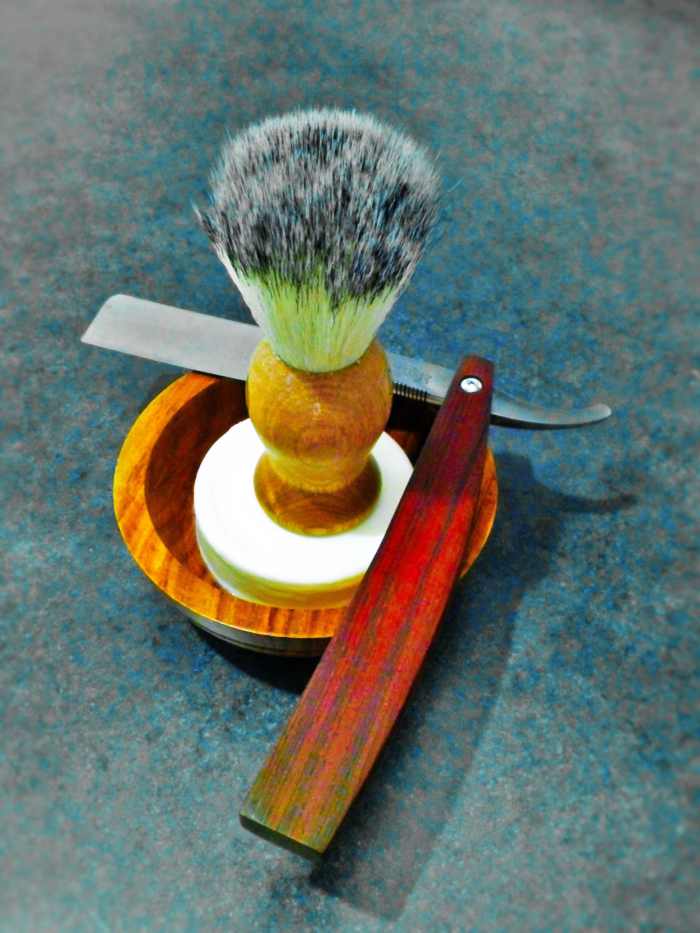
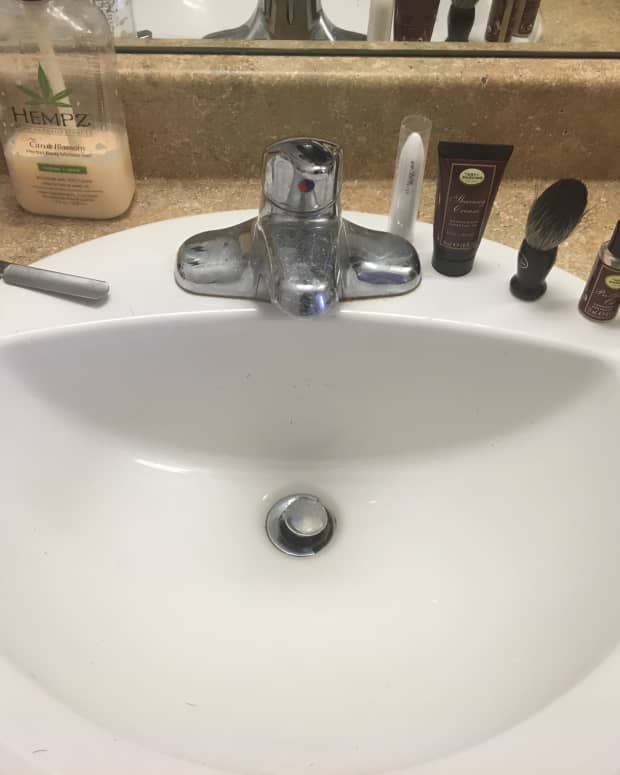
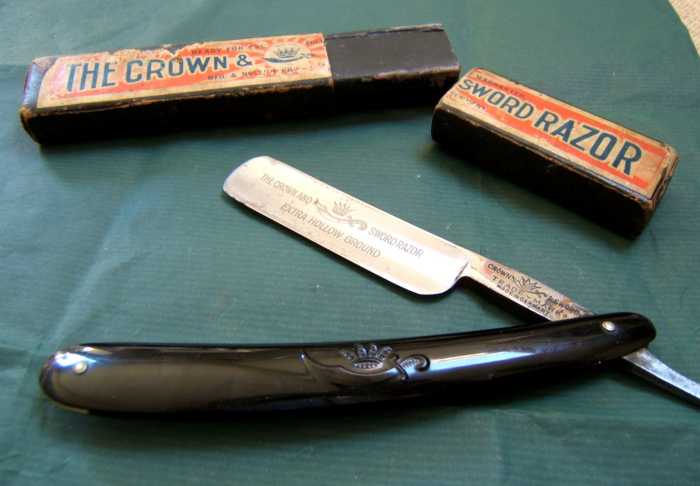
The Classic Straight-Razor Accoutrements
photo by Andrew Sherman
Necessary Materials
- Straight Razor
- Shaving Soap / Cream
- Shave Brush / Mug, (Optional)
- Towel
- After Shave
- Moisturizer
How to Shave With a Straight Razor
The key to any good shave is the preparation. You need to protect your face from the extremely sharp blade you're about to scrape it with. Here's what you need to know.
Step 1: Steam and Soften Your Beard
Many people will shave while in, or after, a hot shower. This allows your beard to soften and allows for a more comfortable and closer shave. You can also wet a towel with hot water and hold that on your face for a minute or two to achieve the same results. Repeat if necessary.
Step 2: Apply a Pre-Shave Lubricant
The next step after steaming your face is to apply a lubricant. In more recent years there have a handful of pre-shave oils and creams that allow the blade to glide effortlessly over the skin to prevent nicks and irritation.
Before this, it was custom to lather up with shaving soap, re-steam your face, and add another layer of lather to shave with. Doing this allows the soap to have a moisturizing effect. Pre-shave oils are so common in modern barbershops now it would be hard to find one without them.
When I do a shave in the salon, I apply a steam towel, pre-shave oil, another steam towel, more pre-shave oil, then lather on top of that. It may be excessive for some barbers, but you can't beat the shave. Plus, it's extremely relaxing for the client!
Step 3: Lather Up!
You're going to need a good, thick, moist soap to lather up with. There are endless brands, with endless ingredients for you to choose from, so don't be afraid to be picky. I advise you to get something that smells nice, considering you'll have this all over your face every day.
The most important factor in choosing a soap is its ability to make a lather. Old school soap pucks are an option for people who want to take their shaving routine more seriously and use a shaving brush to whip up some fluffy white crème de la crème. You can also add oils, glycerin, and other ingredients to make your own concoction.
I know most people are going to continue using their aerosol shaving creams, but where's the fun in that? Try whipping up some lather using a moisturizing soap puck, cream, or lotion. You'll feel like you accomplished something manly! You'll find many videos on YouTube on people's infamous lathers.
Apply the lather liberally to your face in a circular motion to lift up the hairs. Typically you'll need to add a little water to your soaps to make them fluff, so make sure you use hot water. This will heat your lather and keep your skin and hair warm and moist. (You're skin has to be warm and moisturized to be elastic and stretchy. This allows the blade to glide over it. Otherwise, if it's dry and cold, your skin will not stretch and conform to the blade, leaving you with an embarrassing cut on your face to explain to your coworkers.)
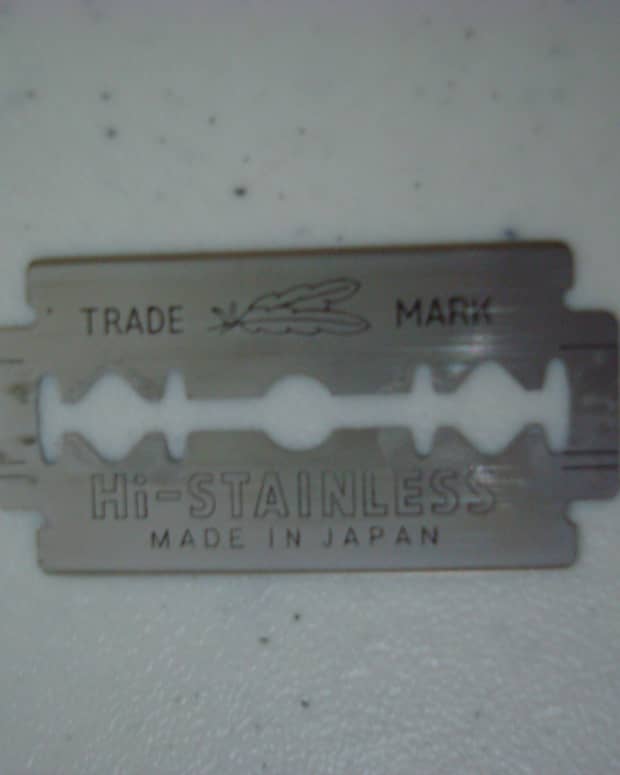
Step 4: Check the State of Your Blade
Make sure you have a sharp, sterilized blade with no dents, knicks, or rust. Most people think that the sharper a blade, the more dangerous it is . . . In all actuality, the duller the blade is, the more likely you are to cut yourself.
If you look at the edge of a blade under a microscope, you will see what look like sharp, mountains of uneven, rocky terrain, with no resemblance to the finely crafted tool you hold in your hand. Even the sharpest razors on the planet look like this, but if you take the proper steps to hone and strop your blade correctly, you can use this same blade for the rest of your life.
Another option is to buy a razor that you can refill after every shave with disposable blades. Many of these use a standard, double edge razor blade that you snap in half and insert into it. These come in handy when you need a new, sharp, sterilized blade, taking the work and time out of stropping your blade before every shave or so.
Read More From Bellatory


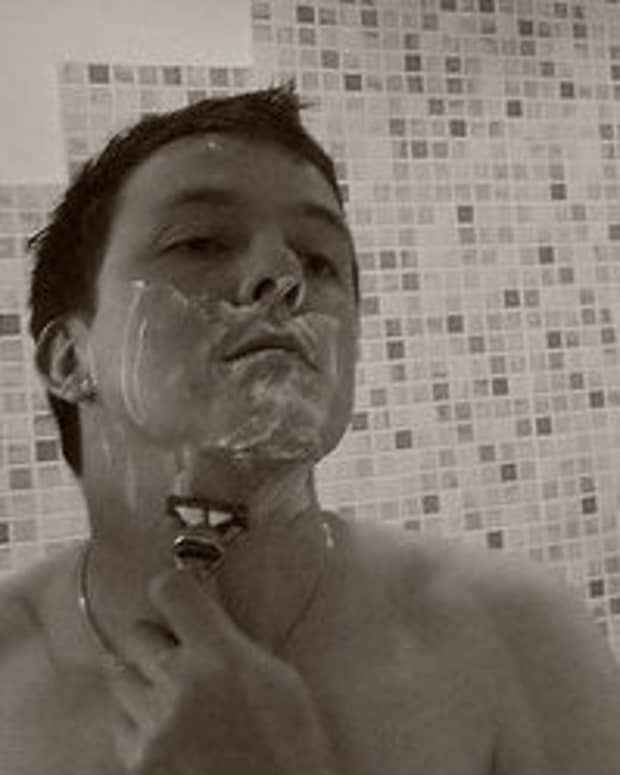
Step 5: Gently Shave (Go With the Grain!)
Start on your right side under your sideburn if you're right-handed (vice versa if you're a lefty). This will be the easiest area to shave. Wrap your other arm over your head and stretch your cheek upwards. Lightly shave this area, being careful not to apply pressure with the blade.
Stretching allows less drag for the blade against your skin. You'll have to stretch pretty much every area when you go to shave it.
Go with the grain of the hair on your first pass, especially if you have any sensitivity at all to shaving. At first, you'll look like a monkey playing twister trying to find the perfect angles to get all the areas of your face, but this will get easier the more you practice.
Keep in mind that most guys have hair that grows upward on their necks, meaning there is a line where this upward growth pattern meets the majority of the downward growth. Make sure you shave with or across the grain in this area. Most people will break out on their necks, if nowhere else, because they continue to shave downwards on this spot.
A second pass can be done if you're not that sensitive. Some people like to shave against the grain on this second pass, but even most barbers will typically just shave across the grain at more of an angle to the growth for a smoother finish.
How to Care for Your Skin After Shaving
So you're done shaving. That's all there is to it, right? . . . Wrong! What comes next can be critical to the health of your skin.
Apply Toner or Aftershave
You're going to want to apply some sort of toner or aftershave to shrink the pores and sooth the skin to help minimize any irritation. Alcohol-based toners can burn, especially after a close shave, but some of these products can help with razor bumps, redness, razor burn, etc., especially around the sensitive areas around your neck crease where most people break out. You may want to get a more mild or gentle toner if you can't stand the burn.
Tip: A cold towel will also help with shrinking the pores and relieve some pain associated with any burn.
Apply Moisturizer
After a shave, I always apply a moisturizer. The lather and shave creams that we typically shave with are nothing but glorified soaps, and soaps are drying. Even after wiping it off your face and applying a toner, you'll still want to replace the moisture that you've lost.
The key to keeping your skin elastic and young-looking is moisture. Even just a light moisturizer to top off the whole shave process will do wonders for your skin.
Algont from nl [GFDL (http://www.gnu.org/copyleft/fdl.html) or CC-BY-SA-3.0 (http://creativecommons.
Why Use a Straight Razor?
Shaving with a straight razor is by far the best way to shave. Here's why:
You save money!
If you're only going to be shaving for 2 1/2 years, then go with your typical disposable razor from the grocery store. This is about the time frame where you save money by using disposable razors. Otherwise, if you're like the rest of us who plan to be growing a beard for the rest of their life, go with the straight razor.
The initial cost is higher, but you end up saving major bucks years down the road. To read more, check out this cost-comparison article by Razorpedia.
You get a closer, healthier shave.
It is better for your skin to use one blade, making several passes, rather than four blades making one pass. The reason for this is because as one blade goes over the hair, it also stretches the hair before the second blade comes through. This means you're stretching the hair, cutting it off flush with the skin, then letting it go, where it will retract under the skin and end up causing ingrown hairs and irritation.
You'll impress your friends.
That's right, once word gets around that you use a straight razor to shave, your friends will look at you with a newfound respect and a touch of envy. You are now a classy, refined gentleman.
Happy Shaving!
This content is accurate and true to the best of the author’s knowledge and is not meant to substitute for formal and individualized advice from a qualified professional.
© 2015 Andrew Sherman
Comments
Emily Tack from USA on February 24, 2015:
I love using a straight razor. I feel as though I have a great deal more control over it, than I do with any other type.
They may be considered to be old-fashioned, but I think they are the easiest ones to use.
BessieBooks on February 09, 2015:
I'm a girl but I clicked on this for the vintage picture :) And then the interesting hub grabbed my attention even though sideburns isn't something I'll ever have to think about. Good job!