How to Wax Your Own Eyebrows Using Sally Hansen All Over Body Wax Kit
Tori is a 28-year-old, three-time animal mom and DIYer living in Northern Atlanta with her boyfriend.
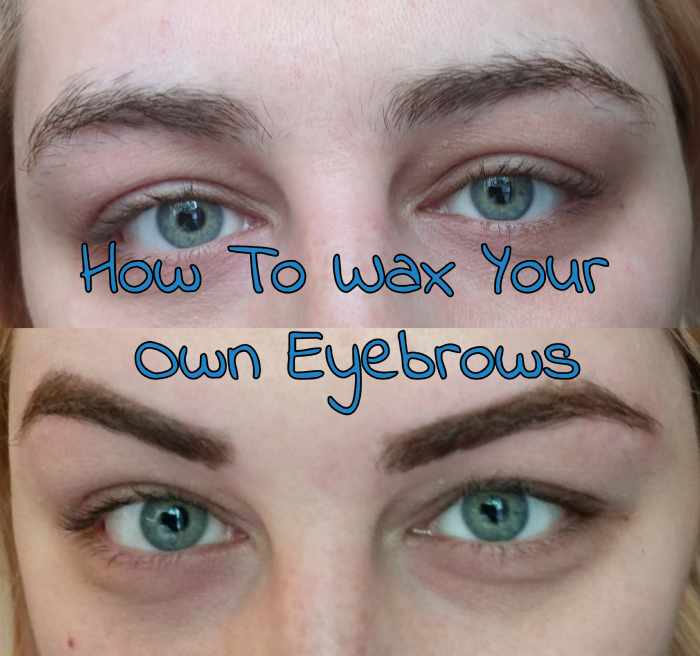
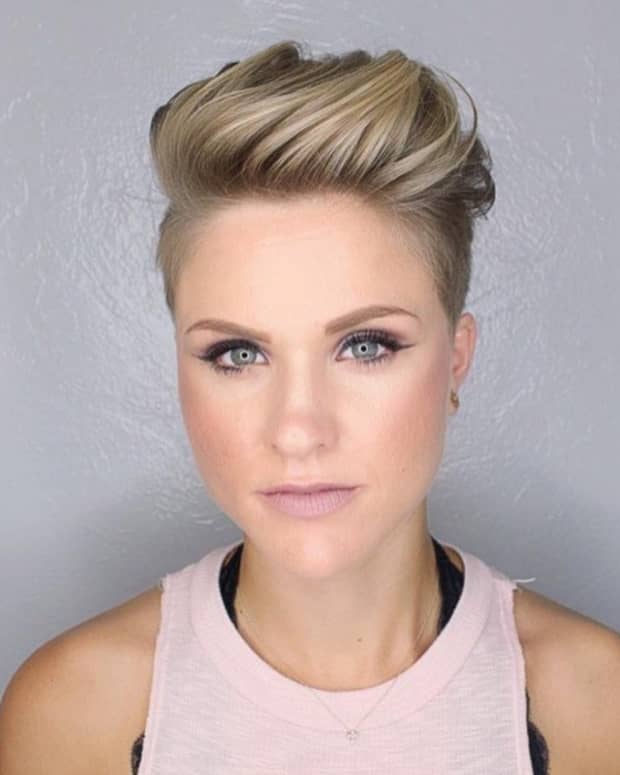
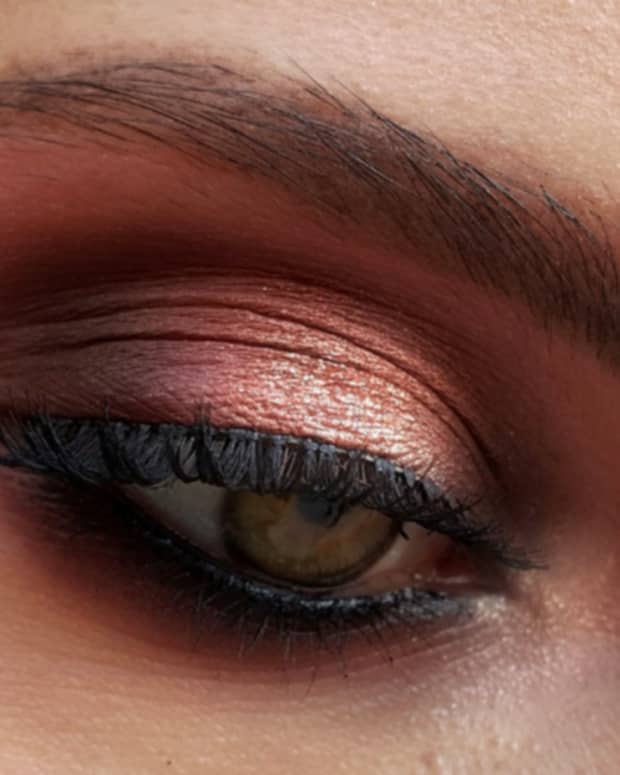
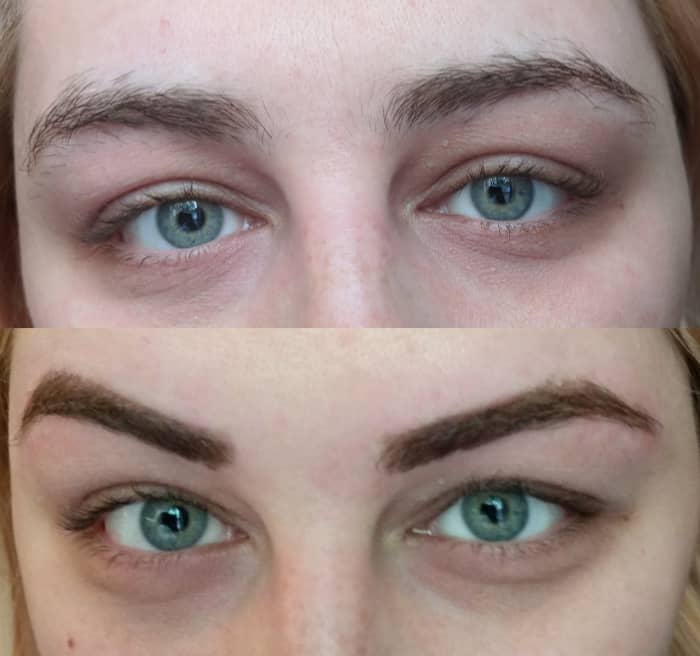
My before and after DIY eyebrow waxing photos.
hellovictoria
Save Money and Wax Your Own Eyebrows
To put it simply, I love to save money. There are a lot of beauty services that I used to have done by other people that I love, but sometimes you gotta go into money-saving mode. How do you keep up your beauty routine without breaking the bank? You find the right product that works for you, and you learn how to do it at home. I've started doing this with nails, hair color, and eyebrow waxing, and I can't even begin to tell you how much money I've saved in the process. Plus, each time I do these services myself, I get better and better at them.
In this tutorial, I'll walk you through what I use to shape and wax my eyebrows, and how you can do it at home with the same easily accessible and affordable products. That way, you can get killer eyebrows on your own, and save a little cash in the process!
You Will Need...
| Product | Where to Find | Price |
|---|---|---|
Sally Hansen Extra Strength All Over Body Wax Kit | Target, Walmart, Amazon | $8.97 |
Skinny Wooden Flat Wooden Craft sticks (like popsicle sticks or skinnier) | Anywhere Craft supplies are sold | $2-5 |
Clear Brow Gel or Hair Gel | Anywhere cosmetics are sold | $2-$5 |
Eyebrow Scissors or a Small Pair of Extra Sharp Scissors | Anywhere cosmetics are sold | $2-$7 |
Brightly colored liquid or pencil eyeliner - I like to use white or pink | Anywhere cosmetics are sold | $2-$10 |
To preface, I have used the Sally Hansen wax every time I have done my eyebrows at home. I have found that the wax works great, but if you have sensitive skin there may be some redness present afterward, so it's imperative that you moisturize after you are done. Apply aloe if needed as well.
In addition, the box comes with waxing strips and thick popsicle sticks to help with your waxing. For your eyebrows, the popsicle sticks that come in the kit are a little bit too large. I find that I make way too many mistakes and often pull too much hair out when I use the large sticks. For this reason, I recommend using smaller, skinnier sticks that will allow you to be more precise.
Step 1: Warm the Wax and Prep Your Station
Before you even start doing anything, you should first warm up your wax according to the package directions.
- Don't put in the microwave for more than three minutes. The wax will be way too hot and will take a long time to cool, and you don't want it taking your skin with it when you apply it.
- The wax shouldn't be completely runny liquid, but it should turn from a solid into a thicker type liquid.
While the wax is warming up, go ahead and cut the waxing strips to sections that are just about 1/2 inch by 2 inches.
- The waxing strips in the kit come large because you can use the wax for more than just your eyebrows, but you don't need to use a big strip for your eyebrows because they are smaller!
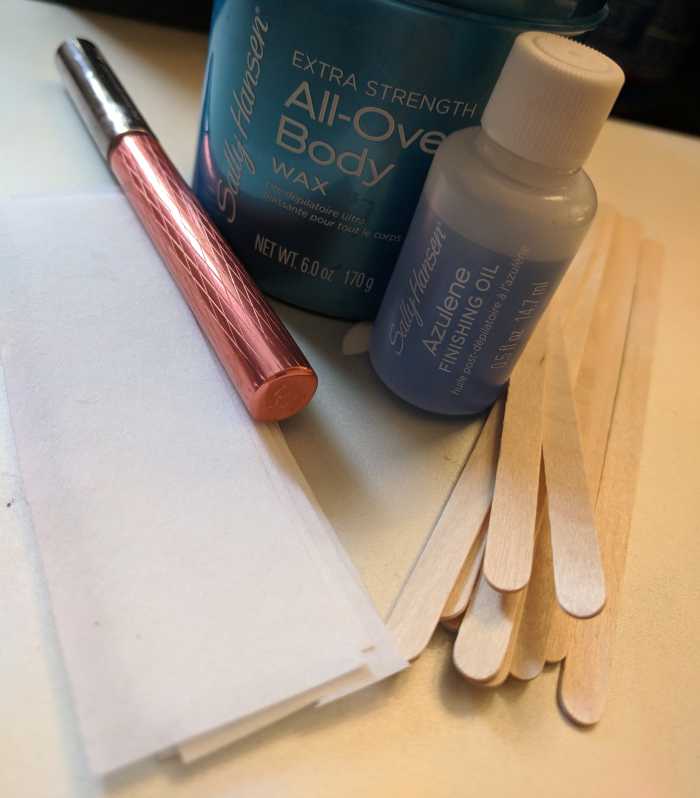
Here are all of the supplies I used, minus the brow gel and scissors!
hellovictoria
Step 2: Map Your Brows and Find Your Arches
Don't just start to wax your eyebrows willy-nilly. Possibly one of the most important steps to doing your eyebrows at home is mapping them out so that you get the shape you want.
Read More From Bellatory


- For any brow mapping, I like to use a white or light-colored liquid liner because my eyebrows are dark and furry caterpillars. The lighter color helps me see where I need to stay away from when waxing. I have found when I use darker eyeliners, I end up with bushier brows because I can't see anything.
As far as the mapping goes, there are two main ways to accomplish this.
Use an Eyebrow Stencil
- Anastasia Beverly Hills sells a really neat set of eyebrow stencils if you don't trust yourself to choose your arch yourself. I've used them before and they work pretty great!
- All you have to do is hold the stencil to your brow, and trace with eyeliner, powder or brow pomade.
Manually Map Your Eyebrows
- Take an eyeliner or brow pencil and hold it straight up and down next to one of your nostrils, with the tip un-capped and facing up. You're going to make 3 dots/lines.
- The first dot/line is going to be at the beginning of your brow, before you move the pencil.
- To place your second dot, keep the pencil aligned with your nose and turn it on a 45-degree angle. Where the tip points, is where your arch should be.
- The third dot will determine where the tail of your brow should end. Turn the pencil again between a quarter and a half an inch, keeping the base aligned with your nostril. Where the tip points, is where the tail should end.
- Next, connect the dots on both the top and bottom of your brow, as close to the hairline on both sides as possible. You will end up with the outline of an eyebrow. Make sure the lines that you draw are straight.
- If you want to you can fill in the center of the shape you just drew. This method is good to watch a few times before you try it, so I've included a video below that can show you these steps visually, from the Youtube Channel Look Good, Feel Better featuring Benefit Cosmetics' Jared Bailey.
Step 3: Set Eyebrow Hairs and Wax
Before you start waxing, it is a good idea to set your eyebrow hairs in place with some brow gel or hair gel and a spoolie. If you're like me and your eyebrow hairs are really long, they need to be in place. If they aren't, you may accidentally catch the end of one with wax while you're applying it which may result in bald patches.
- Set the hairs so that they are inside the lines you drew on with eyeliner.
- After everything appears to be in place, then you can start the waxing process.
- The wax should be still warm, but also cool enough that it won't burn your skin.
- Choose which brow you're going to start with and which area. I recommend starting above your brow closest to your nose.
- Take just a little bit of wax on the end of a small popsicle stick and place along the line of your arch, outside of the colored outline you drew earlier.
- Press a waxing strip gently into the wax, being careful to press away from your eyebrow. If you press towards your eyebrow, the wax may spread too close to your eyebrow and pull hairs that you don't want pulled.
- Once the wax has set into the strip, quickly rip the wax strip off in the opposite direction of the hair growth pattern. Since hairs grow pointing towards the outside of your face, you will want to pull the strip off towards the inside of your face. If you are waxing hair in between your eyebrows above the bridge of your nose, you will want to pull down towards your mouth.
- Do not go over an area more than once with a wax strip. If you do, you will either come away with an angry red rash that takes a few days to go away, or you may pull skin off. The skin on your face is very delicate, so you don't want to overwork it. If the wax strip misses a hair or two, you can pull those out later with tweezers.
- Repeat the waxing process on all sides of your brows until you have hit each edge of your outline, then proceed to the next step!
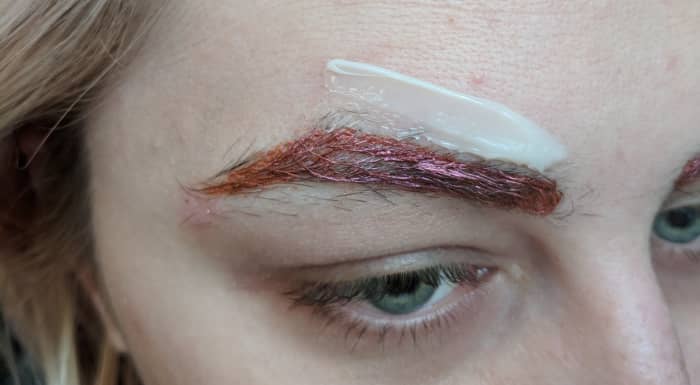
Where I have placed wax here is where you could probably start. As you can see, I've applied close to the pink outline, but not too close, because I don't want to pull up too much. Remember to pull the strip towards your nose when removing wax.
hellovictoria
Step 4: Tweeze Any Strays and Wash Your Face
- Before washing off your outline and brow gel, take a pair of tweezers and clean up any individual hairs that may have been missed by the wax. Be careful not to tweeze inside your outline.
- After you have cleaned up the strays, use a gentle face wash and rinse the outline and brow gel off your face.
- After you rinse, apply the azulene oil that comes in the kit. Azulene is derived from chamomile, which is a soothing tea leaf. The oil helps with inflammation and to calm down any redness.
- If you don't like the azulene oil (I tend to find that it is a little too shiny), you can use aloe or some other soothing lotion or oil that will help calm the redness after waxing.
- Once the oil has absorbed in, apply your regular facial moisturizer.
- Once you have washed your face, move on to the final step!
Step 5: Trim the Hairs
You may not need to do this if you have naturally shorter brow hairs, but as I mentioned before, my brows resemble caterpillars. My hairs are very long, so I have to finish with a trim in order to make sure they all stay within my new brow shape!
- Take a spoolie and brush the hairs straight up. if you have trouble getting them to stay straight up, you can use a little bit of brow gel to help.
- Once the brow hairs are straight up, trim along the top line of your brow towards the inside of your face with brow scissors.
- Brush the hairs back into place and repeat on the other brow.
Now you have officially waxed and shaped your own eyebrows at home! If you're getting ready to go somewhere, apply concealer and fill your brows with your favorite pomade, powder, or pencil, as I have done here. I hope you found this tutorial helpful and I look forward to bringing you more at-home tutorials in the future!
hellovictoria
This content is accurate and true to the best of the author’s knowledge and is not meant to substitute for formal and individualized advice from a qualified professional.