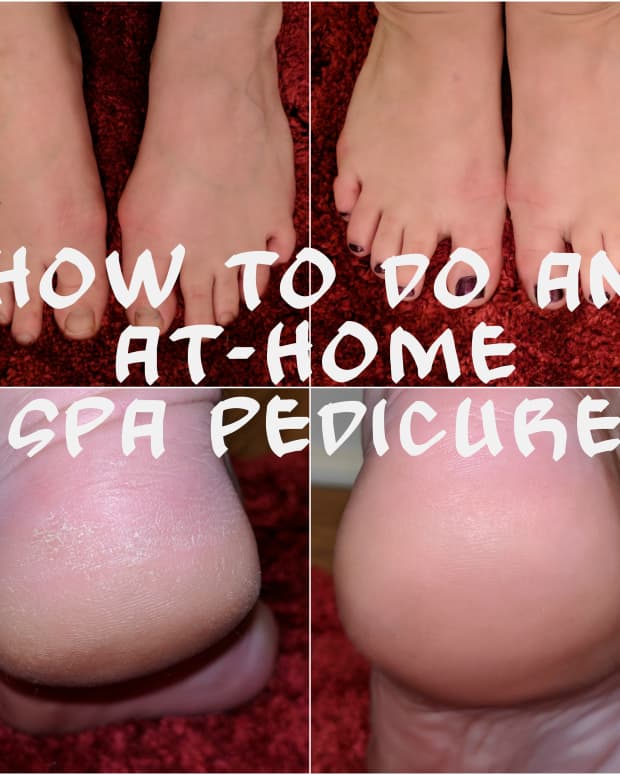
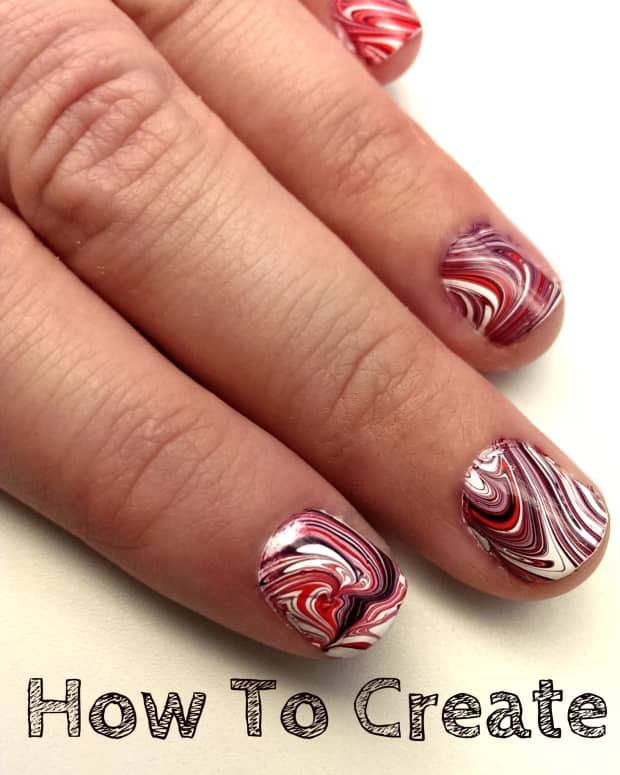
How to Do a Manicure at Home
A beauty consultant by profession, Jayne has been advising on correct skin and hair care, makeup, and other cosmetics for almost 20 years.
If you only want to make your natural nails presentable, there’s no need to go to the salon.
Not only can you get professional-looking results at home for a fraction of the salon price, but there's also no need to change your routine if you usually work or sleep during salon hours. What could be more convenient?
Doing a Manicure at Home
What You Need
The list may seem long, but you no doubt already have most of the required items, so it shouldn't be a big initial investment.
- A bowl
- Nail polish remover
- Lint-free cotton pads
- Q-tips
- Denture tablets or a brightening nail soak
- A nailbrush
- Nail clippers (optional)
- Emery boards
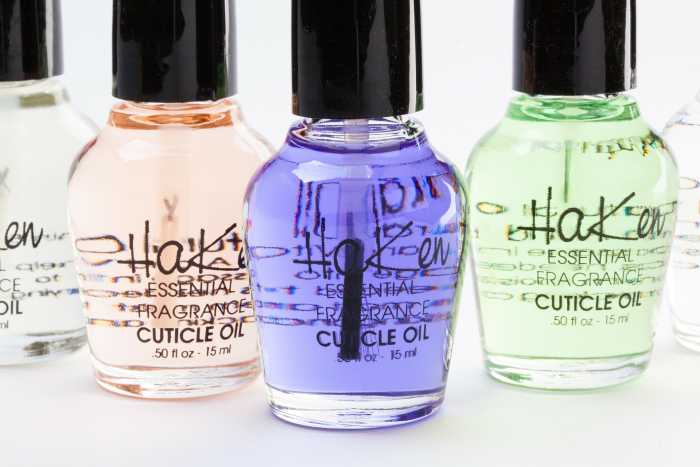
- Cuticle remover, available at drugstores as a gel, liquid or cream (alternatively petroleum jelly or coconut oil)
- A cuticle hoof
- Tweezers
- A nail buffer (optional)
- Hand cream
- A deep moisturizing treatment and cotton gloves (optional)
- A colorless nail base coat
- Nail polish
- A clear nail top coat
Clean and Soften
Remove Old Nail Polish
First, remove old nail polish with nail polish remover and lint-free cotton pads.
Soften and Brighten Nails
Dissolve a couple of denture tablets in a bowl of water, and soak your fingers for about ten minutes. This softens nails and cuticles and has a brightening effect, which is particularly important if you want to wear clear nail polish or none at all.
There are special nail brightening soaks available at stores, but denture tablets are less expensive, and the results are just as good.
Clean Nails
Gently scrub your nails with a nailbrush and soapy water, then dry thoroughly.
A nail soak with a brightening effect is particularly important if you want to wear clear nail polish or none at all.
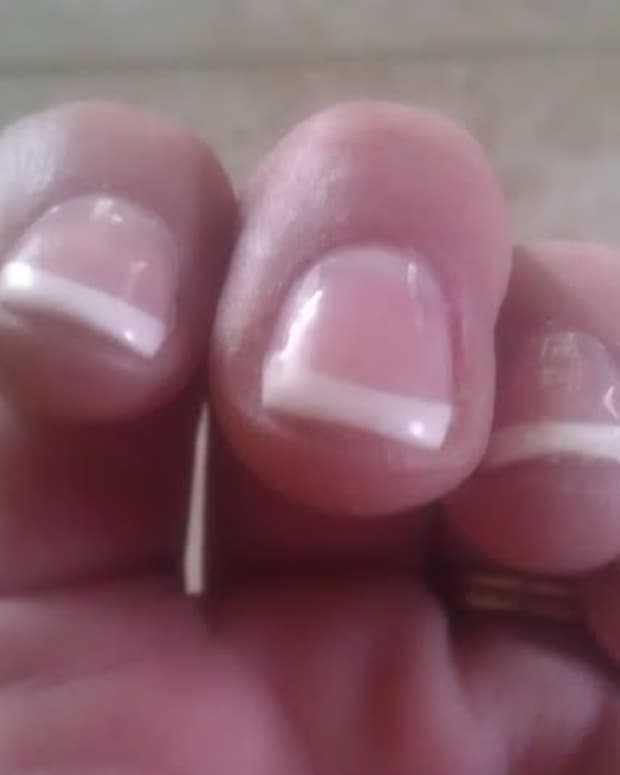
Shorten and Shape
Unless you want to drastically shorten your nails, don’t use nail clippers. Reduce length with the coarse side of an emery board, shaping to a rounded or slightly squared form. To avoid weakening your nails, always file from corner to center and never back and forth. Take your time and check once every few strokes that you’re not filing out of shape. For a decent but elegant appearance, the length should be two or three millimeters beyond the fingertip.
Go over your nails a second time with the fine side of the board for a smooth finish.
Remove Cuticles
To loosen cuticles, apply cuticle remover and wait a minute or two for it to work, then push back with a rubber cuticle hoof. In case you don't have a commercial cuticle remover, use petroleum jelly or coconut oil instead.
Gently pull away any remaining tendrils with tweezers.
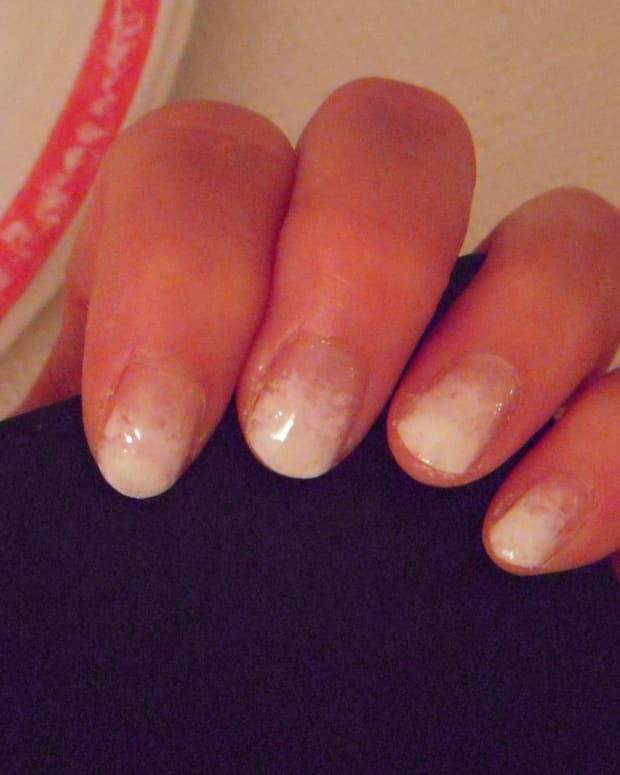
Removing Stains
Denture tablets will remove stains, as will several other solutions with ingredients such as lemon juice, vinegar, hydrogen peroxide, and baking soda, but none will work immediately. They all need a month or so of regular use.
For instant results, you have two options:
Read More From Bellatory


1. With Acetone
Before you begin your manicure, wipe away discoloration caused by dark nail polish with an acetone nail polish remover. Acetone has a particularly drying effect, so it’s not a good idea to use it too often.
Prevent discoloration in the future by applying a base coat beneath nail polish.
2. With a Nail Buffer
Slough off stains with a nail buffer. This is a manicure tool that looks like a large nail file with three or four different surfaces. One is for ridding the nail of ridges and stains, another is for sealing the nail, and the other is for buffing and adding shine. Apart from being an excellent way to instantly remove stains, it provides a good alternative to clear nail polish. If, however, you do intend to wear nail polish, don’t use the buff and shine surface, otherwise, the polish won’t be able to adhere as well to the nail.
Loosen cuticles with cuticle remover.
Moisturize
Wash your hands and scrub your nails to rid them of filing debris, then apply hand cream.
For very dry hands, apply a deep moisturizing treatment before going to bed. If you don't have one, mix a thick textured cream, like Nivea Classic, with boiling water to a smooth consistency and massage into your hands while still warm. Pull on a pair of cotton gloves, and let the mixture do its work while you sleep.
Apply Nail Polish: The Finishing Touch
Before applying nail polish, clean your nails with nail polish remover. They must be completely dry and free of oily residue left by hand cream or other moisturizing products, which can cause the polish to split.
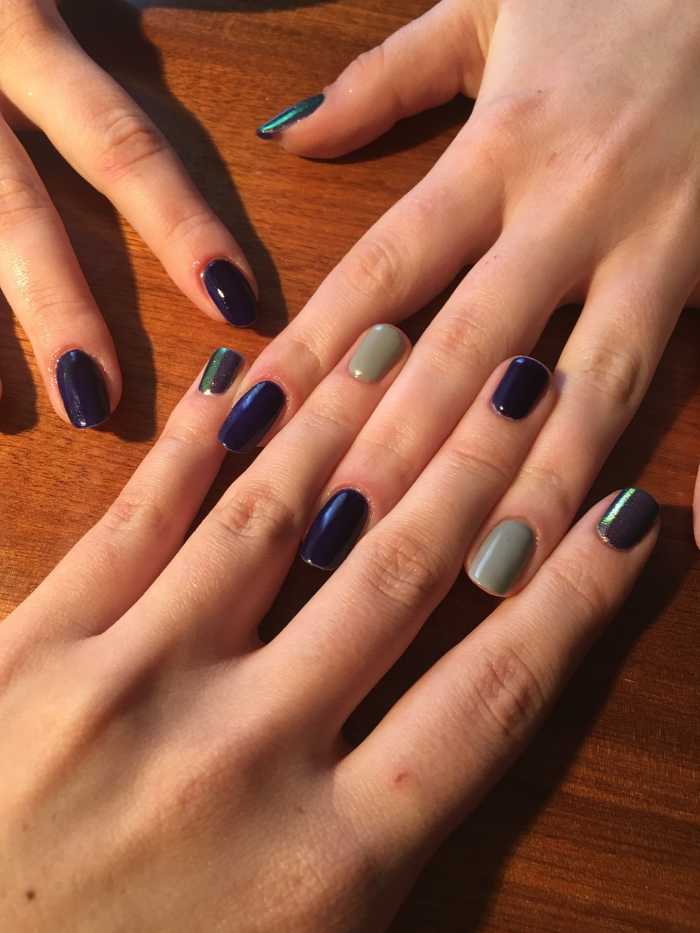
If you’re new to painting your nails, choose a light color. That way, a less than perfect finish will be less noticeable.
Light colors are always good if your fingers are somewhat on the short side, whereas dark colors work well if your fingers are long.
For best results, lay your hand flat on a tabletop while painting your nails.
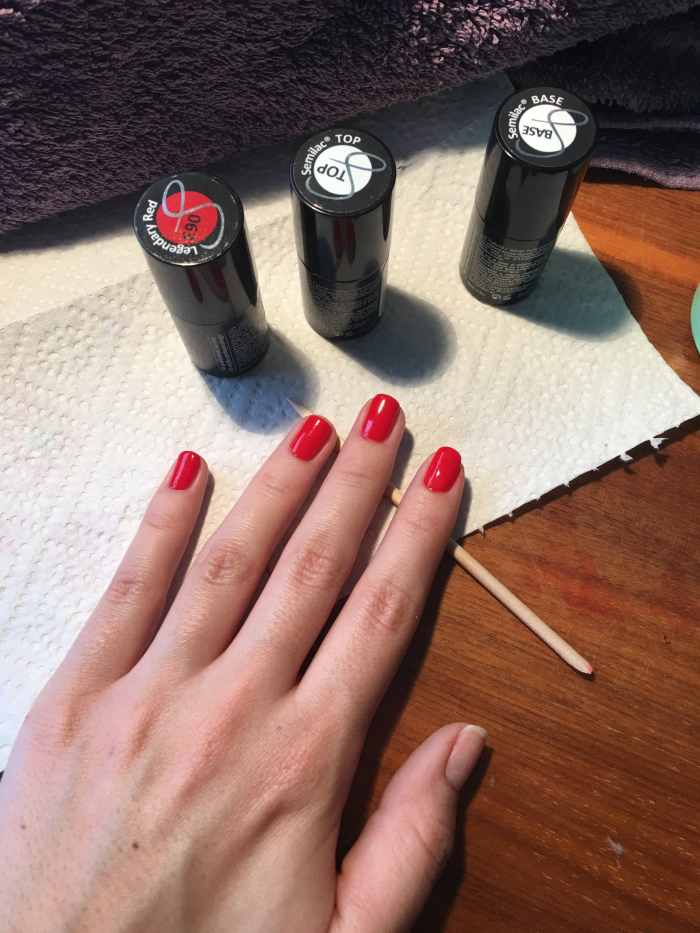
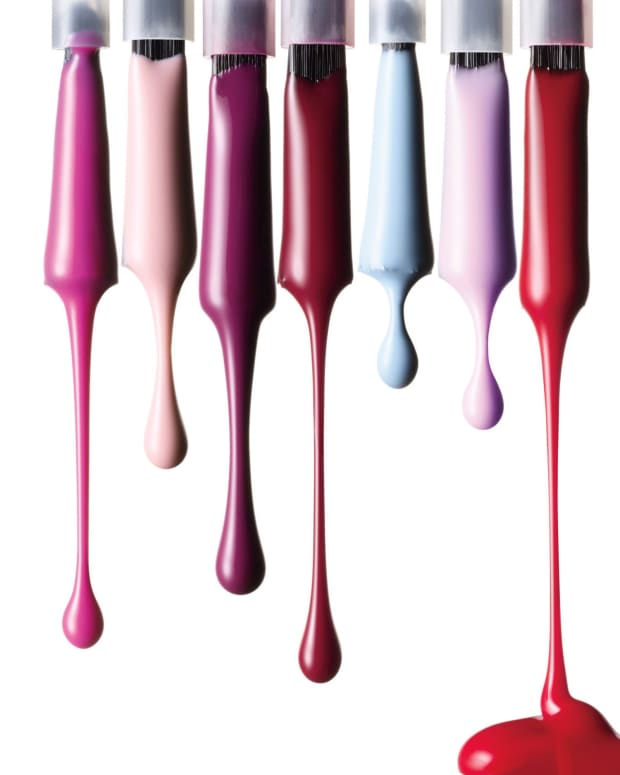
Nail polish, base coat and top coat.
How to Apply Nail Polish
- Use a base coat to create a barrier between the nail and the polish. This prevents discoloration and fills in ridges to give an even nail surface. Brush on from the base of the nail to the tip and allow about ten minutes to dry.
- Paint a vertical line of nail polish at the center of the nail from base to tip, then fill out the sides with two more strokes. Dip the brush only once per nail.
- After the first coat has dried, apply a second coat of polish. If you get any on your skin, carefully wipe away with a Q-tip dipped in nail polish remover.
- Apply a clear top coat for a smooth, longer-lasting finish.
This content is accurate and true to the best of the author’s knowledge and is not meant to substitute for formal and individualized advice from a qualified professional.
© 2015 Jayne Lancer
Comments
Jayne Lancer (author) from West London, UK on June 11, 2015:
That's true, PeachPurple, although you don't have to spend a fortune on them.
peachy from Home Sweet Home on June 11, 2015:
.it sure sounds easy with all the supplies in hand