Get Great Nails at Home: 4 Ideas for Decorating Your Nails
I'm a mom, a wife, and an aspiring writer. I love nail art and sharing ideas for manicures.
Get some ideas for decorating your nails at home, from glitter to stripes.
Designs for Your Nails
Once you have the basic tools to make your own nail designs, the only thing left is actually creating them! I will admit that doing your own nails can seem scary at first, especially if you've never tried in the past. I still get nervous whenever I redo my nails for a new manicure. I am a perfectionist at heart, and it makes me uneasy to begin a design without knowing exactly how it will turn out. Will my right hand look as good as my left? (I am right-handed, so my right hand performs better at designing than my left.)
But it's fun and gives me some downtime for myself. I have gotten many compliments on my nails and designs even when I thought they were not my best. My partner enjoys taking pictures of them and takes pride in the fact that I did not have to spend money at a salon to get my trendy look. So I say, "Put all those fears and inhibitions to the side, and keep in mind there's nothing you can't fix. There's always nail polish remover." Onward!
4 Nail Designs to Try at Home
- Dotting and Rhinestones
- Glitter
- Fimo Canes
- Stripes
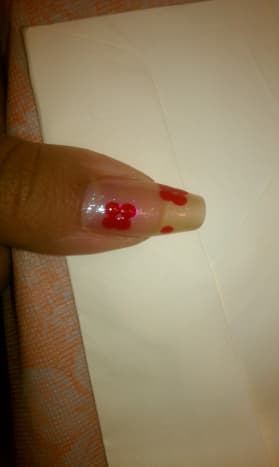


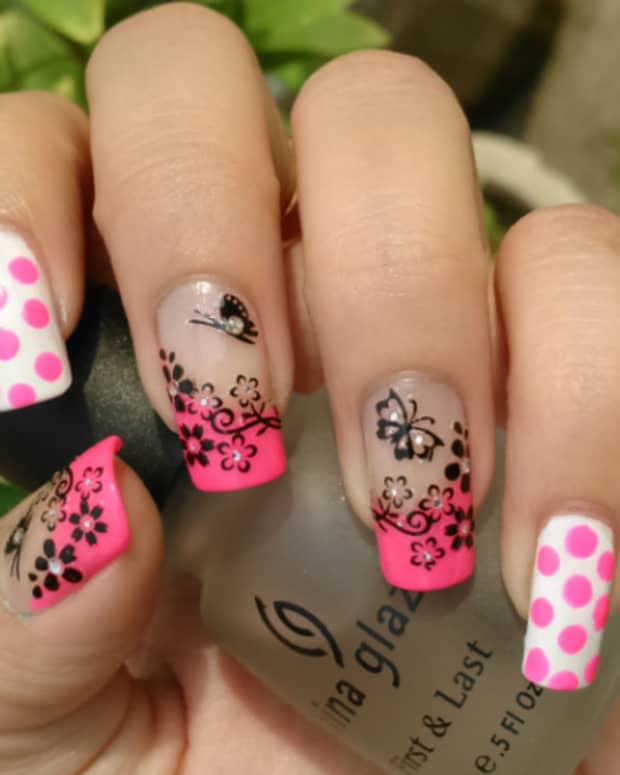
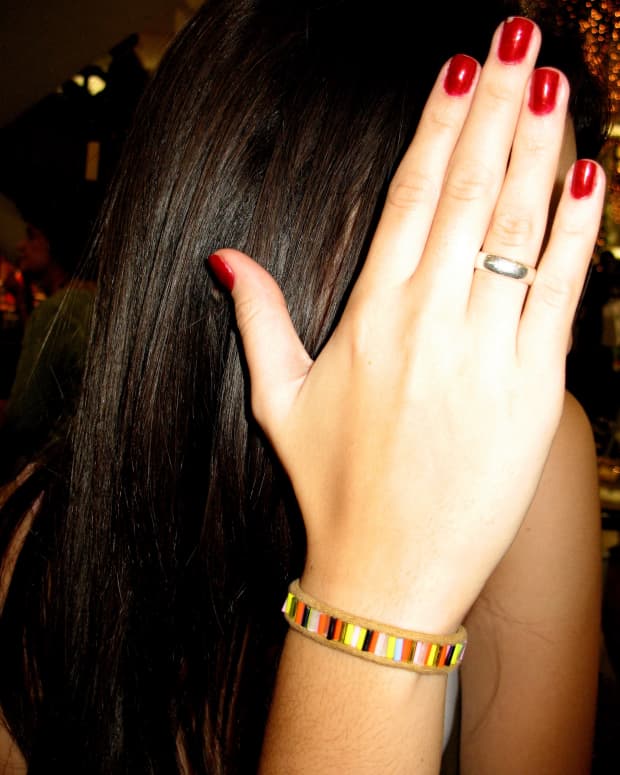
1. Dotting and Rhinestones
Nail art can be accomplished by using your nail art dotting tools. Not only can you use them to dot your nails, but you can also use them to make flowers. Flowers are simple and elegant. They don't have to be complicated to make—although, once you have the finished product, it looks like you took a lot of time and effort when designing them.
I've used this technique many (many!) times, and I never get tired of them. You can use this style for weddings, summer events, or during holidays. All you have to do is change up the color of the flowers, and they look new and exciting each time.
How to Get the Look
- First, I take the biggest size of my nail dotter (or one that you handmade at home), and then I choose a color to start the flowers. In the picture, I chose a bright red color.
- I dip the dotter in some polish (I pour some on a piece of paper so that I can dip easily) and then make a dot on my nail in the area I want the flower to be on.
- I repeat the process and place the next dot next to the first one. I form a diamond with the dots. In the picture shown above, I used 4 connecting dots to create the petals. You can see the beginnings of a flower.
- All that's left is to put a small rhinestone in the middle, and there you have it.
Variations
As you can see, I wanted two flowers on one nail, and you can do the same. You can make several flowers on your nail, depending on how much space you have to work with. You can also make a 5-petal flower instead of a 4-petal.
You can make one flower a different color than the other. This would be nice if you were attending a party/wedding that had a color theme, like blue and white flowers or blue and silver. You get the idea! The possibilities are endless once you have this technique down.
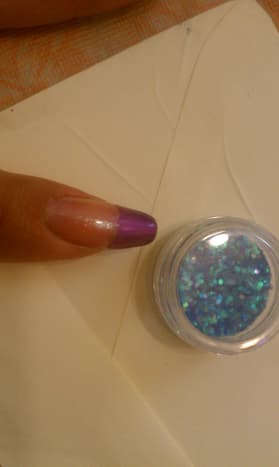


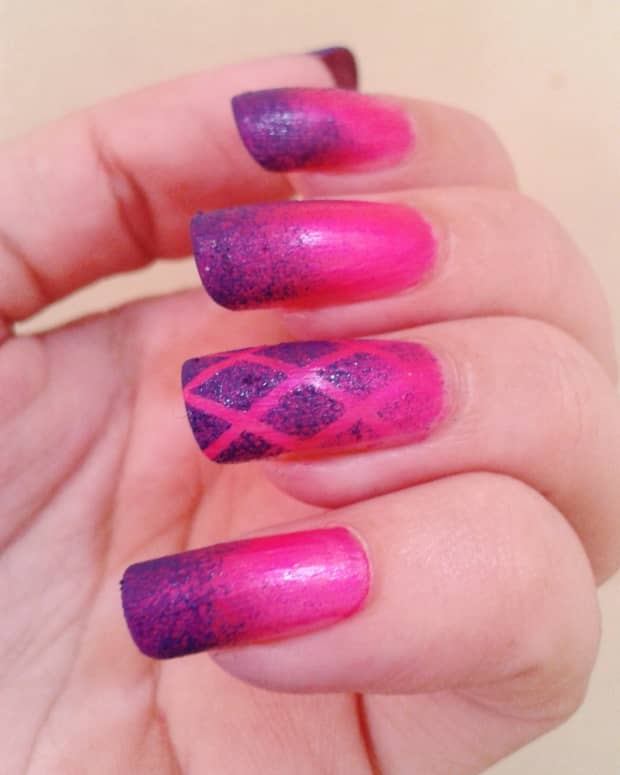
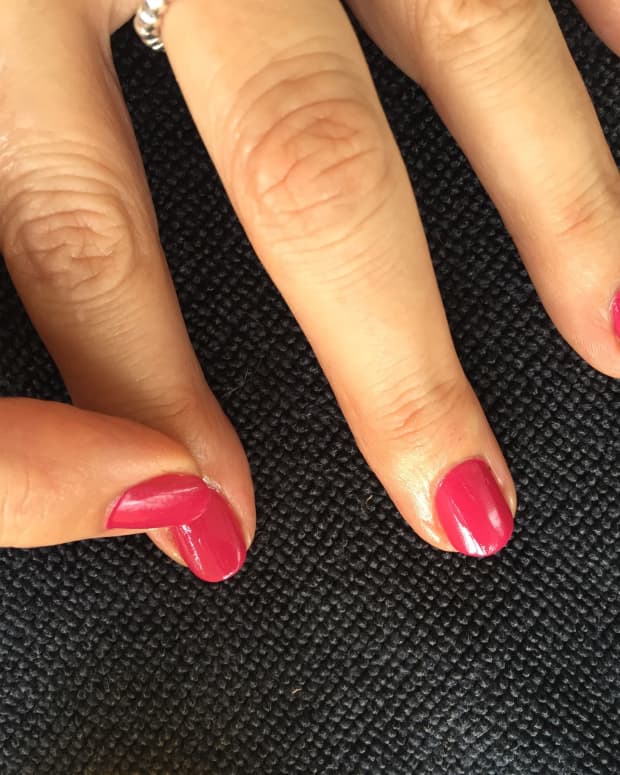
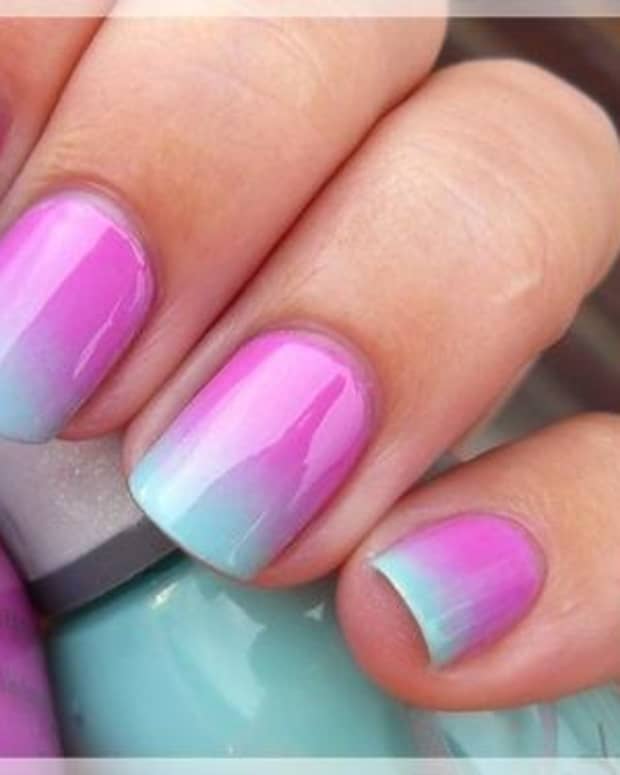
2. Glitter
One of my favorite designs and techniques I use involve my glitters. I can be a glitzy girl if I want to. I think every women should feel glitzy sometimes; it's one of the best benefits of being a woman. I've enjoyed French manicures ever since I started doing my own nails. I think they are sophisticated and clean. However, I did not like how the white would get stained sometimes after a few days of wear. Also, I found that white chips super quick for a reason I have yet to figure out.
So I started experimenting with other colors to achieve the look. I normally would apply a color across my nail and then line the bottom of the polish with a glitter or white using the striper polish. This is cute in itself. But then I wanted to do something a bit different.
How to Get the Look
- I chose a shiny purple to start this French replicating manicure. First, I swipe polish across, completely covering the white part of my nail.
- I wait until it dries and go over it again to make sure it's rich in color and also to give my nail some strength. The more layers you apply, the better protection your nail has to withstand unintentional impact.
- After the second coat dries, I use my glitters to line the bottom of the purple which is along the "smile" line of my nail. I love the brightness of the blue glitter, so I pour some out onto a paper I will be working with.
- Before I apply the glitter, I polish my nail with a top coat so that the glitter has something to adhere to.
- I use a nail dotting tool and first touch the dotter to my wet nail, then pick up a few glitters from the paper and attach them to my nail. The wetness from my nail will pick up the glitters from the dotter. I can then control the line I am creating under the purple.
The end product is beautiful and luscious.
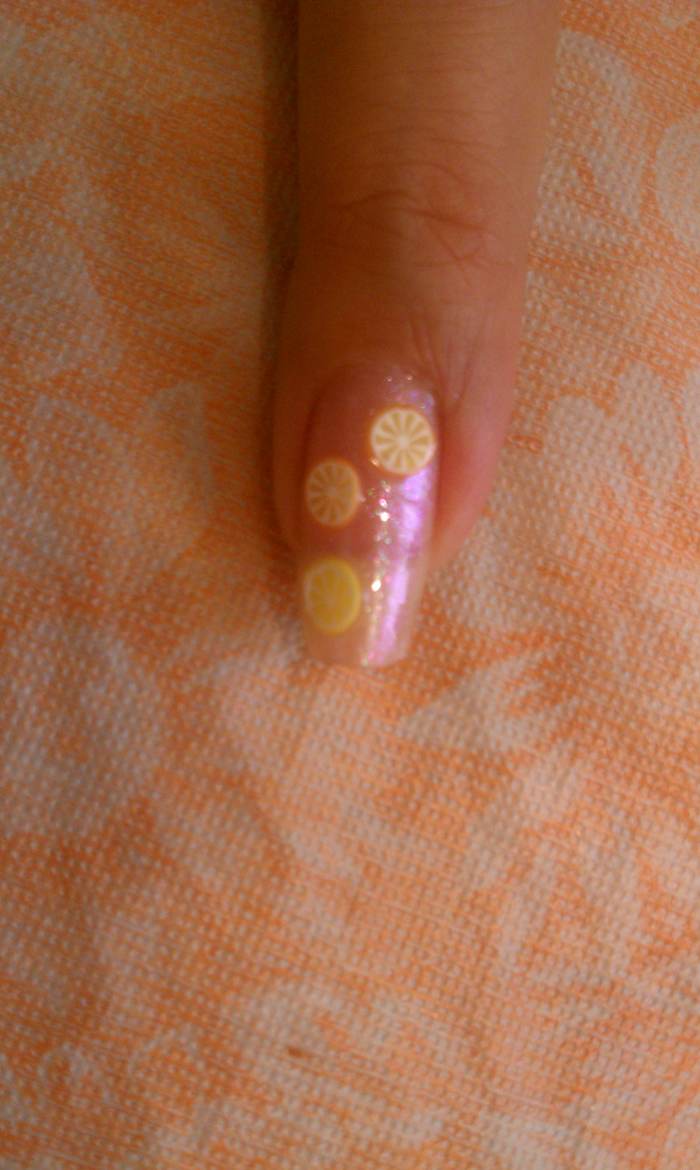
Grapefruit Fimos
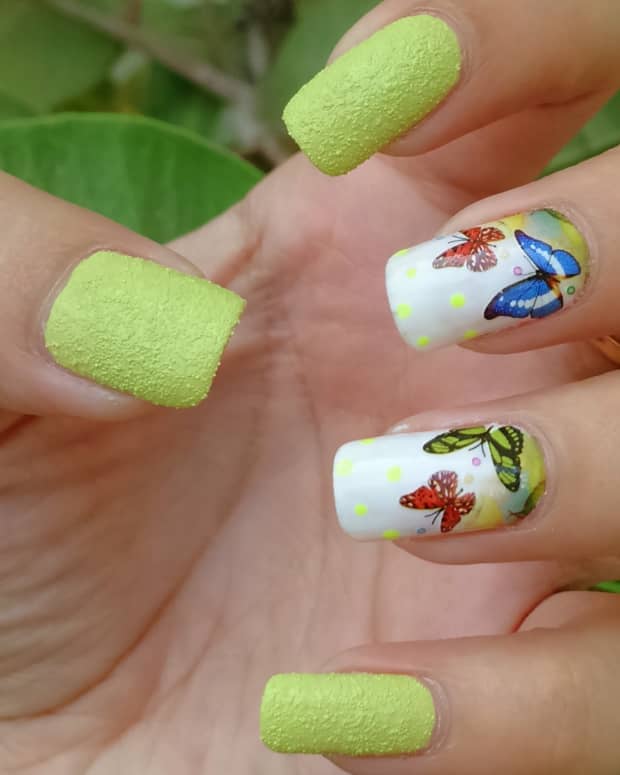
3. Fimo Canes
To get a funky and fun appearance on my nails, I use my fimo canes. These are made of polymer clays and can be cut easily into slices if you have them in cane form. I try to cut them very thin so they stick to my nail better. These can be a little time consuming because you have to wait until they dry and apply several top coats over so they don't fall off.
How to Get the Look
- I start by using a sheer sparkly polish because I will not be using any other color nail polish so I don't want it to be so plain.
- Then while it's still wet, I pick up the fimo slice with my dotting tool (first touching it on the wet nail) and stick it on my nail.
- After doing this, it's important to put on another top coat because then the fimo slice will start curling upward. Once the polish is on, use the nail dotter to gently press down on the slice so all edges are securely on the nail.
- Wait a few minutes until the nail starts drying and then press down again.
- Repeat this process one more time.
- Allow several minutes until the entire design is completely dry. Finalize with a strengthening top coat.
Variations
Many fimos can be used on one nail. You can make a mini design on just one finger. You can use apples, grapefruits and lemons to make a mini fruit salad on your nail. I use these a lot during the summer because of all the fun, bright colors. I paint all my nails yellow or orange and "fimo out" my two ring fingers with fruits. It's a great way to amp up your nails and add a 3D effect.
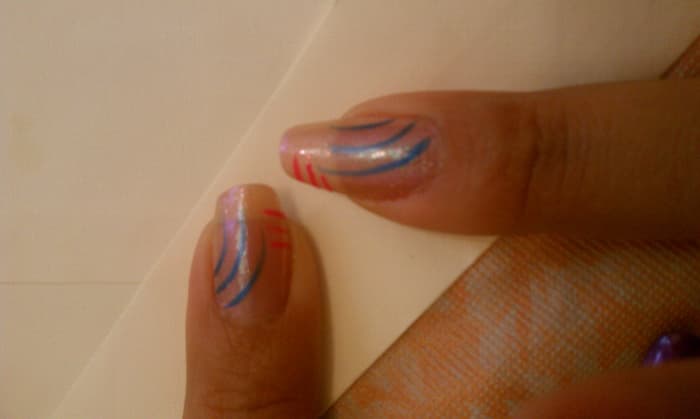


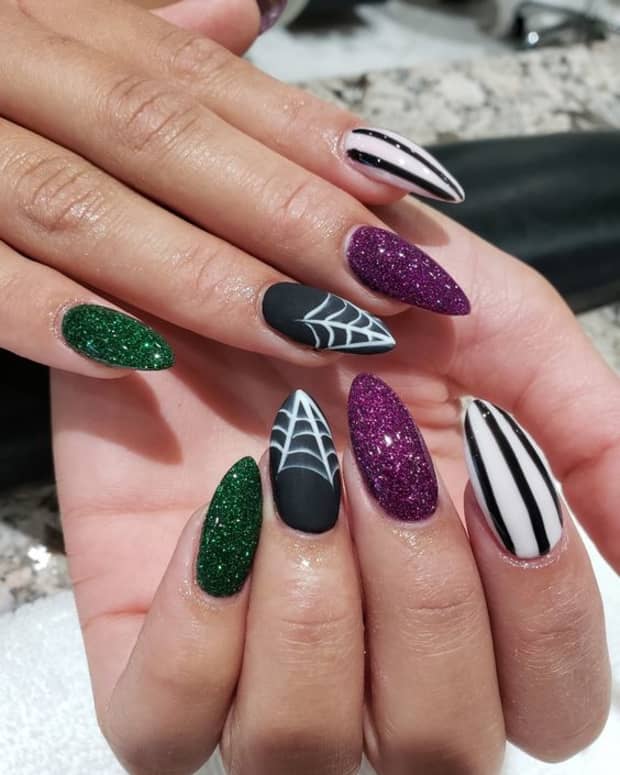
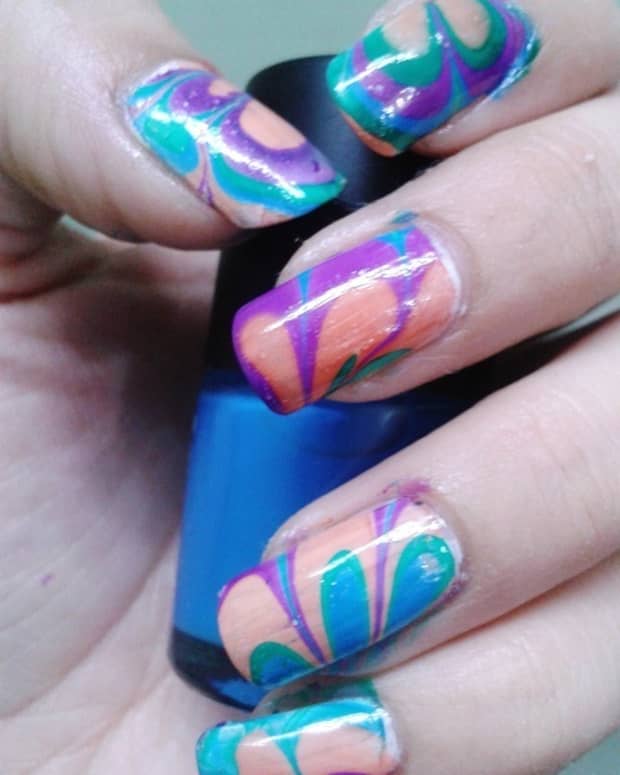
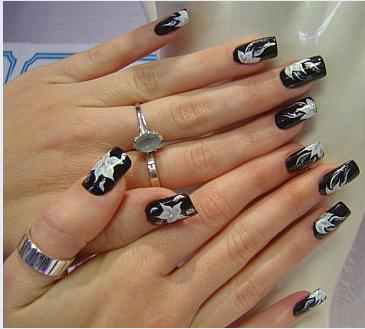
4. Stripes
Probably the most used techniques is striping. Stripe, stripe, stripe! I remember going to the nail salon (oh so long ago) and my nail technician having free reign to do whatever design she liked. One time, she did an abstract design on my nails that I loved. I thought she had a method behind her madness. As it turned out her method was madness. She'd picked 6 different colors that came in the striper polish and randomly used them on my nails, along with dots and glitter. The finished result was gorgeous. I decided to replicate and make my own master plan.
How to Get the Look
- I start out by choosing colors that I liked and would go good together.
- Then I make lines all over my nail, some in pattern and some not. Two lines here, three lines there.
- I then use my nail dotter to make dots in between parallel lines, with some forming a curve upward/downward.
- I use a glitter striper polish to highlight some areas.
Read More From Bellatory


It really is that simple. Creativity is your motivation, and it's okay if all your nails have a different pattern as long as you use the same colors for the purpose of flow. Whenever I am burnt out of nail designs, I go to this true and tried method because you can never mess up.
Variations
Another stripe design is one that is as simple as the first:
- Pick two colors of your choice and make horizontal lines down each side of your nail leaving space between each stripe.
- Then go in with a different pigment in between the spaced out lines.
This is a striped tiger effect that can be done in just a few minutes.
Look for Inspiration
Getting ideas for your nail art are ways that can differentiate you from the crowd. Inspiration can come from anywhere. Sometimes I read through magazines and books and happen to come across colors that I would not have thought to use together. Themes and patterns are dripping from magazines and a lot of my designs come from them.
I also decorate my nails in accordance to a particular holiday or event. After Thanksgiving, I used hues in oranges, browns and red to help create a nail design. (The video below is an example of how to use a holiday to help you plan out a particular nail art.) When I went to the Breaking Dawn showing, I used black, red and white to show my support of the Twilight series.
DIY nail art is entertaining and unique. Try your hand at nail art and discover the nail tech within you!
This content is accurate and true to the best of the author’s knowledge and is not meant to substitute for formal and individualized advice from a qualified professional.
Comments
Jasmeet Kaur from India on March 09, 2015:
Great ideas... Thanks for sharing... looking for some more new ideas!!!
Stephanie (author) from New York on December 07, 2011:
Thanks Libra Rajani and prasetio30! I appreciate the positive feedback.
prasetio30 from malang-indonesia on December 06, 2011:
This was so informative hub. It's like an art. I love how the nails look cute by decorated by beautiful pictures. Thanks for writing and share with us. Rated up!
Prasetio
Libra from USA on December 06, 2011:
Great informative hub!
Stephanie (author) from New York on November 26, 2011:
dinkan53, thanks so much for the comment. I enjoy painting my nails and doing designs on them and I never noticed how much money I was paying to get them done. Nail art is vastly growing, you are right! Another way for us women to glamorize!
dinkan53 from India on November 26, 2011:
women are known to follow the latest fashion crazes, running with the emerging fashion trends of today. nail art is an ever-expanding line of art and this hub is perfect with beautiful pictures and explanations. The video is also good. Vote up and awesome!