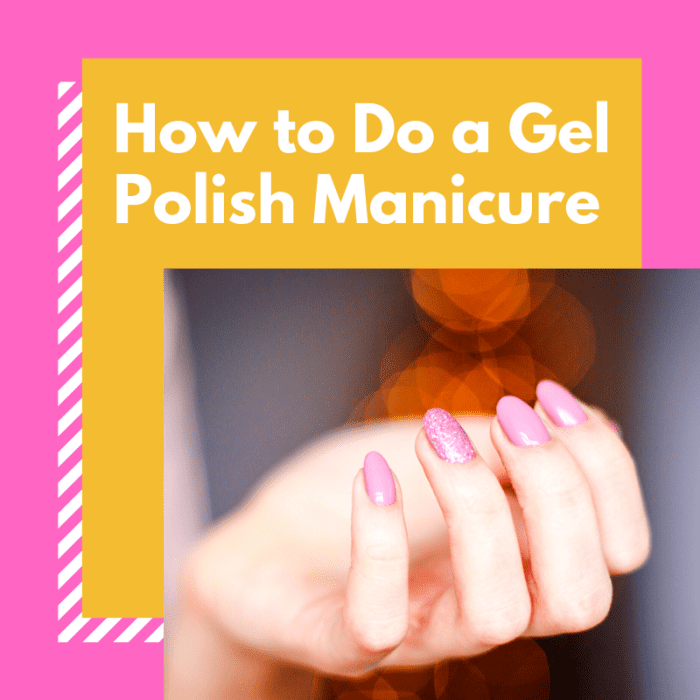
How to Do a Gel Polish Manicure at Home
John has been an online writer for two years. His articles often focus on fashion and DIY beauty.
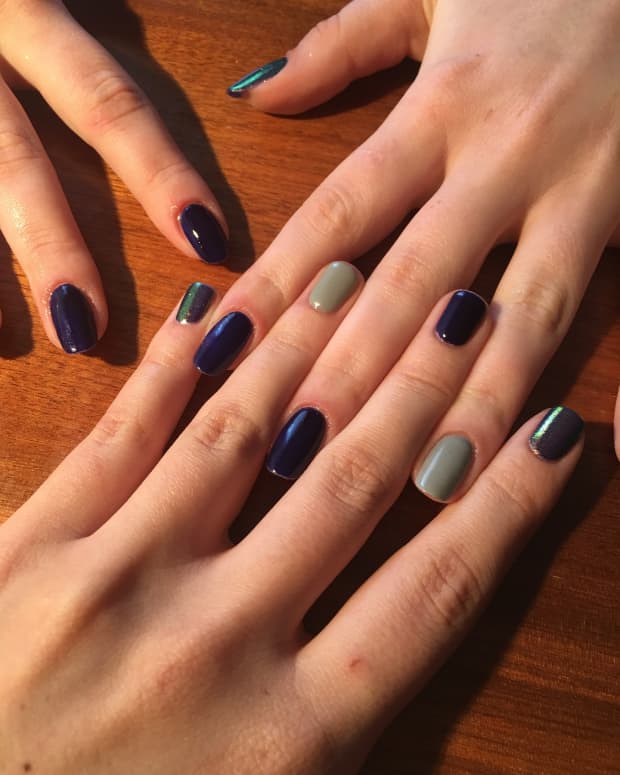
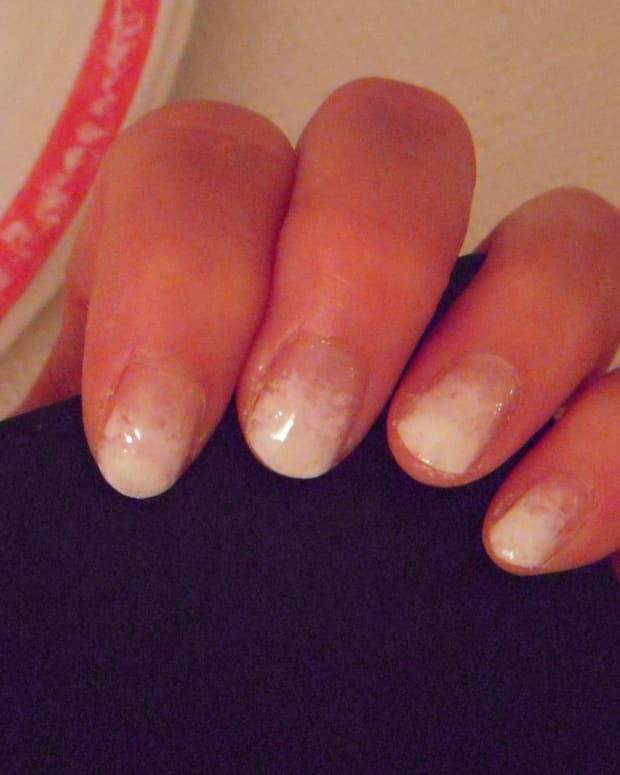
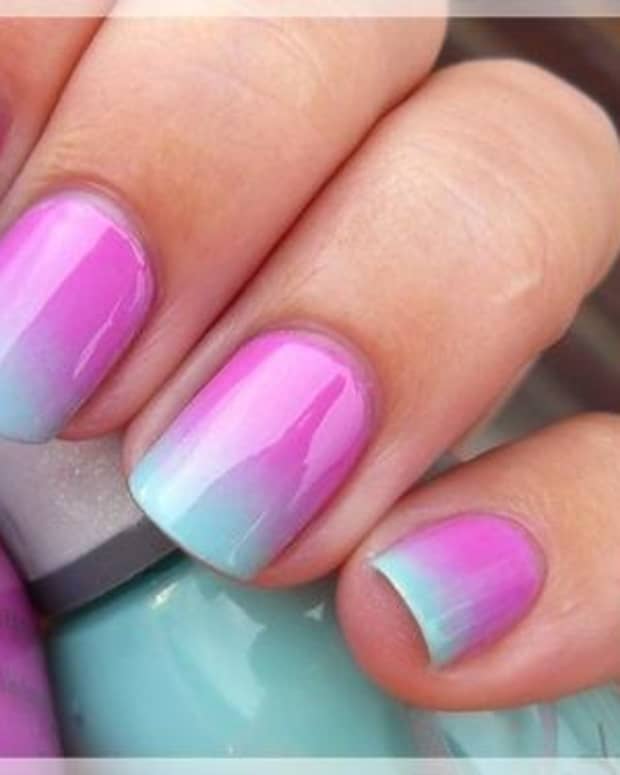
Learn the best tips to save money and give yourself a great manicure.
In this article, I go in depth on how to complete a gel polish manicure in the comfort of your own home. Here are the main steps (with further explanation of each down below).
How to Do a Gel Polish Manicure at Home
- Step 1: Sanitise & prep!
- Step 2: Shape, shape, shape!
- Step 3: All about that base!
- Step 4: What's your colour?
- Step 5: Top it off!
- Step 6: Hydrate those nails!
Step 1: Sanitise & Prep!
Firstly, always wash your hands. Then, pour some acetone or nail polish remover onto a cotton pad and wipe over your nails. This helps to remove any oils on your nails that will prevent the gel from adhering, and it will prevent the gel from peeling away!

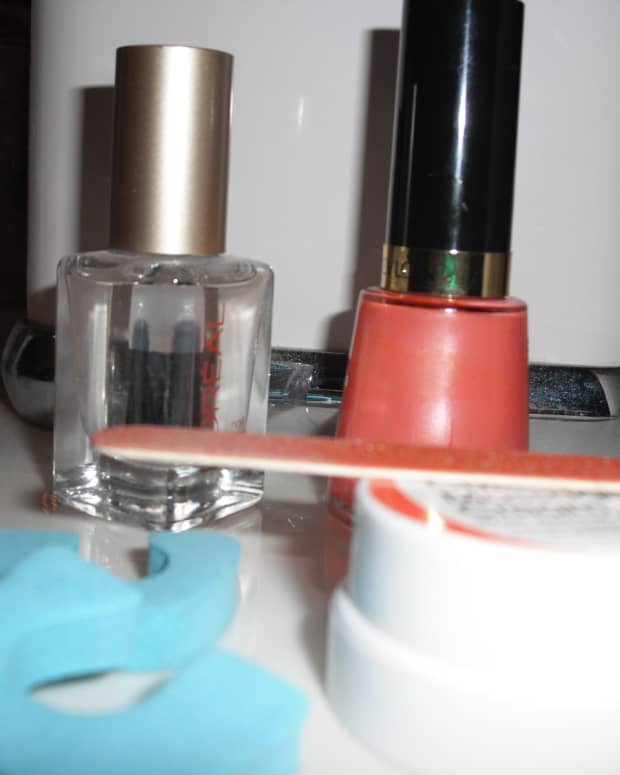
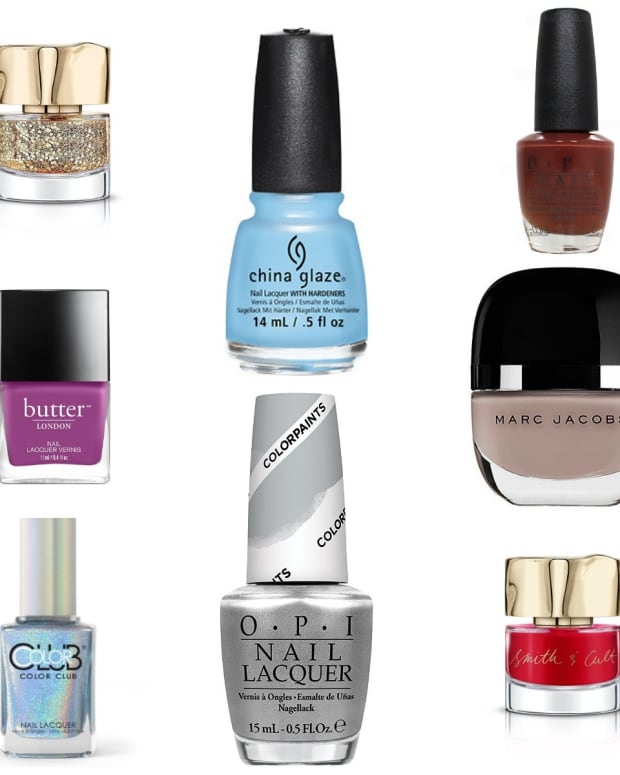
What you will need to complete a gel manicure at home.
Step 2: Shape, Shape, Shape!
File your nails so they're all the same shape & length. Lightly buff over your nail & brush away the dust. Note: Be very careful when filing over your nail as over filing can cause pain!!
Just for good measure wipe again with acetone or nail polish remover on a cotton pad.
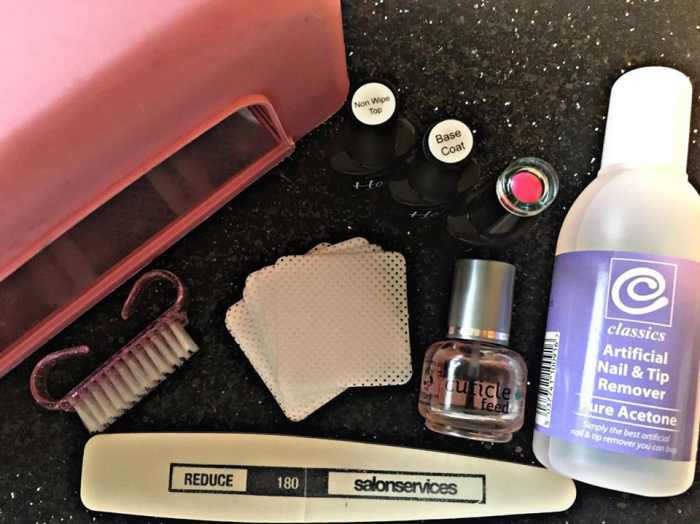
What you will need to complete a gel manicure at home
Step 3: All about that Base!
Make sure you have NO dust on your nails before you apply the base coat as any dust will show up as lumps in your gel polish manicure!
Place your brush in the middle of your nail, then with your brush push up towards the cuticle and drag back down towards the tip. Then do each side in the same way, then brush along the tip of your nail to 'cap' it.
TIP: Aim for 3 strokes to cover the nail this will give the best even coverage over the nail.
Place into your lamp to cure TIP: Be careful not to hit your nails on the back of your lamp and ensure your thumbs are facing upwards (you could always do your thumbs separate if they don't fit in) *check your brand for curing times but most are:
UV Gel Polish: 2 mins
LED Gel Polish: Base 30sec, Top & Colour 1 min
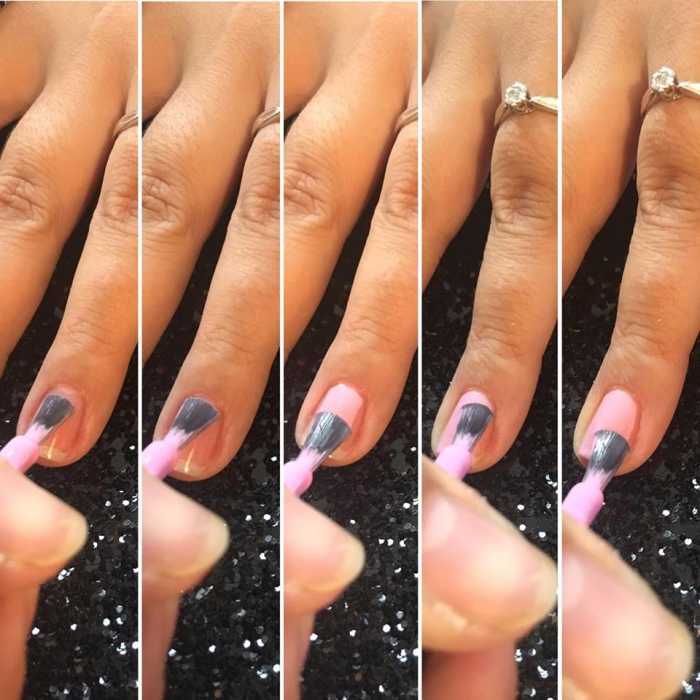
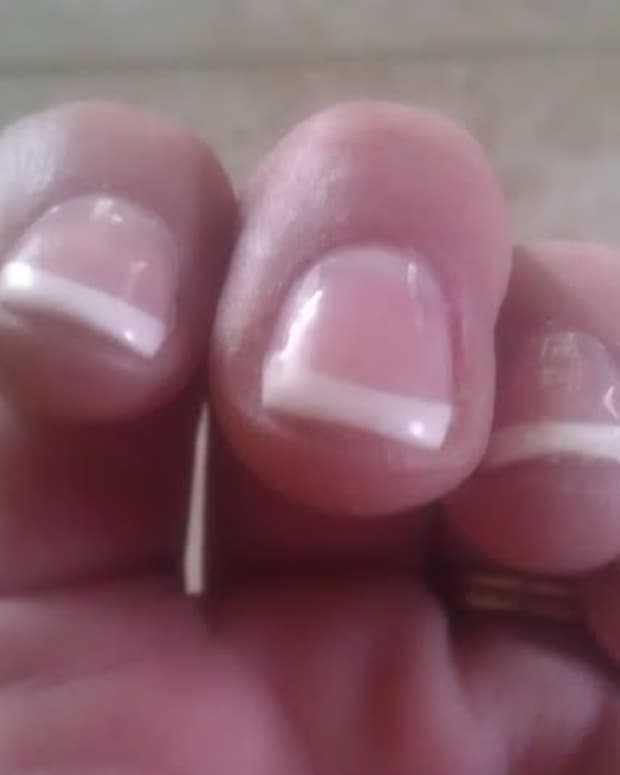
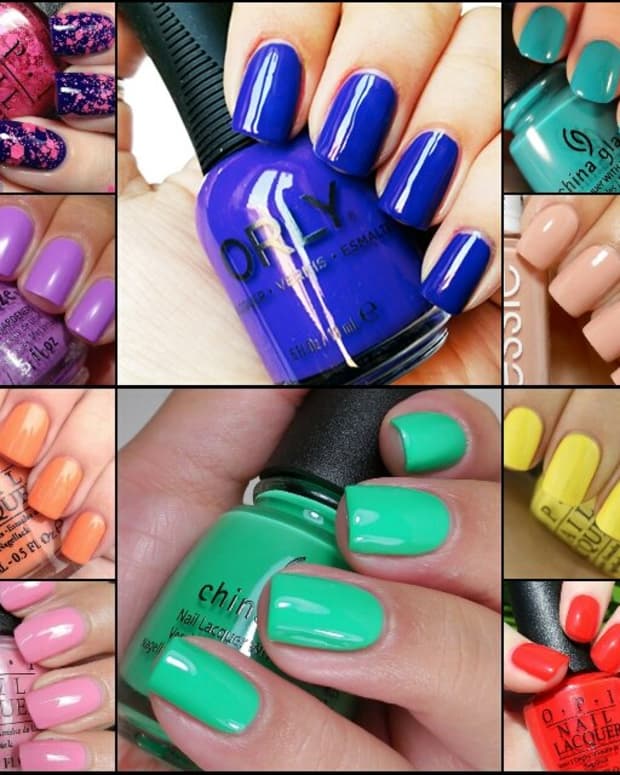
Gel polish application
Step 4: What's your colour?
Your base coat will be tacky this is to help the colour coat stick together so be careful not to touch your nails!
Repeats the same steps as with your base coat: Place your brush in the middle of your nail push up towards the cuticle and drag down to the tip, and the same with each side then cover the tip. Remember, Aim for 3 strokes per nail!
Place in your lamp to cure - When you remove from the lamp once cured, if you think another coat is needed go ahead and repeat!
Step 5: Top it off!
Remember your colour will still be tacky, be careful not to touch your nails!
Read More From Bellatory


Repeat the same steps as with your base & colour coats: Place your brush in the middle of your nail push up towards the cuticle and drag down to the tip, the on to the sides. Ending with one last caping of the tip. Again, Aim for 3 strokes per nail!
Place in your lamp to cure
Now, depending on your top coat you may have a tacky layer, personally I think Non-Wipe top coats are the best because soon as you come out the lamp your ready to go! However, if your top coat isn't a non wipe you will need to wipe over the tacky layer with a gel residue remover or if your stuck you can use acetone but very light & quick don't leave it on for long otherwise it will start to remove all you hard work!
Step 6: Hydrate those nails!
After using acetone on your nails it will have dehydrated your nails and removed all the oils - including the good ones, so we need to replace them.
You can use any cuticle oil or creams you have, if you don't have any your can use these oils that you may already have lying around your house!
- Olive Oil
- Coconut Oil
- Argon Oil
- Vitamin E Oil
Now that's the 6 easy steps to your perfect Gel Polish Manicure at home!
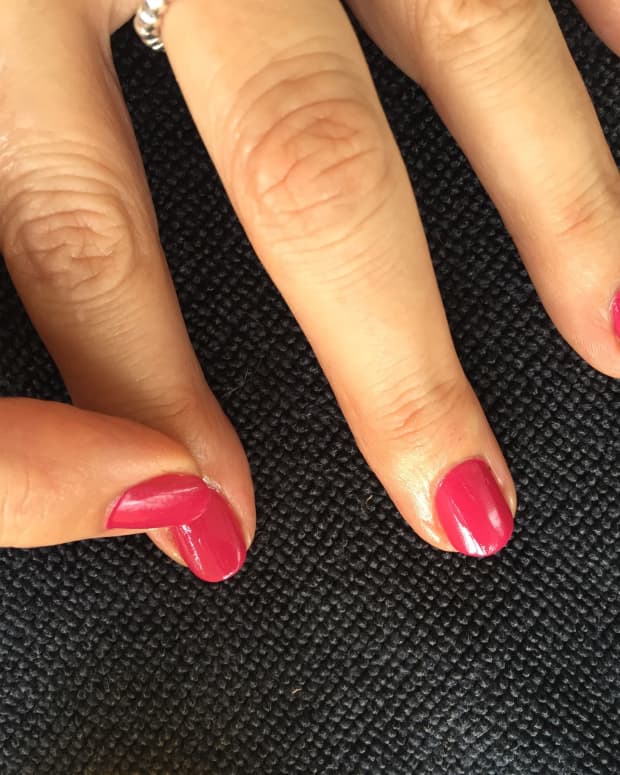
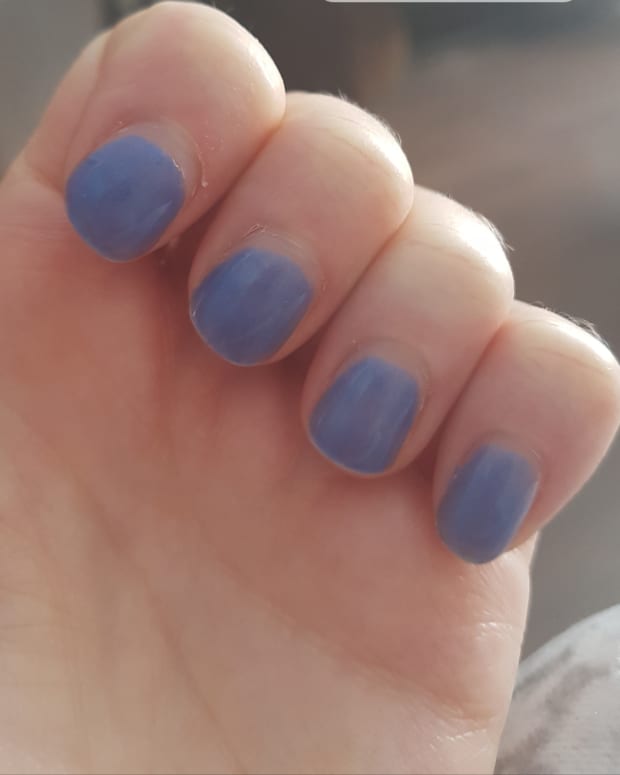
Use your cuticle oil daily for healthy nails, after your gel manicure at home.
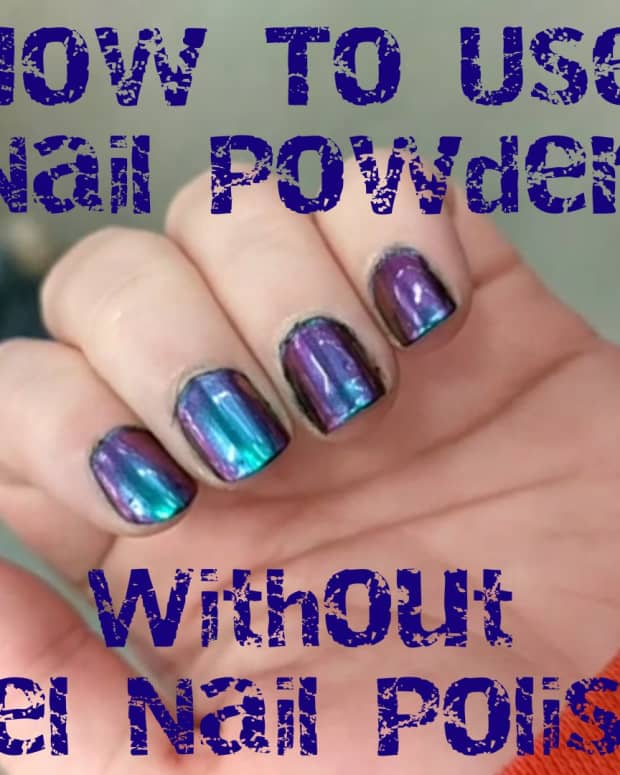
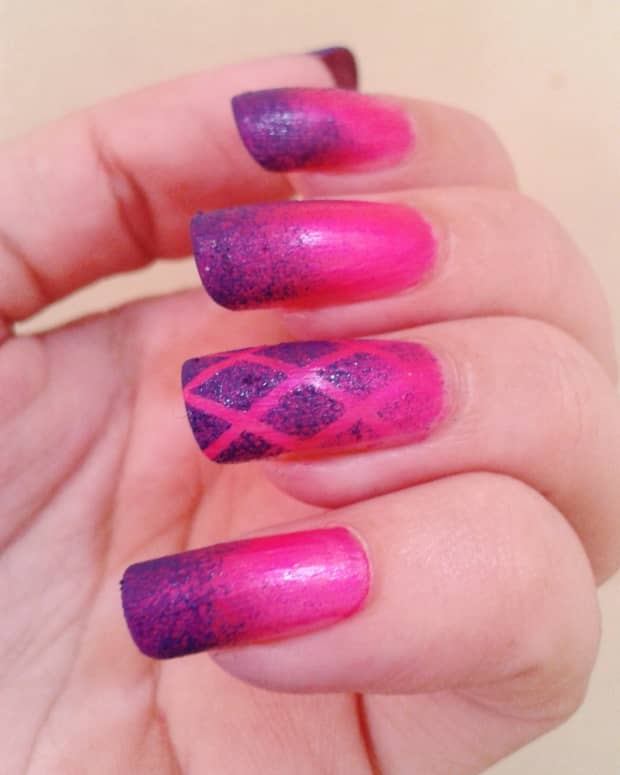
*Bonus* Step 7! - How about adding some glitter to your Gel Polish Manicure?!
If you're going to add glitter to your gel polish I find this the easiest and most sparkly way to do it!
You will need a small brush, the one i use is like a concealer brush or tiny foundation brush. Your glitter of choice and i use a small tray to catch excess glitter.
Firstly, choose your glitter!! - Whether it is in a bag (like mine) or in a pot this technique for the application of glitter on top of your gel polish will still work.
The best time to apply your glitter is when you have applied your second colour coat as your gel polish will still be tacky giving the glitter something to stick to. If you have already applied your topcoat, as long as it has a tacky layer then you can apply glitter on top of that. It wouldn't work for a non-wipe top coat as they don't have the tacky layer.
So, place your finger over your dish (if your wanting to catch the excess glitter!). Dip your brush into the glitter and pat onto your nail, keep dipping and patting until your nail is covered. Make sure you are only patting it on at this stage. Once your whole nail is covered keep patting with your brush to pack the glitter in as much as you can so you don't have any (or very little) loose glitter. Then very gently brush over the top to remove any loose glitter that hasn't stuck to your gel polish.
Put in the lamp to cure, 30 sec in any lamp will be okay for this stage.
Top coat & cure (60 sec LED, 2 mins UV)
Then simply adore your gorgeous Glitter Gel Polish Manicure!!
Let me know how you do in the comments & post some photos so I can see all your lovely Gel Polish Manicures!

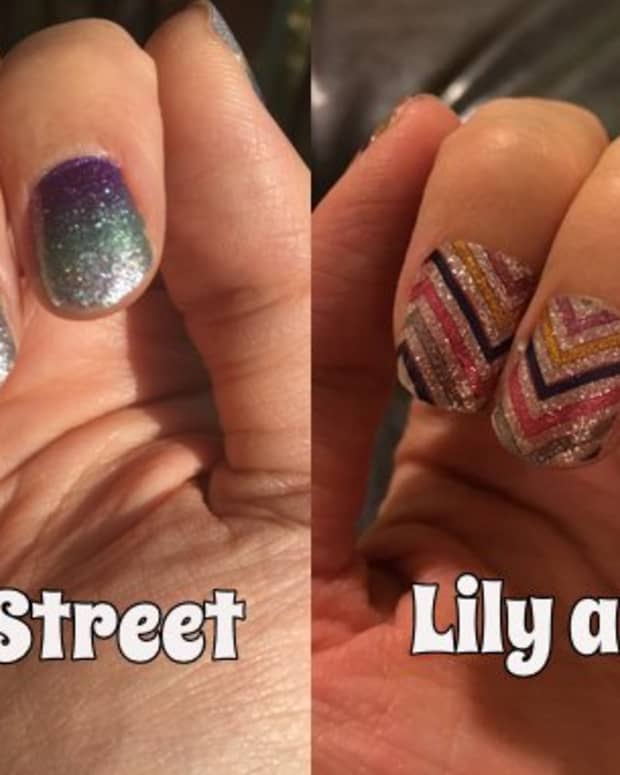
Applying glitter to a gel polish manicure.
This content is accurate and true to the best of the author’s knowledge and is not meant to substitute for formal and individualized advice from a qualified professional.
Comments
Brenda on August 24, 2017:
Great