How to Fix Clip-in Hair Extensions: A Step-by-Step Guide
I believe a woman must ensure her hair looks good at all times and that the state of your hair speaks volumes about you.
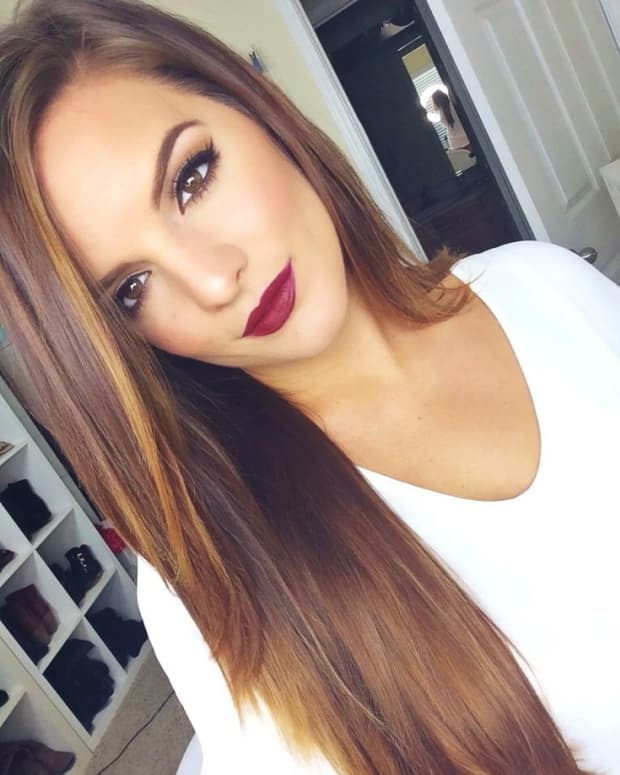
Clip-in hair extensions are for women who need to quickly add streaks of colour, highlights, and volume to their natural hair without spending more than 15 minutes. For women on the move who have thinning hair, don’t have the time to go to a hairdressing salon, hate sitting under a dryer, or simply need to perk up their dull lack-luster hair, these extensions are a quick-fix hairstyle that ends up looking fabulous.
Clip-in or clip-on hair extensions are also for women who don’t particularly care for a long-term weave that involves sewing and gluing or those who wish to have a different hairstyle every week.
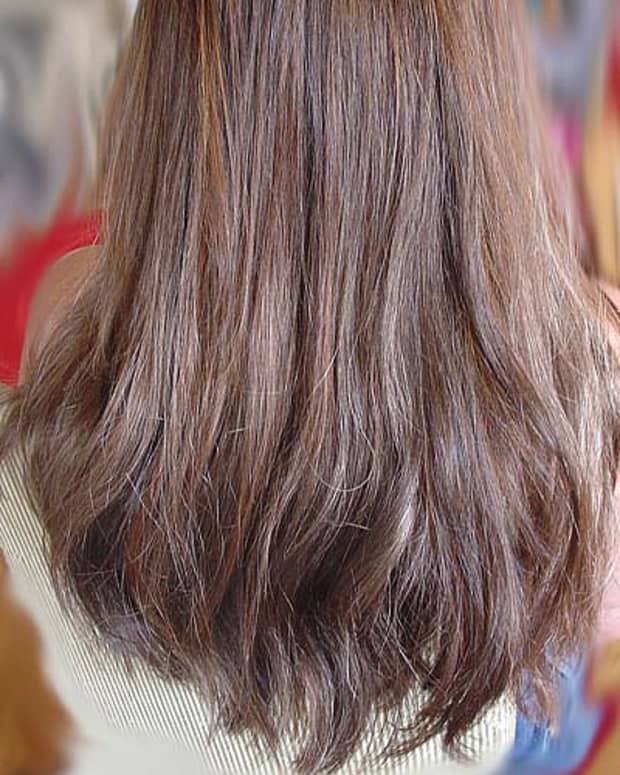
They are quick and easy to attach and can be perfectly matched with your own hair if what you need is volume or length. Clip-in hair extensions come in varying widths of one or multiple wefts that can be attached or detached within minutes and when fixed are practically unnoticeable.
The narrower weft strips can be applied individually, while the wider ones of up to 6” width can be fixed in a row as one piece, from one side of the head to the other.
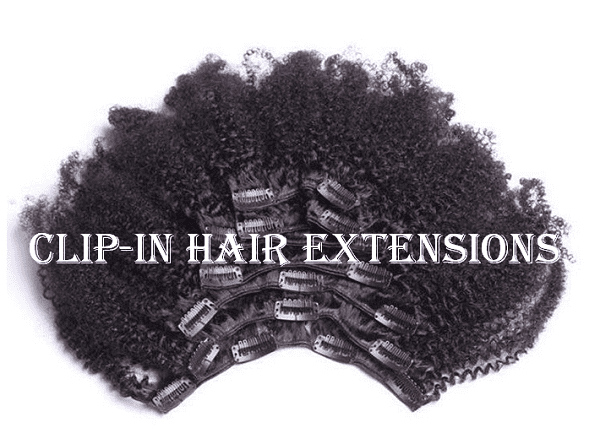
They are made with small snap-on clips with silicone inserts that fix on to your parted hair when applied. The silicone inserts ensure that the extensions don’t slip off and if snapped close properly, they become extremely secure and once they are clipped in, you will not be able to see the clips.
Before You Start
Before you start fixing your hair extensions, you need to get the following:
- Clip-in hair extensions
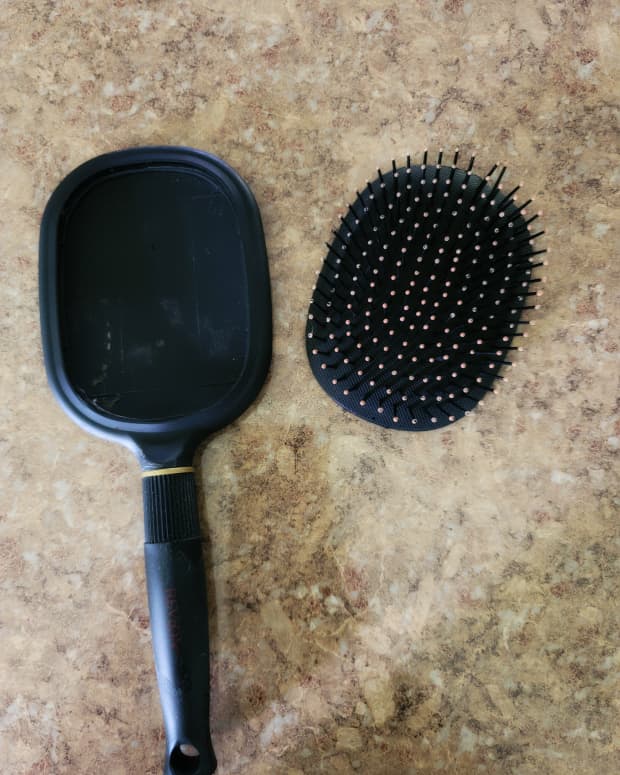
- Brush
- Holding hairspray
- Fine-toothed comb
- Hair clips
Preparation
You will first need to determine the areas where you require hair extensions. This can either be where you thin and damaged hair, or where you wish to add volume. It will also depend on the hairstyle you plan to wear. For areas close to your face, you can use the 1" clip-in extensions, while you can use the wider wefts of hair at the back, like halfway up the head.
How to Apply Clip-In Hair Attachments
Step 1: Split your hair into 2 sections
To split your natural hair into two sections, use a rat-tail comb to draw a straight parting line starting halfway up your head from one ear to the other. The line must be the same width as the extension strip you intend to fix.
Step 2
Pack and pin the top half-section with a hair clip so it's out of the way when you begin to fix the clip-in hair extension at the back section. Part out a thin strip of hair parallel to the straight line and tease (backcomb) this at the roots with a fine-toothed comb. This line of hair will form a strong anchor for the wide clip-ins.
Step 3: Create a firm anchor
Back-comb the line of hair about 1inch from the roots on both sides and at the exact position where you’ll fix the wefts of the clip-ins. Use the fine-toothed comb for this process. Teasing this area by back-combing will give the extension clips something firm to anchor to.
Step 4: Use a holding spray
Spray the back-combed portions lightly with holding hairspray to slightly stiffen the line section.
Step 5: Fixing
Open up the clips on the hair weft by firmly pressing the centre of the hair clip. Notice some fine teeth which you will fix into the back-combed area of your natural hair. Set the teeth against your scalp at the root of the back-combed areas and then dig in the clip's teeth firmly until you feel that it's securely attached then click back the extension clip into place by pressing down (use both thumbs) on either end.
Continue to cover the area of your hair where you want to fill-in hair extensions until you get the desired results. If you do this step carefully without rushing through it, your hairstyle will securely remain in place for the entire day and evening.
Read More From Bellatory


Tips:
- Try not to over-backcomb the line of hair you intend to fix the clip-ins on. Too much backcombing hair will make the hair extensions fall out.
- Remember to hold up sections of your hair that may get in the way of fixing, with a hair clip.
- After fixing your extensions, loosen the rest of your hair from its clipped-up position and let it fall and flow over the clipped-in areas.
- Comb or brush your hair gently to hide the hair extension clips.
Frequently Asked Questions About Clip-On Hair Extensions
1. How long does it take to fix clip-in extensions?
With practice, fixing shouldn’t take more than 5 minutes.
2. How long does it take to remove clip-ins?
It takes about 1 minute to unclip them.
3. Are there instructions in the pack to show how to attach them on?
Yes. There are detailed instructions about how to fix the extensions.
4. How long does my natural hair have to be to use clip-in hair extensions?
As a general rule, its best your hair is not longer than shoulder length, however, lightly shorter hair is best.
5. How long do clip-ins last?
With proper care and maintenance, they can last up to 12 months but if not, you may need to replace them every 3 to 6 months.
6. Can clip-in extensions be tongued, crimped, straightened, or curled?
With the human hair types, you can but with the synthetic extensions, you cannot.
7. Can I shampoo and dry with a hairdryer?
Yes, you can use a hairdryer when extensions are fitted as long as it is not too hot. Avoid setting your dryer too hot or it will dry the hair extensions and even your natural hair.
Further Readings
How to Fix Micro-Ring Hair Extensions - A Step-By-Step Guide
How to Fix Pre-Taped Hair Extensions
© 2013 viryabo