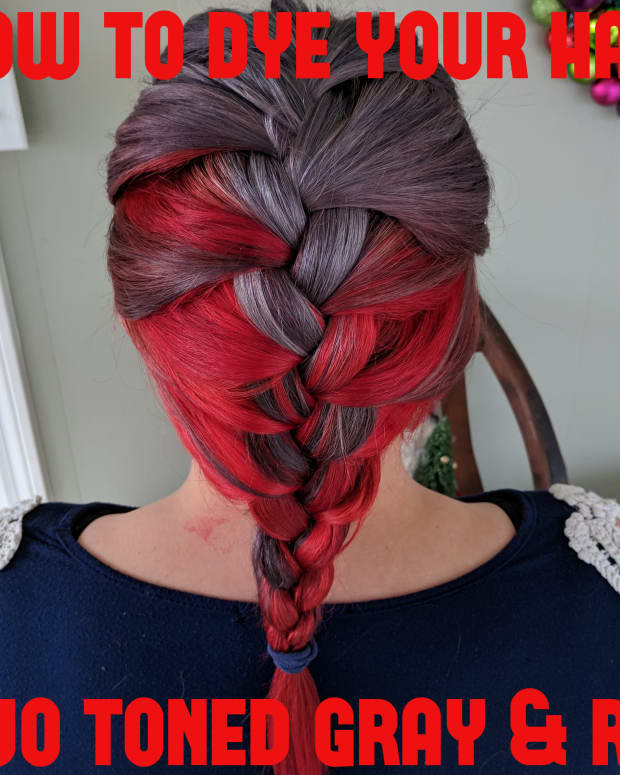
How to Dye Your Hair Two-Toned Blue: A Review of Arctic Fox Poseidon & Aquamarine
Tori is a 28-year-old, three-time animal mom and DIYer living in Northern Atlanta with her boyfriend.

hellovictoria
How I Got Started
I'd been wanting to go back to blue for a while, but I wanted to try a new product. I'd never done split-tone hair, and I'd never used Arctic Fox before. My sister, who dyes her hair as frequently as I do, pretty much exclusively uses Arctic Fox nowadays, so I trusted it would be a good brand. I chose to use Aquamarine (Teal), Poseidon (Cobalt Blue), and Transylvania (Black) as the colors this time.
I got all my supplies from Sally Beauty, but Arctic Fox can be found online and at other retailers. I'll be sharing my opinions on the product as well as a tutorial for how I dyed my hair diagonally split toned in two colors.
I am not a licensed professional! Just an at-home hair dye DIYer. I love dying my own hair and think it's fun, and I've been doing it for years. Different methods work for different people with different hair types and colors, so make sure you are checking two to three reviews to ensure you are getting uniform information before lightening or dying your hair.
Supplies I Used
| Product | Cost |
|---|---|
Ion Color Brilliance Bright White Creme Lightener | $11.79 |
Ion Color Brilliance Sensitive Scalp 20-volume lightener | $3.69 |
Arctic Fox 8 oz Semi Permanent in Poseidon | $16.99 |
Arctic Fox 8 oz Semi Permanent Hair Dye in Aquamarine | $16.99 |
Arctic Fox 4 oz Semi Permanent Hair Dye in Transylvania | $10.99 |
It's a 10 Miracle Leave In Conditioner (from Ulta) | $16.10 |
Ion Color Defense Purple Shampoo | $7.59 |
Tint Brush | $1.69 |
2 Tint Bowls | $5.00 |
Nitrile Gloves | $2.39 |
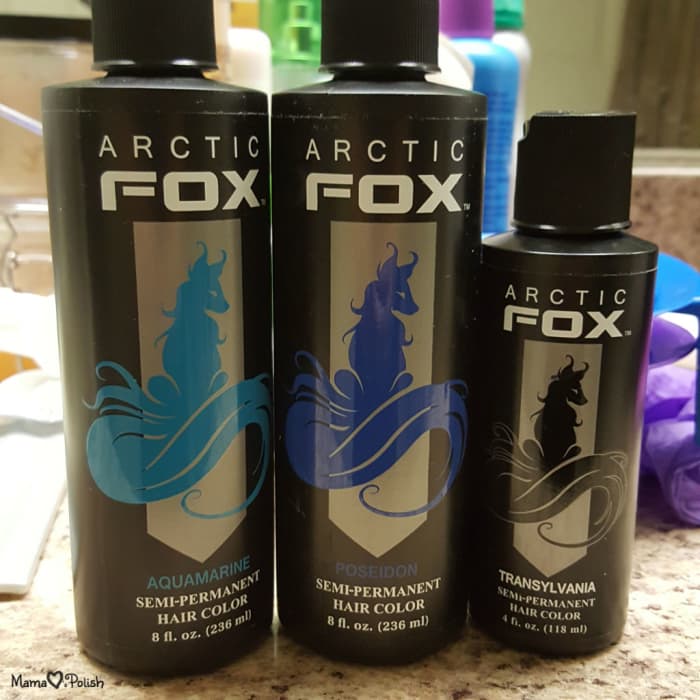
These are the three colors and sizes that I used. I forgot to take a picture, so thanks to mamaheartsnailpolish for this one.
The Packaging
While I have found that I love Arctic Fox's hair dye itself, I have to say I dislike the packaging. Due to the hard plastic bottle, it doesn't squeeze out very easily. While I got most of the product out, there was probably still an ounce of product left in the bottle. I tried scraping the sides down with the end of my tint brush, but ultimately there was still at least a half an ounce of dye that I wasn't going to be able to get my hands on.
There is better packaging out there. Personally, I love Manic Panic's jar-style or Ion Color Brilliance's aluminum squeeze tubes, both of which allow you to get out all of the product that you bought with out a bunch of extra effort.
Step 1: Prep Hair for Color
The first step to putting bright colors into your hair is to lighten it.
When I lighten my hair I pretty much exclusively use Ion Color Brilliance Bright White Creme Lightener mixed with Ion Color Brilliance Sensitive Scalp Volume 20 Developer at a 1:1 ratio. These two products are hands down my favorite lightening products I've ever used, and I've tried several. They are so gentle on my hair while lightening it quickly, and the lightener doesn't dry out while it's on my hair which makes rinsing out a breeze. It also lightens incredibly quickly. For more detailed instructions on lightening your hair with these products, check out this tutorial on using them.
Since I've been lightening and dying my hair for a while, I never lighten my entire head anymore. I only do my roots. To begin the process, I used clarifying shampoo to remove as much of my old color (gray and red) as I could. I also work at a pool, so the chlorine helped remove a lot of the color as well.
When the old color in my hair had faded to my liking, I began the process of lightening my roots. In general, you will need to follow the below steps if you are doing only your roots.
Root Lightening Directions
- Mix lightener and developer at 1:1 ratio in a tint bowl. Wear gloves while applying.
- Section hair out into sections about 2x2 inch squares.
- Starting on one side of the square, apply lightener with a tint brush. Be careful not to overlap the new lightener with any previously lightened hair by no more than a quarter inch to prevent breakage.
- Using the pointy end of the tint brush, thinly part & flip the sectioned hair that you just painted to one side. Apply to the other side of the hair.
- Repeat steps 3 and 4 moving your way through the square as quickly as possible until the whole square has been saturated with lightener.
- Repeat steps 3-5 until all sectioned squares are saturated.
- Let sit until your hair has lightened the desired amount, or no more than 20 minutes - whichever comes first.
- Rinse lightener out in the shower and apply conditioner.
- If the hair is not the desired lightness, wait a day or two to give your hair time to rest and repeat the process.
Read More From Bellatory


Step 2: Apply Hair Color
So when I first did this, I used the colors as they come in the bottle on my hair. I thought the Aquamarine turned out gorgeous, but the Poseidon turned out very bright cobalt blue. It was pretty, but it didn't go as well with the Aquamarine as I had hoped. Both colors looked great individually, just not together (to me). When you are taking a look through the tutorial and its photos, keep in mind that the photos of how I sectioned my hair are on the second try, where I mixed Transylvania (black) in with Poseidon to make it a little darker. By itself, Poseidon goes on very bright. Here are the steps I followed to dye my hair after it was lightened.
Color Application Instructions
- Brush out hair. Using a skinny comb or the skinny end of the tint brush, draw a diagonal part that starts just above your eyebrow, goes behind your head, and ends just behind the ear opposite of the eyebrow you chose. I did from my right eyebrow to my left ear.
- I wanted my part to be completely straight, so I had my boyfriend check it and make sure it was straight. You could make yours zigzag if you want to make the colors blend together a bit. That is up to you.
- Starting with the hair above the part, apply Aquamarine throughout the roots with a tint brush. Be careful not to get dye on the south side of the part. If you aren't good at coloring in the lines, take a piece of foil or saran wrap and lay it flat over the top of the hair you don't want to dye, so that you can minimize contact.
- After roots are completely covered, apply dye all the way to the ends. Wrap and pin into a bun.
- Repeat steps 3 and 4 with the bottom side of your hair, using Poseidon mixed with your desired amount of Transylvania. I did about half a tablespoon of Transylvania mixed with 10 oz of Poseidon.
- Allow it to set for 45 minutes to an hour. Rinse with a sulfate free, color safe shampoo until the water runs mostly clear. I do not use conditioner after this step because the Arctic Fox has conditioner in it.
- Towel dry. Apply a spritz or two of leave in conditioner if you like.

here's how you should part your hair if you plan to do a diagonal sectioned style like I did.
hellovictoria
You May Need Someone to Help
I was not able to do this hair coloring style entirely with my own two hands, mostly because my bathroom is not made of mirrors and I can't see the back of my head, so I enlisted my boyfriend to help me part my hair correctly and apply the dye in the back. My boyfriend didn't have the steadiest hand when applying the dye to the hair closest to my part, but I still appreciate him for helping me put it on!

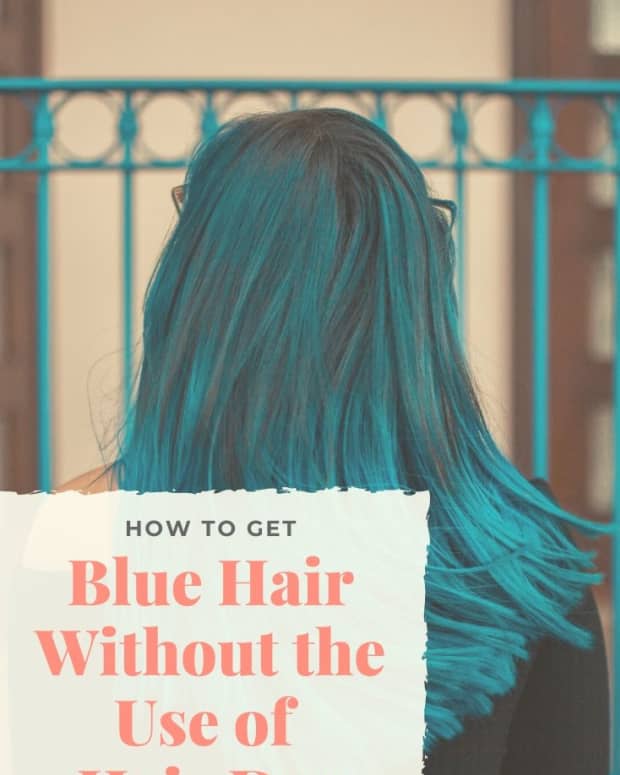
Here is the final product. On the left side is the Poseidon mixed with Transylvania. On the right side is the Aquamarine.
hellovictoria
Final Thoughts
In the picture above, you can see how the blues turned out. The Poseidon mixed with Transylvania was much closer to what I was thinking in my head - and in person, the colors really stood out against each other. I loved the variance I would get in braids and other types of hairstyles to show off the color.
Overall, I'm very pleased with these two blues from the Arctic Fox line and how I was able to use them. I love how vibrant they are, and the color lasted just about eleven weeks with two washes per week before I removed the color to move on to my next one. Here's a photo I took in a dressing room about ten weeks after the original dye job. It's not the best photo, but it shows how beautifully the colors faded.

Arctic Fox Aquamarine and Poseidon, after about 10 weeks!
hellovictoria
Be Careful, This Color Will Bleed
My two main complaints are the packaging and the color bleed.
With the packaging, it is hard to get the entirety of the product out of the bottle, which makes me feel like I'm leaving money in the bottle, literally. A packaging redesign would solve that issue.
With the color bleed, for the first six weeks or so, every time my hair got wet either from the pool or the shower, I had to put it up away from clothing and skin until it was mostly dry, or else the colors bled. They did not bleed onto each other, which is a great thing, but worrying about my skin or clothes turning blue was a minor nuisance. There were a couple of times that I didn't put my hair up before I left the pool, and hours later I'd see myself in a mirror looking like I had killed a smurf and carried it on my shoulders.
If color bleed is an issue for you, just make sure that your hair is dry before you leave it down or go to bed so that it doesn't dye your stuff. If you do go to bed with wet hair, make sure you cover your pillows with a towel. The good thing is that the dye did wash out of all of my things that it got onto, but it's just a pain to have to worry about that.
I mentioned earlier that on the first try with these colors I did use Poseidon as-is with no Transylvania mixed in, but that I didn't like how it mashed with Aquamarine for myself personally. If you feel like you would like how they look together, here is the only photo I took of my hair from the first round, for your reference. It will give an accurate reference for what Poseidon looks like straight out of the bottle.

This is how the colors looked with no color mixing.
hellovictoria
Overall, I give these colors an 8.5 out of 10. I love how vibrant they are and how long they lasted, but I just really want the packaging and color bleed to not be issues. I would absolutely use these colors from Arctic Fox again and I would recommend them to my friends despite these two issues.