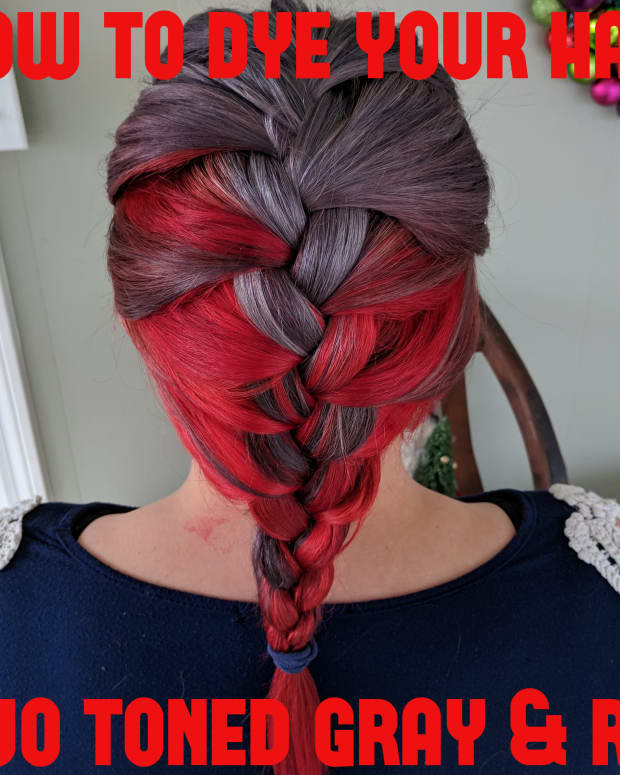
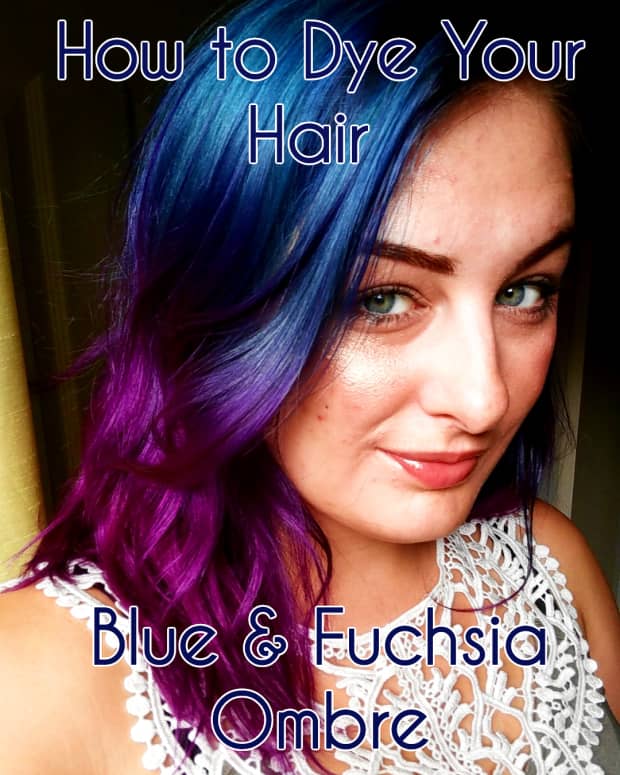
How to Dye Your Hair Red: A Review of Manic Panic Rock 'n Roll Red
Tori is a 28-year-old, three-time animal mom and DIYer living in Northern Atlanta with her boyfriend.

hellovictoria
I like to dye my hair just about every two months. What can I say? I get restless, and I'm constantly itching for a change. My hair is one of those things I can change fairly regularly that is relatively inexpensive compared to other things I like to do, such as traveling to new places or redecorating my apartment. I haven't been red since high school so after doing blues and greens, I was drawn to the warmth of the Little Mermaid-esque red produced by Manic Panic Rock N Roll.
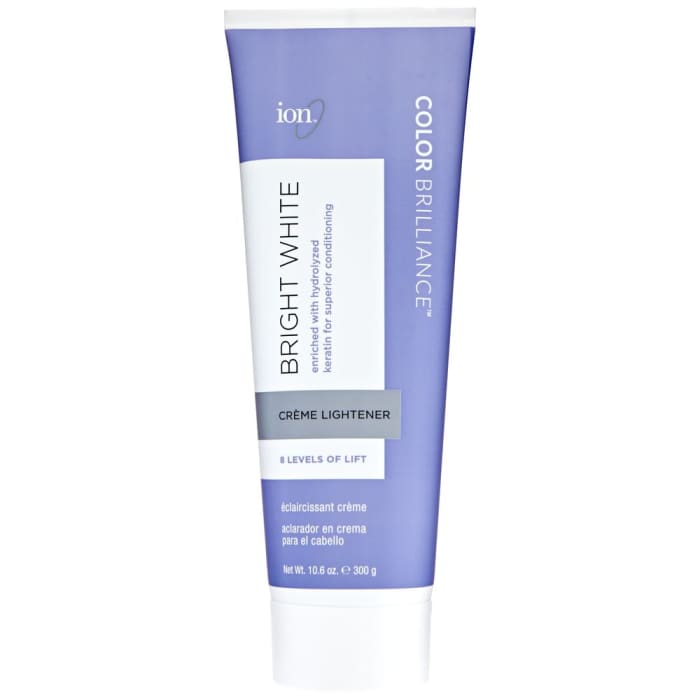
Originally, I planned to apply it with Wella Color Charm Orange as the root. Unfortunately, I didn't think that was going to work mainly because of the blue that I had in my hair previously not wanting to come out all the way, so I was afraid orange would show up muddy and gross. Instead, I chose a Radiant Orchid by Ion Color Brilliance.
| Supplies | Cost |
|---|---|
1 tub Manic Panic Semi-Permanent Hair Dye in Rock 'n Roll Red (buy two if your hair is longer than shoulder length) | $9.99 |
2 tubes Ion Color Brilliance Semi-Permanent Brights in Radiant Orchid | $5.79 per tube |
Ion Color Brilliance Sensitive Scalp Volume 20 developer | $3.69 per tube |
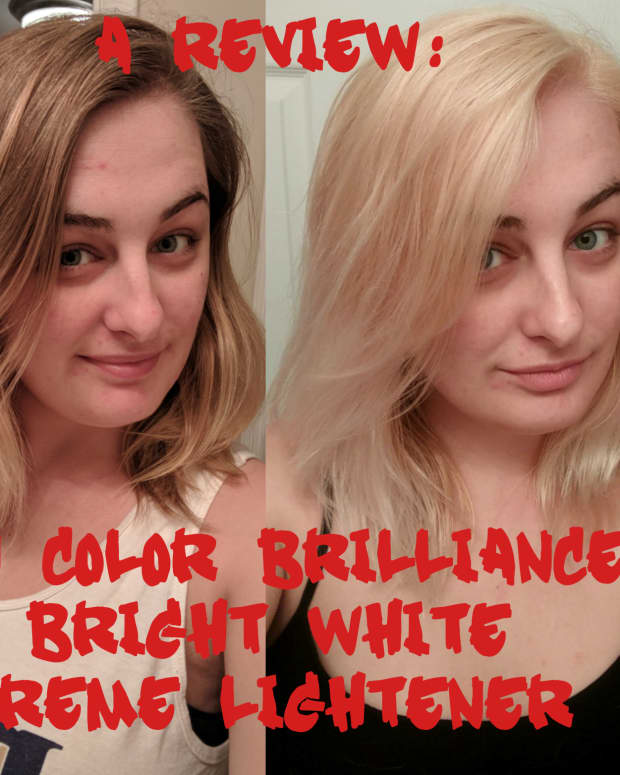
Ion Color Brilliance Bright White Creme Lightener | $11.79 |
Tint Brush | $1.69 |
Mixing Bowl | varies |
Gloves | varies |
Ion Cool Blonde Toning Shampoo | $7.59 |
Step 1: Lighten Your Hair
Any time you want to dye your hair a bright jewel tone color, especially when that color is semi-permanent, you want to lighten your hair to blonde. Semi-permanent dye does not typically take very well on dark hair, so lightening is pretty much a must.
My go-to lightener combination is Ion Color Brilliance Bright White Creme Lightener mixed with volume 20 developer from the same brand. I recommend reading my tutorial and review I did on this product combo. It's the best!
In my case, before dying my hair red, I had been trying to strip out an extremely heavy-duty royal blue out of my hair that was listed as semi-permanent but really felt permanent.
I got my hair to a light sky blue, with my roots and ends being back to white-blonde before I did my color. I was confident that the brightness of the red would cover the blue pretty well.
After your hair has been lightened, rinse the lightener out using purple shampoo such as Ion Cool Blonde Toning Shampoo, which is my current favorite. It smells amazing and feels really nice on my hair! Don't forget to use a conditioner as well. After a lightening process, your hair will feel pretty gross without it.
After you get out of the shower, I highly recommend a spritz or two of It's a 10 Miracle Leave-In. This stuff is amazing and really helps keep my hair's integrity after a fresh lightening. Make sure to let your hair fully air-dry before going on to the next step.
Sally Beauty Supply
Step 2: Apply Root Color
I always start any dye job by fully applying whatever I want my root color to be before doing anything else. Here's how I did it:
- Place the Orchid dye in a bowl and put on your gloves.
- Section out your hair and work in one section at a time.
- Using your tint brush, paint out as far as you prefer to with the Orchid color. Make sure to paint down far enough that you can create a gradient with the orchid to fade into the red. I did about three inches total, with two inches for orchid and one inch for blending with red.
- As you finish layers, use the tail of the tint brush to separate new layers to paint. You may need to get a buddy to do the back of your head.
- Repeat this step until all roots are covered.
Read More From Bellatory


Step 3: Apply Red
The next step is applying the Manic Panic Rock 'n Roll Red. I didn't take a specific approach applying this since it was going over my entire head, so here are my directions:
- Use your fingertips to massage the red into each part of your hair, working in small ponytail-sized sections all over your head.
- Blend the red with the edge of the purple by sliding the hair in between fingers a few times until the colors have somewhat mixed together.
- Leave dye to process for 30+ minutes (I usually do an hour or more).
The whole process of applying both dyes took me about 30 minutes, and the nice thing about using semi-permanent dye is that there are no harsh chemicals that can fry your hair if it is in for too long, which is why I leave it in for about an hour after application. The lighter the color you use, the longer you'll want to leave it in.
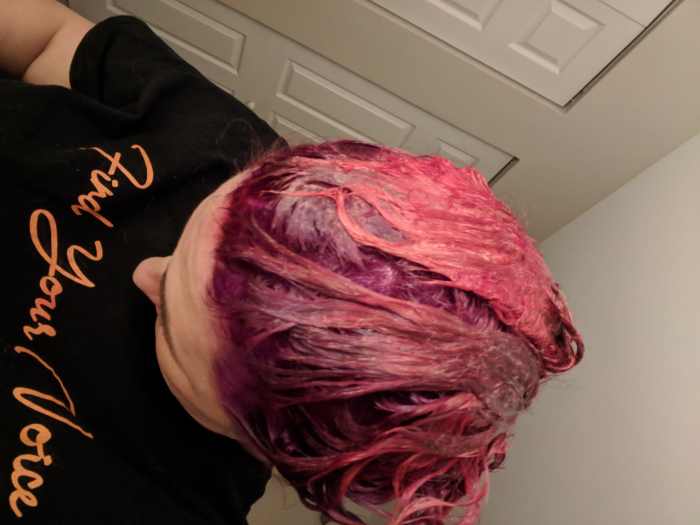
Letting my red and purple hair process
hellovictoria
Step 4: Caring for the Color
Generally, my steps in caring for any color are pretty much the same:
- Wash no more than twice a week with a sulfate free shampoo (my current favorite is Redken Micellar Clean).
- Use a moisturizing conditioner to help lock the color in. I absolutely adore the OGX Coconut conditioners—they smell amazing and make my hair feel so good.
- Apply a leave-in conditioner such as It's a 10 Miracle Leave-In that I mentioned earlier.
- Air dry as much as possible, and in between washes use dry shampoo to keep away oils.
- Wear a swim cap when you will be near any kind of chlorinated or salt water. It won't keep all the water out, but it will keep a lot of it out and prevent your hair from losing color as quickly.
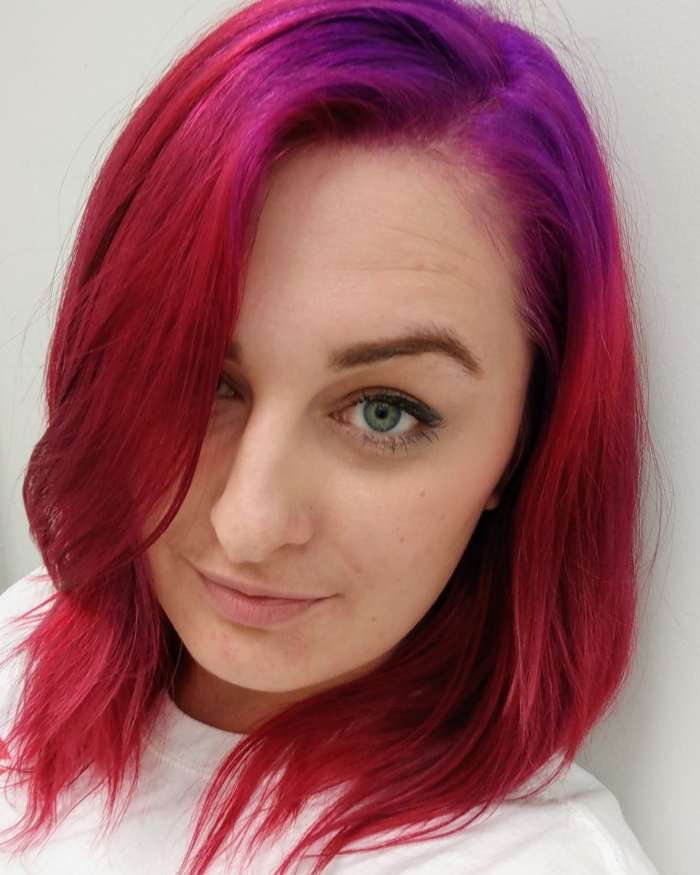
Fresh dye, at the beginning of October!
hellovictoria
My Opinions
I work at a scuba center and part of my job is teaching swim lessons, in addition to doing the marketing for them. Because of that, I am in chlorinated, salty water three days a week, which is a real test for semi-permanent dyes. I do wear a swim cap when I'm in the water, which preserves any colors that stay inside my cap.
As with any other semi-permanent dye I've used, the baby hairs at the nape of my neck were white-blonde again within three days, but the rest of my hair stayed a vibrant beautiful red for a couple of weeks before eventually fading to various shades of bright pink. I'm in love with how it faded, because with the blue that was still left in my hair it made these gorgeous little pink and blue highlights that you can see below in this picture I took at the 35-day mark.
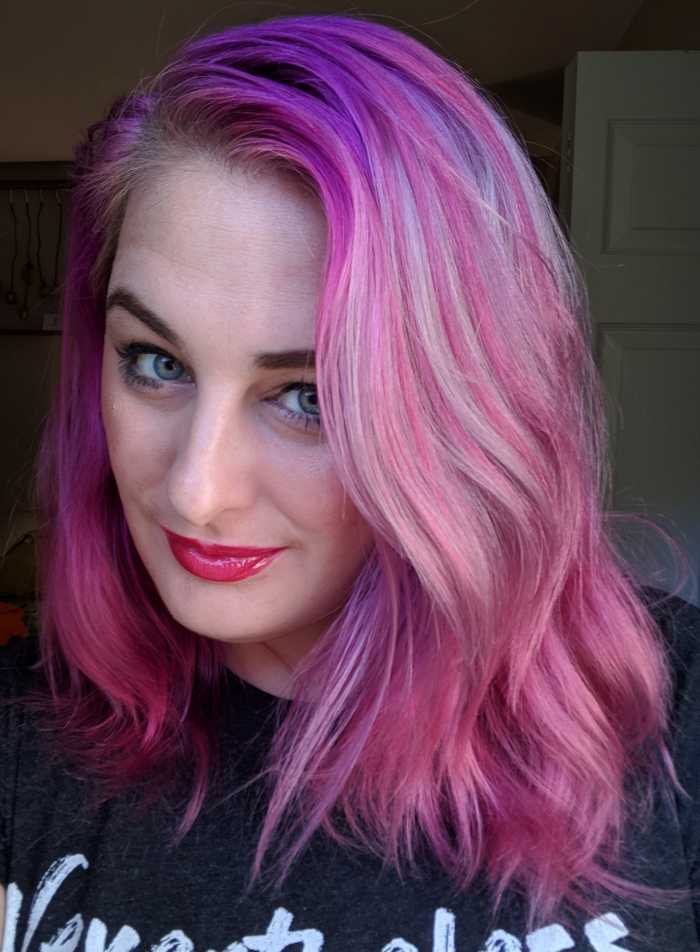
This picture was taken about 35 days after dying my hair.
hellovictoria
In general, I am happy with how Manic Panic Rock 'N' Roll Red held up considering how often I'm in a pool compared to most people. At six weeks in, I'm very happy with what it's faded to as well.
My only problem is that I can't go to bed with wet hair because when I do, I wake up with red all over my pillow. At the very beginning, if my hair was wet and down instead of up, there would be some minor color transfer to my shirts. I tried to make sure to keep my hair up when it was drying so as not to ruin my clothes. Now that the color has faded quite a bit that's not so much of an issue.
That being said, I also want to note that I am incredibly impressed with the Radiant Orchid by Ion Color Brilliance. It wasn't on my ends so obviously, it stayed in just a tad longer than the red, but the fade is also gorgeous. Six weeks in I feel like the color payoff is still incredibly worth it. This is the most beautiful, vibrant shade of purple I've ever used in my hair.
Overall, I would recommend both hair colors for use, especially together!
This content is accurate and true to the best of the author’s knowledge and is not meant to substitute for formal and individualized advice from a qualified professional.