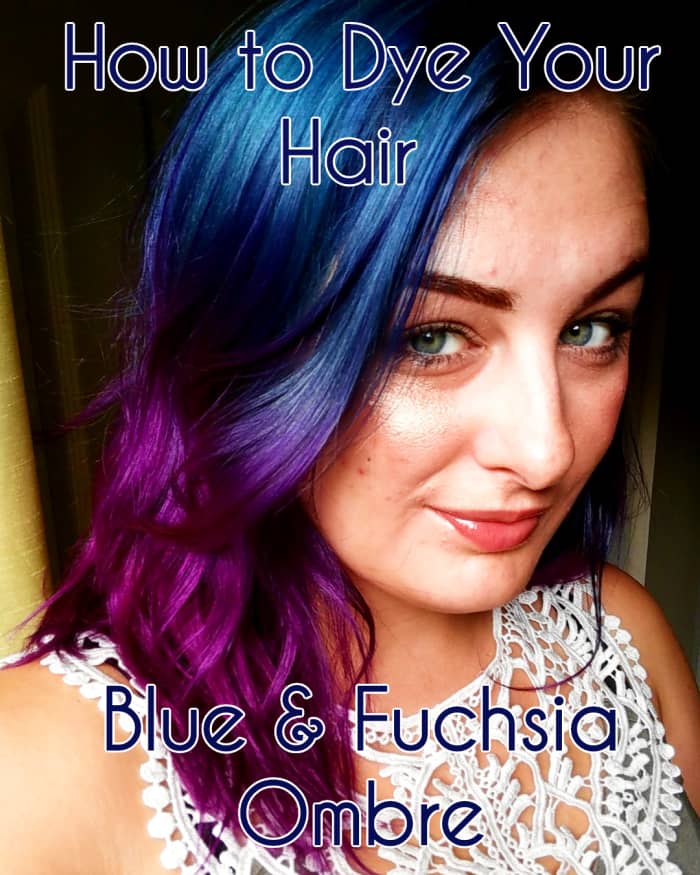
How to Dye Your Hair Gray, Blue, and Pink at Home
Tori is a 28-year-old, three-time animal mom and DIYer living in Northern Atlanta with her boyfriend.
hellovictoria
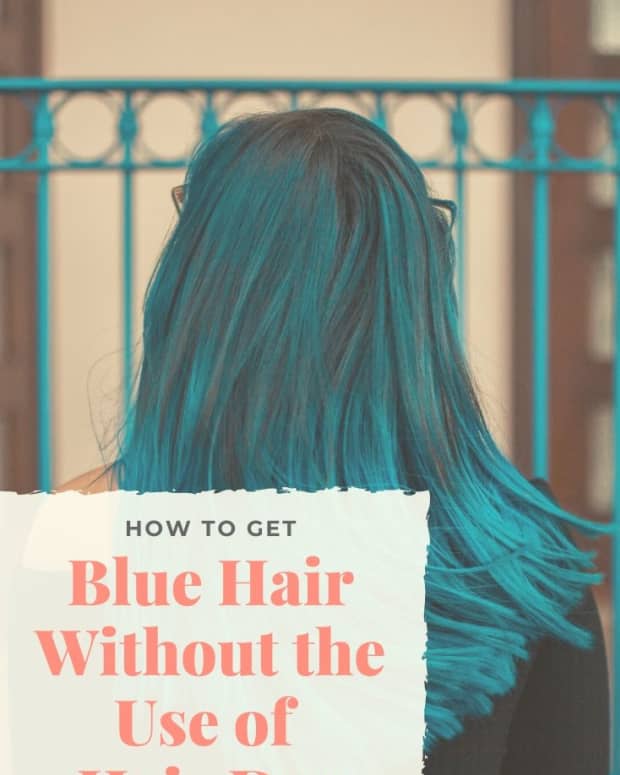
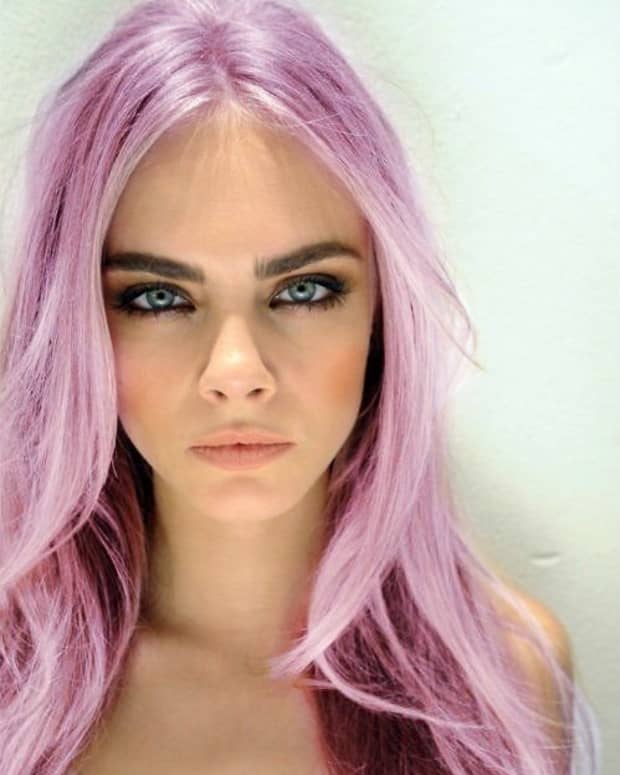
I love dying my hair! I recently had emerald green hair and decided to change the color. I'm a huge fan of jewel-tones, so I knew the next colors I chose were going to be along the same lines as the emerald. I also knew I wanted to challenge my dying techniques and not just do all one color with a shadow root again, so I chose to do three colors.
I wanted to dye it navy blue and fuschia with a dark gray root. This was a little daunting because it has been a long time since I've done an ombre and up to this point, I had not done one into another color at the same time before. Luckily for me, it was successful. Here's everything I used and how you can do it too!
Supplies
| Product | Price |
|---|---|
Wella Color Charm Paints in Fuchsia, One Tube | $6.49 |
One N Only Perfect Intensity Argan Oil in Midnight Blue, One Tube | $7.49 |
Ion Color Brilliance Brights in Titanium, Two Tubes | $12.38 |
Ion Color Brilliance Semi Permanent in Black, 1 Tube (optional) | $5.99 |
Three tint brushes | $3.27 |
Ion Color Brilliance Bright White Creme Lightener (if you're lightening first) | $10.99 |
Ion Color Brilliance Sensitive Scalp 20 Volume Developer (if you're lightening first) | $3.29 |
Three mixing bowls | $7.77 |
Nitrile Gloves | $2.29 |
Plastic Wrap or Tin Foil | Varies |
Hair Ties or Clips for Sectioning Hair | Varies |
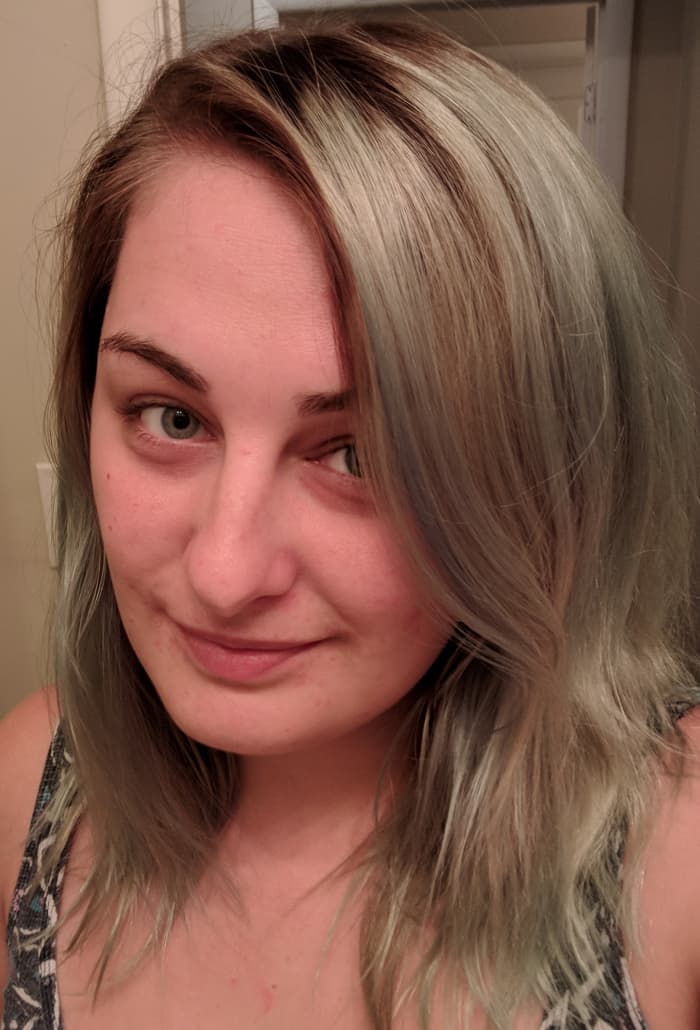
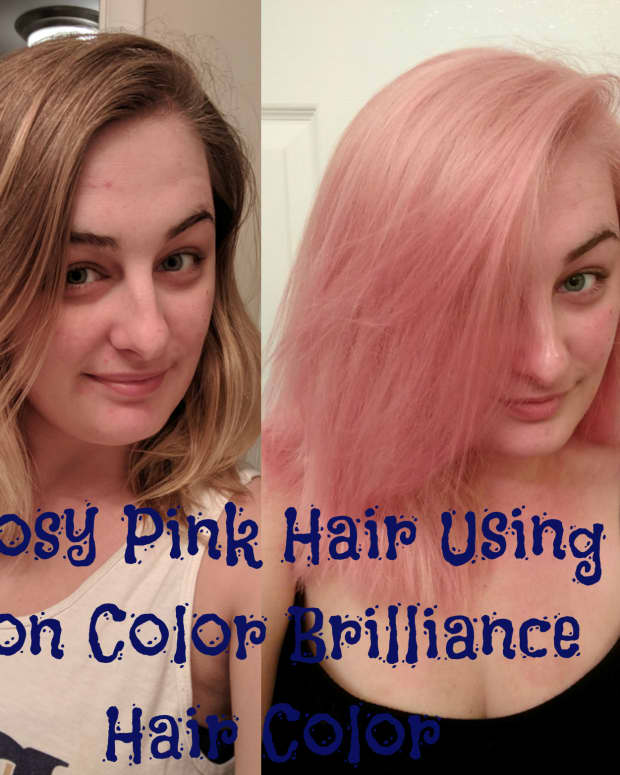
This is what my hair looked like pre-lightening.
hellovictoria
Step 1: Lighten or Fade Your Current Color
To start, jewel-toned colors look best on hair that has been pre-lightened and doesn't contain any other colors. Your hair doesn't need to be white, but it should be relatively light and any other bright colors you had before should be close to pastel.
My favorite hair lightener of all time is Ion Color Brilliance Bright White Creme Lightener mixed 1:1 with Ion Sensitive Scalp 20 Volume Developer. I use this lightener when I am trying to remove old color as well as when I need to lighten natural hair. I wrote a tutorial on how to use this hair lightener that you can find here. The tutorial goes very in depth so that you can make sure you use the product correctly.
Here are some quick reminder directions if you've already lightened your hair a time or two:
- Mix equal parts lightener and developer.
- Wear gloves apply to the sections of your hair that you need lightened, being mindful to cover every piece of hair to avoid patchiness.
- Leave in for 20-30 minutes, then wash it out.
A warm sensation is normal, but don't leave the product in for too long in order to prevent damage.
When I began this dye job, my hair was very light pastel green (residual from my emerald) with golden brown from the shadow root, plus about a half an inch of my natural dark blonde. To prevent damage, I used lightener on the golden brown and my natural roots only.
After I lightened my hair, I also used a conditioning treatment to help alleviate additional damage. I tried the Ion Color Brilliance Effective Care Treatment Packette. It did work for moisturizing, but it did leave my hair feeling pretty waxy afterward. This may have been a result of not getting all of it out when rinsing, so if you use this one I do recommend a light, sulfate free shampoo to help you get all the residue out after you rinse the bulk of the product out.
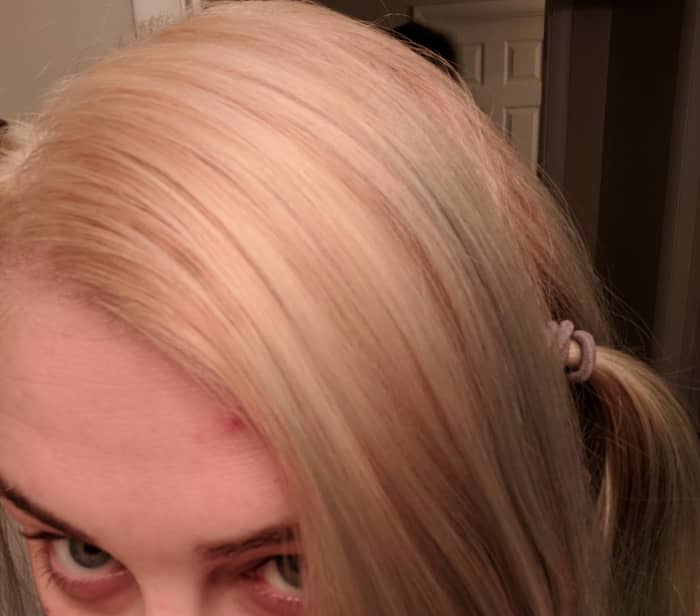
Here's my results after I lightened just my roots.
hellovictoria
Step 2: Prepare Your Dyes
Because you're doing multiple colors, you do not want to use the same tint brush to apply all three colors. Squeeze out your dye into three separate bowls.
Read More From Bellatory


For the gray root, I was a little concerned about the Titanium being too light for what I wanted, so I mixed it with black at a ratio of three parts titanium to one part black.
If you have longer than shoulder-length hair, I recommend purchasing two tubes of titanium and two tubes of Fuchsia because Wella and Ion's dyes both come in small tubes. I actually ran out of Titanium before I was done and had to switch to black mixed with conditioner, and I almost ran out of fuchsia. This being said, the blue from One 'N Only comes in a pretty large tube, so I only needed one.
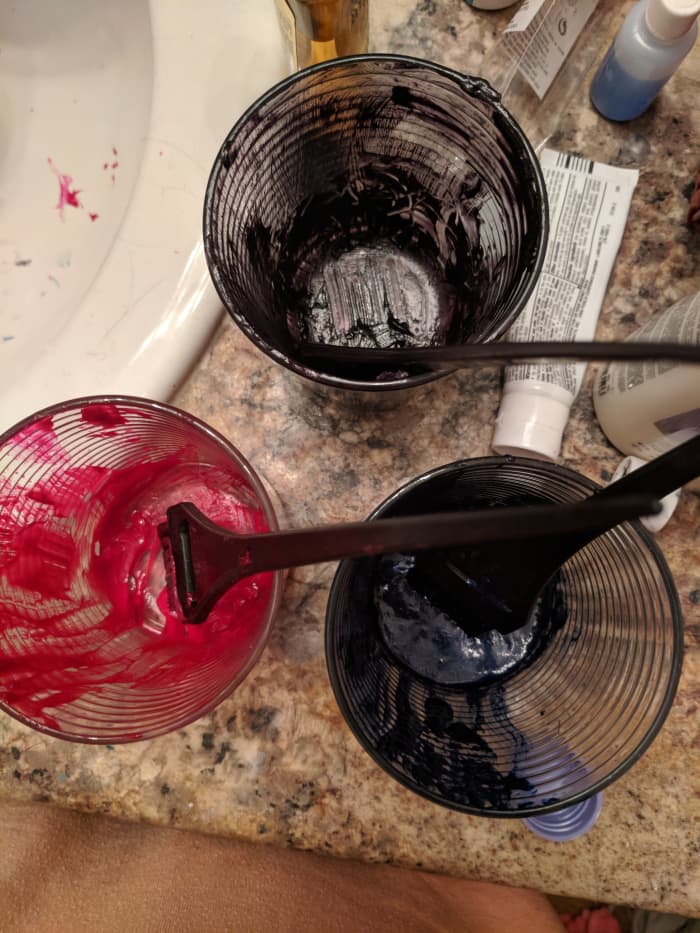
I use old cups as my hair dye bowls.
hellovictoria
Step 3: Section Hair
After your hair is lightened, make sure it is completely dry before starting this step. section your hair out into a few squares so that you can work in batches. It will make life easier. I usually end up with six or seven ponytails worth of hair on my head.
Step 4: Apply Color
To apply color, you'll need to follow the steps below. You'll be working these steps in sections.
Within each section, work with flat, even, tiny layers of hair at a time. Follow the below steps for each flat layer of hair.
- Begin at the roots with gray. Bring the color in about two inches. If you want more gray, paint down a little farther. Once you've painted one side of the layer, flip it and paint the other side to ensure complete coverage of the roots.
- Apply the blue, leaving about four inches at the end for the fuschia. Overlap the blue and gray dye, and use your fingers to blend them together.
- After blue and gray are on, wipe your gloves with a paper towel so that any gray and blue doesn't contaminate the fuchsia. Using the same method of application, paint the fuchsia on the remaining hair and blend carefully with the blue using your fingers.
- After an entire section is done, wrap the hair in tin foil or plastic wrap to keep the dye from getting everywhere. Allow the dye to set for 30 minutes to an hour.
Unfortunately, I forgot to take pictures of this step while dying my hair. I've included a video from Guy Tang that will help you to visualize the method I'm describing. Start watching right around the 14:40 mark to see how he applies and blends the colors together.
Step 5: Wash Out & Dry
After setting, rinse the dye out of your hair until the water runs clear. You can use a small amount of sulfate free color safe shampoo if you wish. I recommend spraying a leave-in conditioner such as It's a 10 Miracle Leave-In, which is my favorite one, after you get out of the shower.
Air drying is always best right after a lightening/dyeing session, but if you do choose to blow dry, use medium heat and a vented brush.
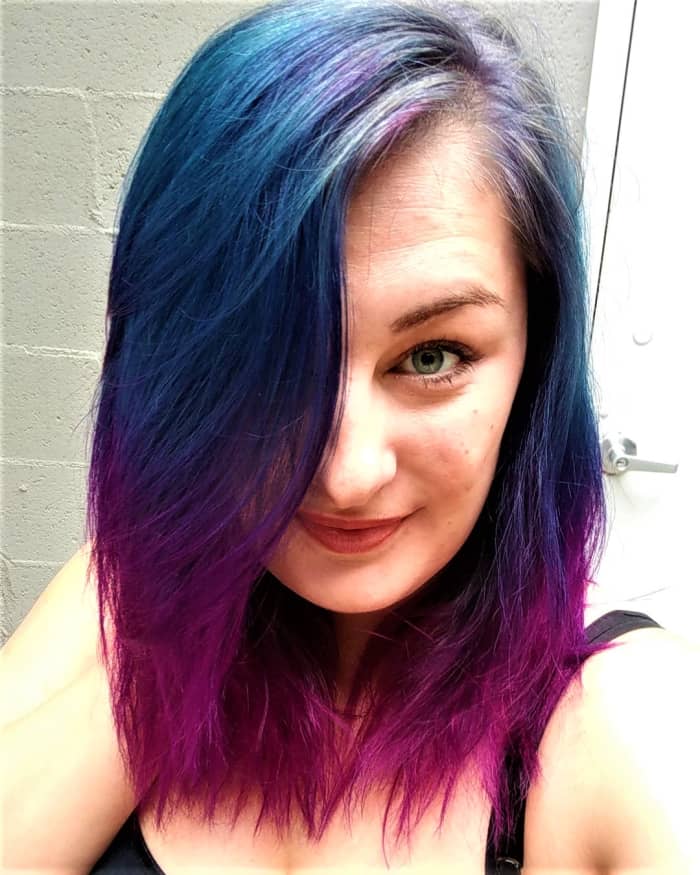
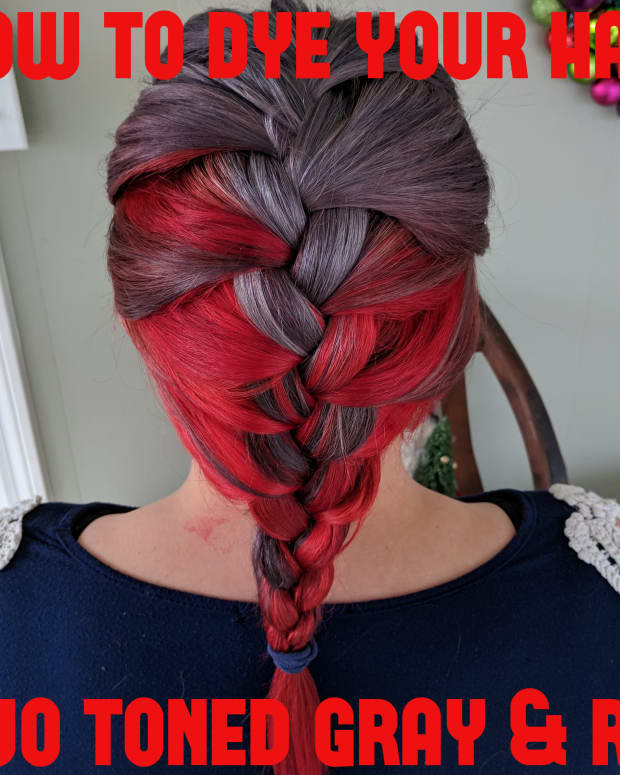
Here's my finished product, complete with gray roots!
hellovictoria
Overall Thoughts
I've never used Wella Color Charm before this, but I had heard good things and was willing to try it. I was blown away by the intensity of the color and the shine—it turned out amazing.
Ion & One N Only are two brands I'm constantly using and I was excited to try different colors from them. Both colors turned out beautifully. I am glad that I mixed a little black into the Ion Titanium to get a slightly darker look because I achieved exactly what I was looking for. I had a little trouble keeping the other colors off of the gray, which resulted in some splotchiness of pinks and blues mixed in with the gray. To prevent this, make sure your gloves are clean and free of residual dye before you start the next section.
Overall, I would recommend all of these brands and colors, and hope this tutorial helps provide some insight into how you can do an ombre with multiple colors too!
This content is accurate and true to the best of the author’s knowledge and is not meant to substitute for formal and individualized advice from a qualified professional.