How to Dye Your Hair Emerald Green: A Review of One 'n Only Argan Oil Perfect Intensity Hair Color
Tori is a 28-year-old, three-time animal mom and DIYer living in Northern Atlanta with her boyfriend.

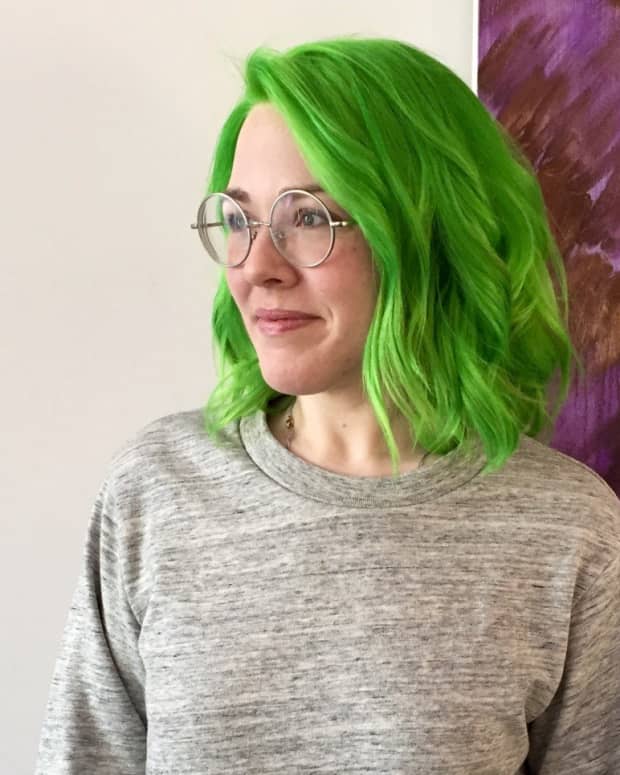
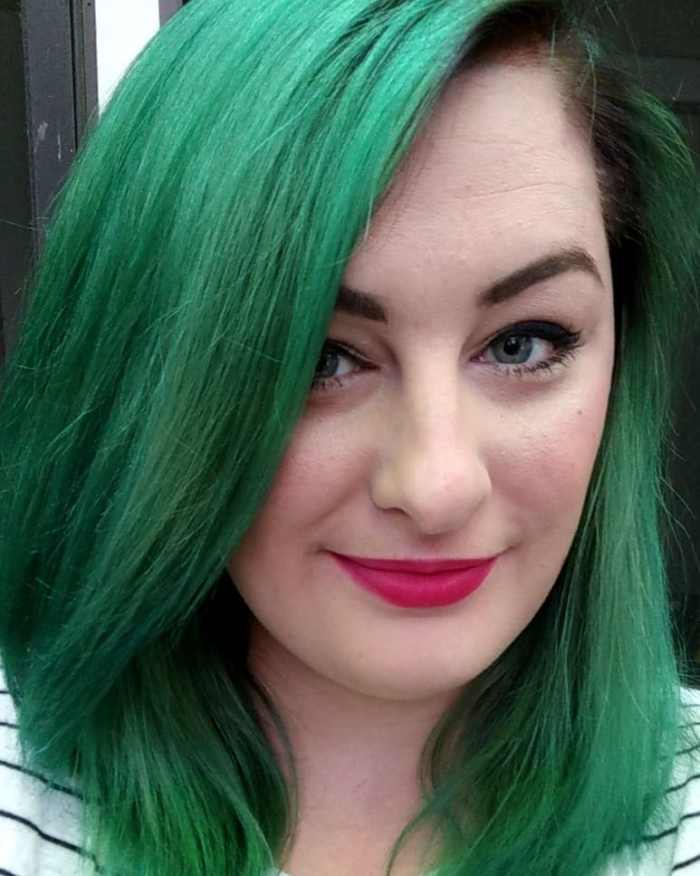
Follow the steps in this article, and you too can have lovely emerald green hair!
hellovictoria
I'm obsessed with emerald green. It's my birthstone color, but it's also hard to find cute things in this color that I would want to buy. Since I started dyeing my hair again, I've been itching to go emerald green. My problem with green hair is that a lot of the green hair dyes I see on the market are either too blue or too yellow—nothing in the emerald family. The dyes on the market that are emerald green seem to fade really quickly, or the color that it was previously dyed shows through after a few washes.
I finally found one that I liked, though, and had a great experience with it when the conditions to use it on my hair were right. In this article, I'll be telling you how you can dye your hair emerald green with a shadow root like I did, and how I took care of it to make it last almost two months before I started purposely lightening it!
Supplies List
| Supplies | Cost | Where to Buy |
|---|---|---|
Several Hairbands or Hair Clips, for sectioning out hair | varies | Anywhere |
Parting comb | $2.90 | Amazon or Sally Beauty |
One 'n Only Argan Oil Perfect Intensity Semi Permanent Haircolor in Emerald Green, 2 tubes | $7.49 each | Sally Beauty |
Ion Intensive Shine 4G Medium Golden Brown Demi Permanent Creme Hair Color, 1 tube | $5.29 | Sally Beauty |
Ion Sensitive Scalp Creme Developer 10 or 20 volume, 4 oz bottle (I used 20 volume because that's what I had) | $2.39 | Sally Beauty |
Nitrile gloves | varies | Home Depot, Walmart, Sally Beauty |
Tint Brush | $1.29 | Sally Beauty |
Notes Before You Begin
Just to preface this with some conditions that made it right to dye my hair emerald green:
- In my past experience with emerald green, it shows best when your hair is in the yellow family with no other colors in with it. If your hair is yellow-blonde, as it fades it will continue to become lighter shades of green.
- If your hair was blue or white blonde prior to dying, then it will fade to a turquoise blue in those areas after a few washes.
- The dyes I used are semi and demi-permanent dyes but avoid chlorinated pools or saltwater to prolong the life of the color. If you have a job where you're in the water every day like I am, make sure to wear a swimming cap.
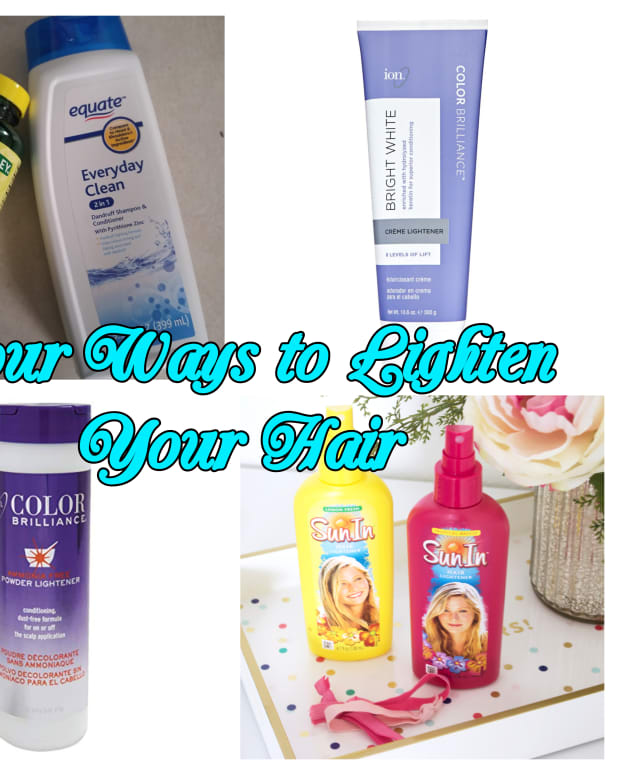
Step 1: Lighten Hair
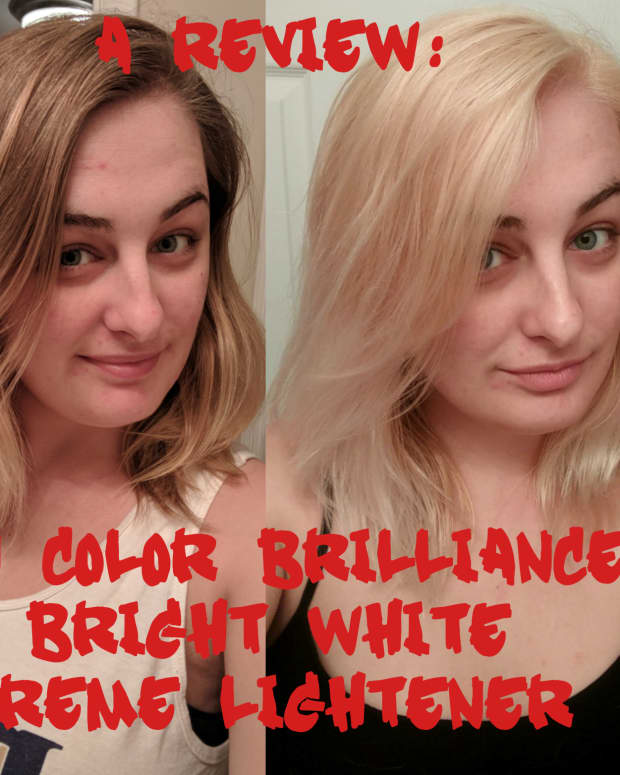
This hair color works best on yellow blonde hair. The first step will be lightening your hair to the appropriate shade. If you've never dyed your hair before or have a large portion that is natural like I did, I recommend using Ion Color Brilliance Bright White Creme Lightener and 20 volume developer to achieve a great shade of blonde. Do not leave on for too long as you don't want to damage your hair or make it too white. For directions on lightening your hair using this lightener, check out this tutorial.
If you are trying to remove color from your hair that was previously there so that you can do this color, I recommend two things: go swimming in a chlorinated pool several days in a row and/or use One 'n Only Colorfix with Argan Oil to remove the previous color. If your previous color was blue, keep in mind that this green may fade to turquoise as a result.
Step 2: Shadow Root
If you want your entire head to be green, you can skip this step. I personally really like the look of dark roots with jewel-tone hair, and I also wanted to give my natural roots some time to grow out without being as noticeable. I chose a color that is darker than my natural color, which is a dark ash blonde. I used Ion Intensive Shine 4G Medium Golden Brown Demi Permanent Creme Hair Color.
There are a couple of ways to do this step. You can either apply the shadow root and the green hair color in the same step, or you can split them up and do them separately. I chose to do them separately because I don't typically work with hair color that requires developer, and I didn't want to leave the brown in for too long because of that.
You will most definitely need some assistance with this step because it is difficult to do the back of your own head. I made my boyfriend watch me do the sections I could see so that he could do the sections on the back of my head for me.
For this step, you'll need two tint brushes, a bowl for your conditioner, a bowl for your hair color, hair ties or clips, and gloves.
- Mix 4 oz of creme developer with one tube of hair color. It will not appear to be the color you want on your hair immediately—mine was a golden color. It will darken over time. Put your conditioner in a separate bowl and place a tint brush in each.
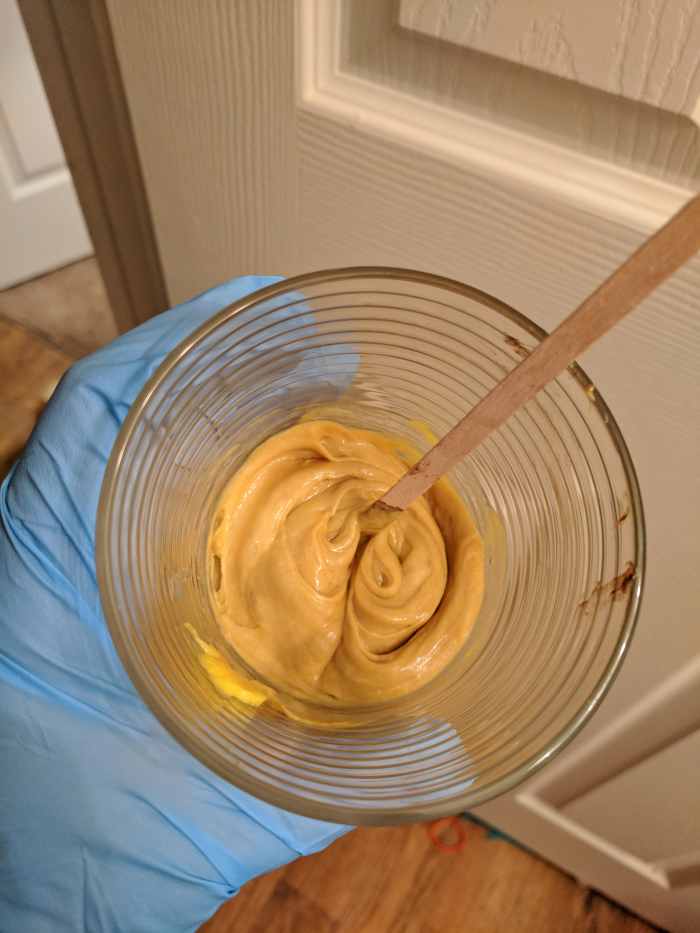
This is what my dye looked like when I mixed it with my hair color. I mixed at a 2:1 ratio.
hellovictoria
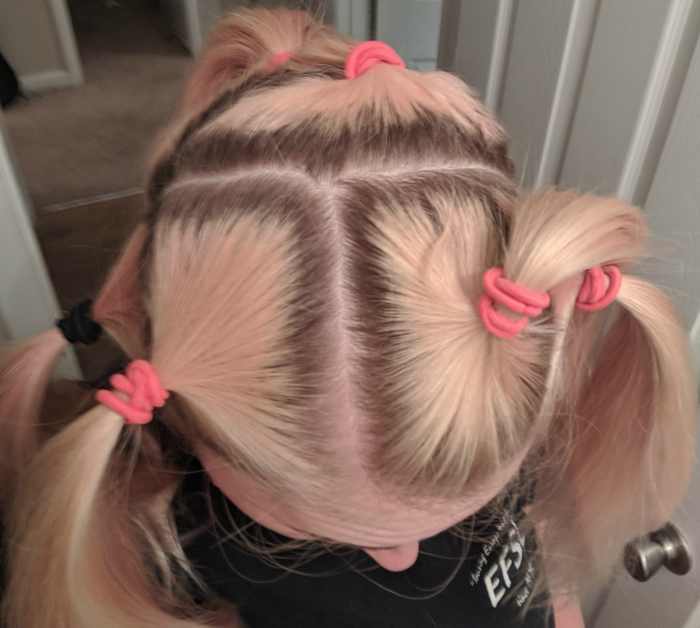
2. Section your hair out with pony tail holders or with hair clips. I found this to be the best way to make sure the hair dye didn't get on parts of my hair that I didn't want it to while I was applying it.
hellovictoria
Read More From Bellatory


3. This is where you will begin to paint your hair.
- First, start with taking down a section of hair from the pony tail holder. You are going to be working with very thin sections of hair at a time within the bigger section, so as you work, use the parting comb to get your next layer of hair to work with.
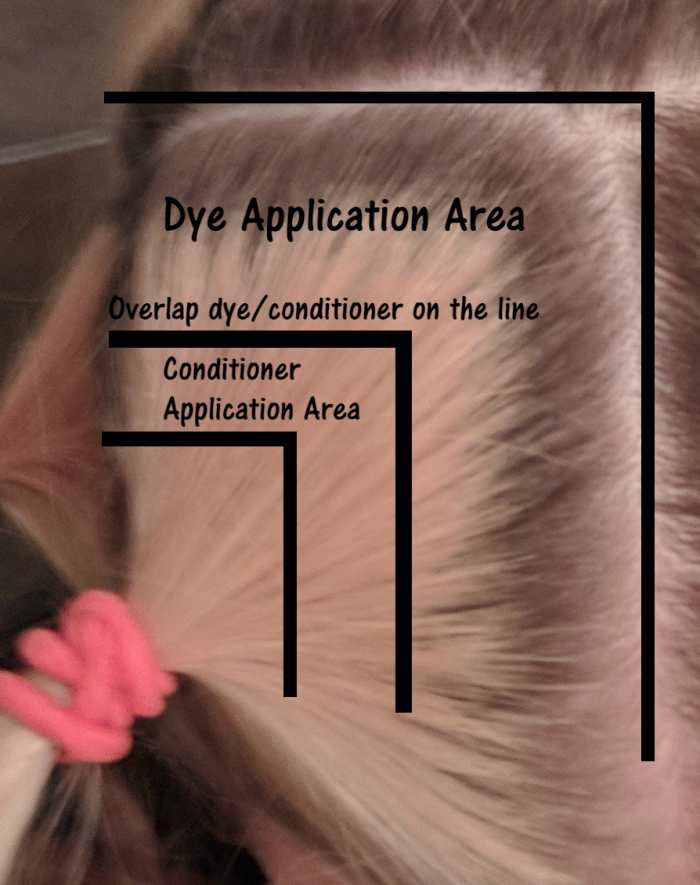
- Apply conditioner with a tint brush to your hair, only where you would like the dye to stop. I forgot this step when I was doing my hair, and I ended up with a brown root that didn't transition as well as it could into the green.
- After the conditioner is applied, use your second tint brush to apply the dye to the area between your scalp and the conditioner, taking care to blend the two areas just a little bit. Refer to the map below to understand how you are using the conditioner and dye in conjunction with each other.
hellovictoria
4. Let the dye sit for 20–30 minutes and wash it out. You can blow dry or air dry your hair to prepare for the next step. I chose to air dry and do the green color the next day.
Step 3: Apply the Emerald Color
As I mentioned before, I chose to wait until the next day to apply my green color. I did this a little less precisely as the shadow root, but here are the steps I followed.
- Section your hair out.
- With gloved hands, apply the dye with your fingers to each section, using a comb to disperse the dye as needed throughout your hair. No need to worry about getting green on the dark brown, as it won't show up.
- Move section by section until you are certain that all parts of your hair are covered.
- Leave the dye in for 45–60 minutes, then wash out (this dye does not have any chemicals in it, so you don't have to worry about it harming your hair).
- Style as you normally would!

hellovictoria
Step 4: The Finished Product and How to Care For It
hellovictoria
This emerald dye by One 'n Only is gorgeous and vibrant. It's exactly the right shade that I wanted. With a few extra steps, I was able to preserve the color for a long time with only a little bit of fading and color changes.
- Don't wash your hair every day. I tried to wait 3–4 days in between each wash. Use dry shampoo if your hair starts to feel greasy.
- When I did wash, I used Redken Micellar Sulfate Free Shampoo (use sparingly, you don't need a lot) and OGX Coconut Water Conditioner. After I got out of the shower, I sprayed in It's a 10 Miracle Leave In for additional softness. These are my three favorite magic products for upkeeping colored hair.
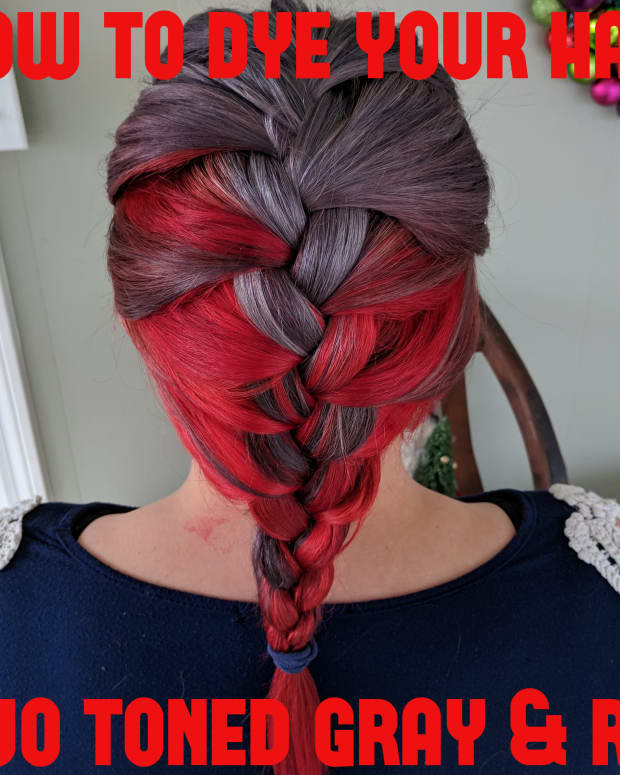
- Since my job is 50% being in a pool, I made sure to wear a swim cap every day to protect my hair color from fading. I'm glad I did because, at the base of my neck where some hair didn't fit into the cap, the dyes both completely faded out back to blonde. (I didn't mind though, it created a really cool effect when I braided my hair).
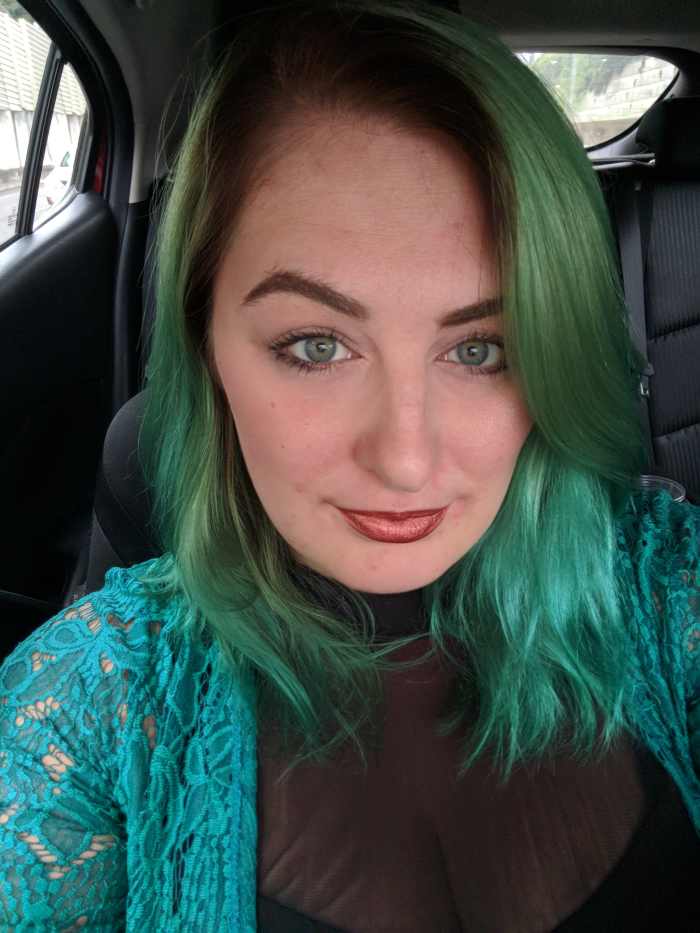
This picture was taken four weeks after I dyed it!
hellovictoria
As you can see from the picture above, the fade was very nice! That picture was about four weeks after I dyed it. My ends turned a little bit more turquoise, but that is because they were white blonde before I dyed. The rest of my hair was yellow blonde. I believe I could have extended the color even longer, but about two weeks after I took this picture, I started allowing my hair to fade by not wearing a swim cap so that I could get ready to re-dye it.
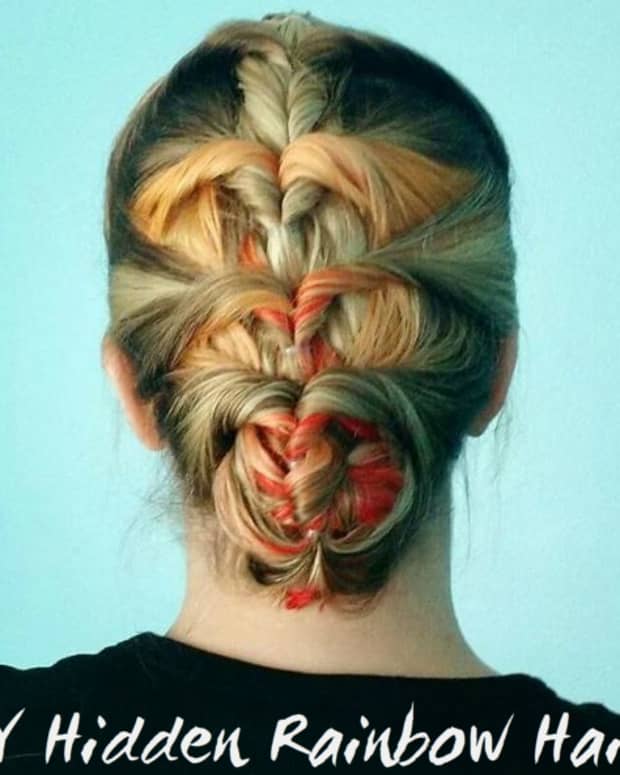
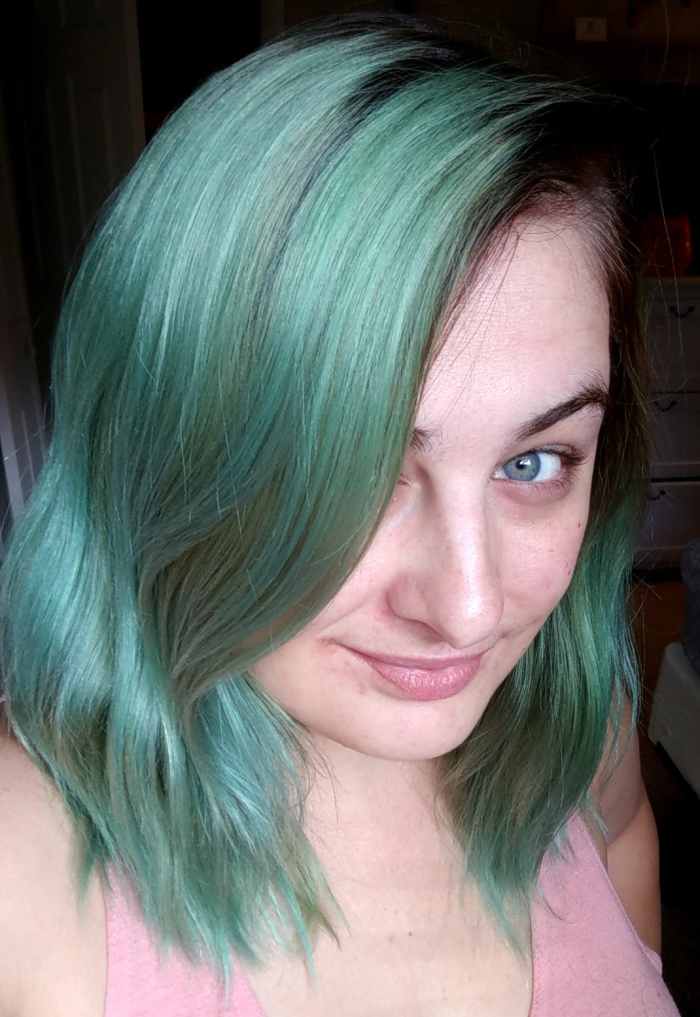
The below picture is after about 15 hours of pool time and daily washings over the course of about 4 days, and as you can see it faded to a really pretty pale minty green.
hellovictoria
Final Thoughts
Overall, I would definitely recommend this hair dye brand and color to anyone looking for a gorgeous jewel tone color, and I recommend the Ion Demi Permanent for the shadow root as well. It fades nicely and looks best on yellow blonde hair. I would definitely use it again!
This content is accurate and true to the best of the author’s knowledge and is not meant to substitute for formal and individualized advice from a qualified professional.
© 2018 ToriM