How to Apply and Store Henna
Bushra is Indian and is well-acquainted with henna application. She is self-taught with influences from Hyderabadi and Arabic henna styles.
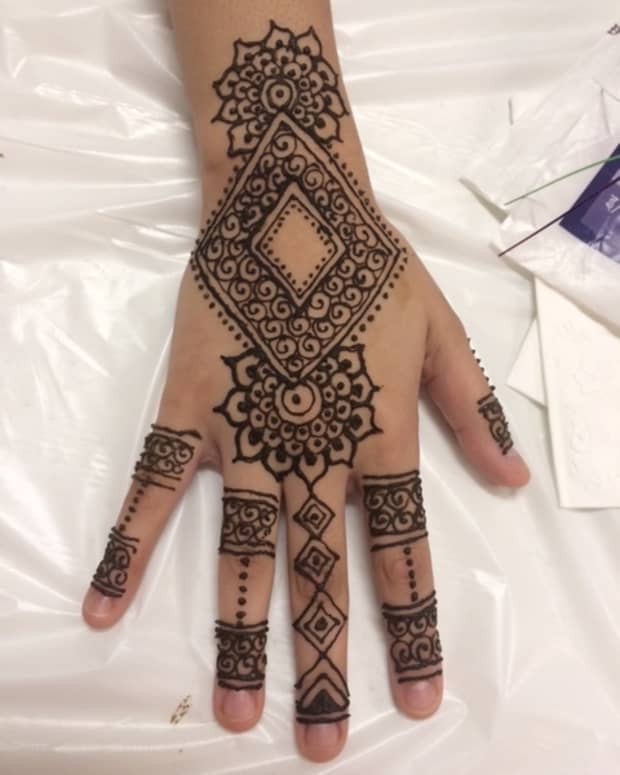
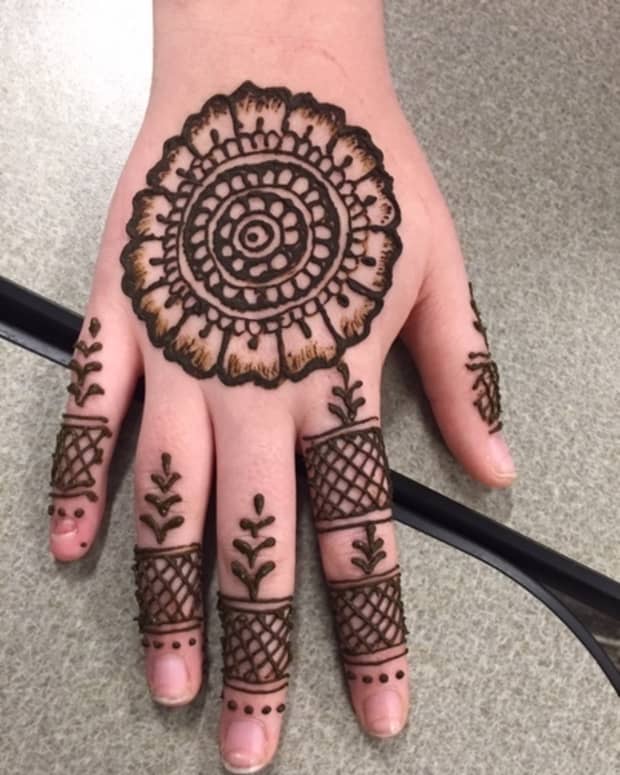
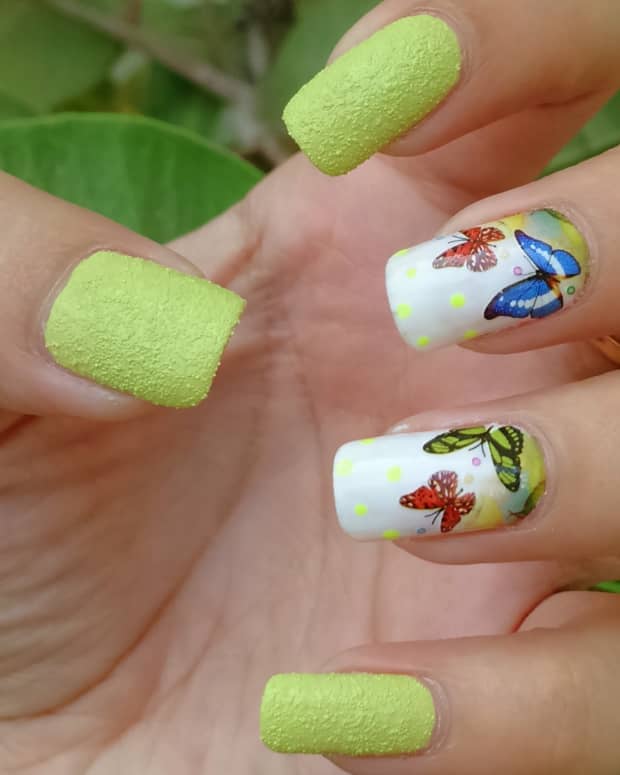
One of my friend's hands after I did their henna.
If you already know how to get your hands on some henna, great! You’re in the right place. If not, you may want to refresh your knowledge of henna and where it comes from.
Now, here comes the main part of henna, the actual application. There are a few things that are crucial to the application.
- The Cut of the Cone
- The Grip
- The Hand Position
- The Design
- The Stain and How to Intensify It

When you make a big cut, you have a thick thread, and when you have a small cut, you have a thin thread.
The Cut of the Cone
The cut refers to the incision at the very tip of the henna cone from which the paste comes out, kind of like ink out of a pen or frosting out of a piping bag. The thickness of the henna paste is very important to the application, and it depends on each person’s personal preferences. Think about what kind of designs you want to make, how big you want to make it.
If you want thin, lacy designs, you’ll want a smaller tip and so a smaller cut at the tip of the cone. If you want bold, thick designs, you’ll want a broader tip and a bigger cut. The size of the cut will determine the thickness of the henna threads.
While you consider this, also make sure not to cut the tip too small or too large. An extremely small tip will hinder henna paste flow and will cause breaks in the thread, leading to difficult application and a broken design. Too large of a tip, and the henna will come out in blobs, and no design could possibly be made from that.

Here are the cones I use and some ways to hold them. The picture at the bottom right is for when the henna is half-way empty.
The Grip
The next thing to focus on when applying henna is your grip on the cone. Each person will have a grip unique to themselves, so I cannot necessarily teach this. However, I can give advice on how to find your grip and some pointers on how to hold the cone.
The first thing to consider is pressure. As you would think, the harder you press, the faster henna comes out, and the softer you press, the slower henna comes out. I would suggest pressing hard to fill in small areas and to make the outline of the design but press softly when doing details, so they do not get ruined.
Try holding the cone in a couple of ways. For example, try holding it like you would hold a pen or pencil, then try squeezing towards the end of the cone and then towards the tip. This is more of a preference thing, so there is no right or wrong way to hold the cone.
When the cone is full or newly cut open, it will be easier to hold it toward the end because more paste is in the cone. If the cone is about half-way empty, fold the cone and push the henna past towards the tip and grip it that way.
If the cone is nearly empty, squeeze the remaining henna towards the tip and squeeze it out until it is empty. I’d suggest emptying a cone-like this when you are filling in areas because there is not much control when the henna is almost all gone.
If you want a visual aid, watch the video below starting at minute 1:53.
Read More From Bellatory


The Hand Position
To prepare the hand for henna and to achieve the best results, wash the hand thoroughly with warm water, dry completely, and moisturize. You can use hand lotion or some kind of oil or butter to do this and then apply the henna.
The Design
For beginners, I would suggest that you draw out the design you want on paper first and copy that onto your hand (or someone else’s hand). The practice drawing and copying will help as you get better at henna. I will have Part 3 of this article detail techniques and tips for henna designs.
Other options include looking at reference images. You can google henna, and millions of results will pop up. You can choose a design you like and practice by copying those.
The best practice comes from experience, so if there is someone around you that does henna, watch them, and ask them your questions (you can ask me any questions as well through commenting). I started out that way, then watched videos and looked at images as I developed my henna style and skills. It’s okay to copy at first because you’ll end up making it your own eventually.
The Stain and How to Intensify It
Once the henna has been applied, there are a couple of things you must do. First of all, let the henna dry completely and get crumbly. Your hand can feel this because when you move your fingers, the henna will break, and it will no longer be wet to the touch.
When you are sure it is dry, you may try to improve the intensity of color it leaves on your skin with a few different products. Lemon juice, lemon juice mixed with some sugar, olive oil, lime juice, and sugar water are some options that have been known to increase pigmentation.
Apply a small amount to the entire area on which henna has been applied. You can try any of these and stick to what works best for you because skin color also affects the darkness of the stain. Of course, this is all optional and only to optimize the henna’s color.
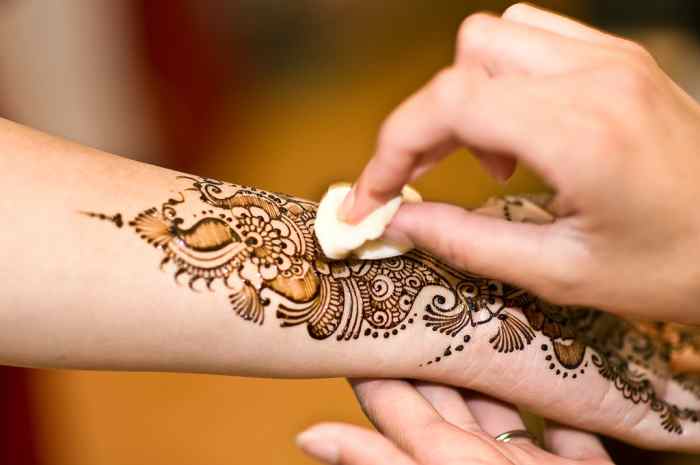
Apply lemon juice, olive oil, or sugar water to intensify the henna stain.
Once the applied liquid dries (if you chose to use it), crack off the dried henna with your hands. This is just to make your life easier by preventing little specks of henna everywhere but is not a mandatory step.
The best results will occur if you leave it like that overnight, but the main idea is to keep the henna-area way from water as long as possible. Because of this, I like to do henna at night when I’m done with all my day’s work so I can just sleep with henna-hands. Once you wash your hands (or wherever the henna was applied), the color stain will slow down, and so it won’t be as intense. Do whatever you want to achieve as dark a stain as you want.

The henna stain darkens over time and usually lasts about a week, but this can be lengthened by using the liquids mentioned above.
As for henna application, that’s about it. As for storage, it’s really not that complicated
Keep The Henna In The Fridge
Fresh henna is the best henna and will yield the best results, but if you plan to store henna for a couple of months or more, keep it in the fridge. This will keep the henna cool and safe for a good amount of time.
Keep the Henna in a Clean Dry Place
If you are using fresh henna or henna powder, keep it in an airtight container or bag in a dry area. I usually keep my powders in a cupboard and my cones in the fridge, and that, I think, is the most efficient way to store henna.
Well, that’s more or less all there is to know about henna and its creation, application, and storage. Hope you learned something and enjoyed my article.
This content is accurate and true to the best of the author’s knowledge and is not meant to substitute for formal and individualized advice from a qualified professional.
© 2019 Bushra Ibrahim