How to Apply Makeup for a Natural Look
Sheryl, a Transformational Therapist with qualifications in all areas of beauty, specialises in working with women from the inside out.

Makeup is the creative expression of how you see yourself. If you look good, you feel good! Its transforming effects have a unique impact on our appearance and personality, adding an element of self-confidence. Makeup application can vary depending on what you set out to create. A great place to start is learning new tips and tricks on the correct way to enhance your features with the most basic natural makeup.
Where to Begin?
Before we learn new tips and tricks, we first need to select a makeup that best suits you and delivers a flawless long-lasting result. With the vast range of makeup companies and beauty products available throughout department stores, pharmacies and beauty stockists, it can be quite daunting with where to begin?
I always start with “do you have any reactions to selected ingredients in products?” Most people are unaware as to whether they are hypersensitive to problematic ingredients, essential oils and formulations. However, as a makeup artist and beauty therapist, I see this issue come up a good majority of the time. When shopping for makeup, I recommend “try before you buy.” This allows you to experience the feel of the makeup on your skin as contraindications to any of the ingredients will present themselves during the trialing application or soon after.
Having allergies and intolerances myself, I have moved into the direction of natural mineral makeup, being vegan and gluten free. I have confidence in knowing it’s safe to apply to my clientele’s skin without any concerns of an allergic reaction and it can be worn everyday with benefits for any age group and skin type. Of course, at the end of the day, it comes down to personal preference and price point. Once you have purchased your makeup, a quality set of brushes to assist you with the application is a must. Again, many of the above-mentioned companies stock a range of suitable brushes. Keep your set small and simple—too many brushes just causes confusion and I believe less is more.
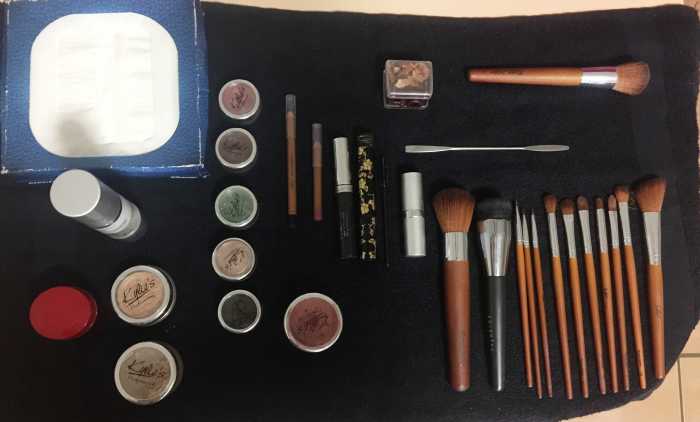
Things You Will Need in Your Makeup Kit
- Hand sanitiser
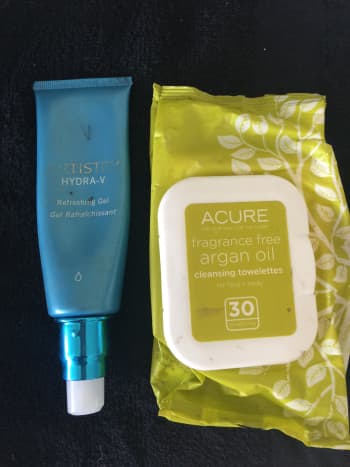
- Facial wipes
- Cleanser, toner, moisturiser, and exfoliator
- Cotton tips and tissues
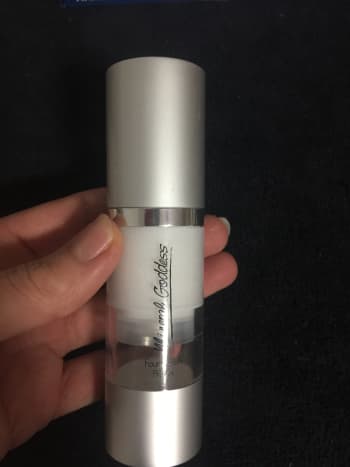
- Foundation primer
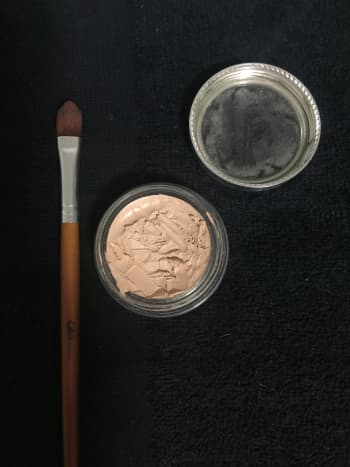
- Concealer
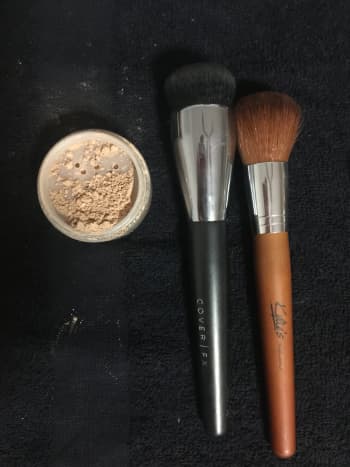
- Foundation
- Loose powder
- Blush colours
- Eye shadow
- Eyeliner and brow product
- Mascara
- Lip pencils
- Lipsticks and gloss
- Tweezers for stray brows and false lashes application
- Spatula
- Pencil sharpener
- Makeup brushes
- Makeup brush cleaner


Step 1
Skin Preparation: Skin needs to be cleansed, toned, and moisturised prior to makeup application. For best results, I recommend facial exfoliation twice a week—this will ensure a smoother coverage for easier product transfer.


Step 2
Foundation Primer: The base work is the most important for long-wearing makeup. Your primer will assist in evening out skin textures giving a flawless base to work with, especially when it comes to enlarged pores, oily or dry patches, fine lines, and wrinkles. Apply foundation primer evenly to the face using a flat foundation brush or your fingers—if you are using an eye and lip primer for fine lines or small facial scars, apply with an eye shadow brush or fingers. Using your hands, gently press into your skin.


Step 3
Concealer: It's used to disguise blemishes, lighten dark circles, and blend areas of discolouration such as age spots and pigmentation. Of course, you can go one step further with colour corrector. Your concealer needs to be one to two shades lighter than your foundation and work in tandem to give the appearance of an even skin tone. For lightening dark circles under the eyes, I recommend applying a pink-based concealer as this will not only draw attention away from this area, it will counteract the darkness opening up the eyes. Apply your concealer to the corners of the eye with an eye shadow brush, extending under the lash line and paying particular attention to any problem areas. Gently blend using your index finger—the warmth of your finger will assist in setting the product.
Read More From Bellatory


Step 4
Foundation: It provides an even skin tone and achieves a flawless complexion. It is most important when selecting the correct foundation that you consider your skin type and colour, matching your face, neck, and decolletage. Another important factor is the skin has three different pigment undertones, pink, yellow and neutral. How do you know which one you are? I recommend performing a test match for foundation on your jaw line using three different shades, when the colour is noticeable on your skin it’s the wrong colour, if it blends that’s the shade for you. With skins that reflect redness or broken capillaries, proceed to a neutral undertone. Apply foundation using a round or flat foundation brush, with the round brush you would use a swirling motion over the entire face. Start at the nose and work your way outwards, feathering under the jaw line. When application is complete, gently press your face into your hands, setting your foundation.
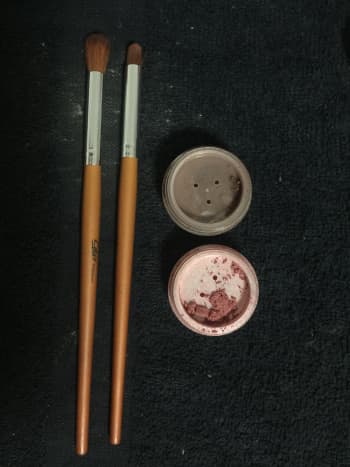


Step 5
Eye Shadow: There are many ways of applying eye shadow to create different effects and correct different eye shapes. A rule to remember with eye shadow is that light colours open the eyes and dark colours close them, for mature age eyes use less shimmer and more matte shades. Once you have product on your brush, before applying to the eyes tap your brush or use the back of your hand as a palette so that the excess product doesn’t end up under the eyes causing fall out, this can be tedious to remove.
Lid: Using a flat eye shadow brush, blend a soft pale colour across the entire eye lid stopping at the crease—this is the base tone and will open up the eye area.
Crease: Using an eye shadow blender brush, apply a medium to dark shade, creating a C shape design starting half way across the crease of the eye and extending outwards to the outer corners. Once you have your C design, blend out with the blender brush, using feather strokes to soften the look.
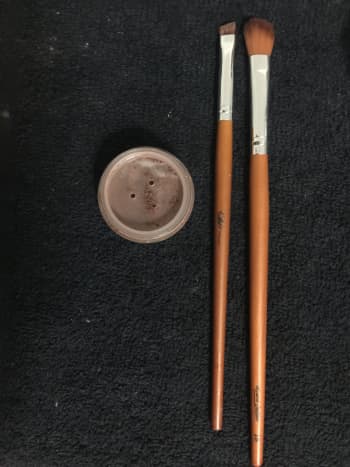
Eyeliner: It gives definition and makes the eyes pop. Using a brown eye liner pencil and starting at the outer corners of the eyes, use feathered strokes across the lash line to the inner corners of the eyes. Do the same along the bottom lashes stopping just short of half way. To soften the lines, smudge the liner with an angular makeup brush or add eye shadow over the top.
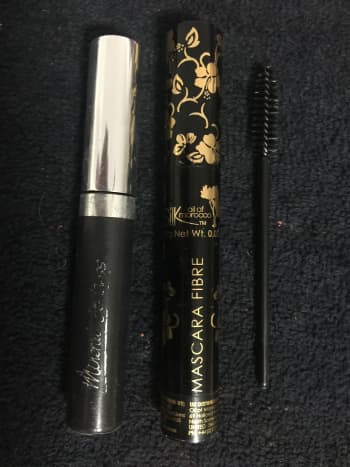


Step 6
Mascara: My personal preference when using mascara is to volumise. Apply your mascara starting with brushing from the top of the lashes then turn over giggling and sweeping your mascara in an upward motion. Use gentle strokes in a downward motion across the bottom lashes. For a more dramatic look, apply a second layer.


Step 7
Eyebrows: The eyebrows frame the face and add expression and character. Using the line of your own natural brows, apply a brown eye shadow with an angular brush feather, stroking in an upward motion along your brows.
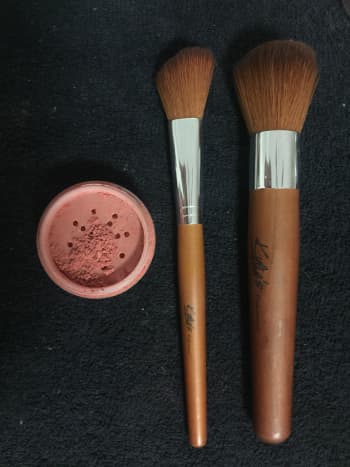


Step 8
Blush: It gives colour to the face, enhancing your natural features. Using a blush brush apply powder blush or eye shadow to the apples of the cheeks extending upward towards the hairline near the ear lobes. Remember with powder on your brush, tap first before application to remove excess product.


Step 9
Lip Liner and Colour: Lip liner provides an outline to work with and prevents your lipstick from bleeding. Starting at the Cupid’s bow, outline your lips using your lip liner pencil working your way outwards, continuing down and around the bottom of the lips. To create a base for long lasting lipstick, fill in the entire top and bottom lips with your pencil. Next apply the lipstick over the top using a fine lip brush, this gives you more control of the product and long lasting results.


Step 10
You have created the natural makeup look which can be used for any age group.
Cleaning Your Brushes: It’s important to keep your brushes clean and free from harmful bacteria. To do this, I always wash my brushes with baby shampoo and warm water. Individually wash each brush in a basin of warm water then rinse each one thoroughly. Place your brushes on a towel to dry, allow the edge of the bristles to overhang. This ensures that the brush hairs stay intact, prolonging the life of your brushes. Pristine clean brushes perform better giving you a flawless finish to your makeup.


This content is accurate and true to the best of the author’s knowledge and is not meant to substitute for formal and individualized advice from a qualified professional.
© 2018 Sienna May