How to Apply Liquid Makeup Foundation to Look Natural
I've been an online writer for over seven years. My articles often focus on beauty, health tips, and cooking.
Read on to learn how to apply makeup to look natural and beautiful.
Foundation—Brush, Sponge, or Finger Application?
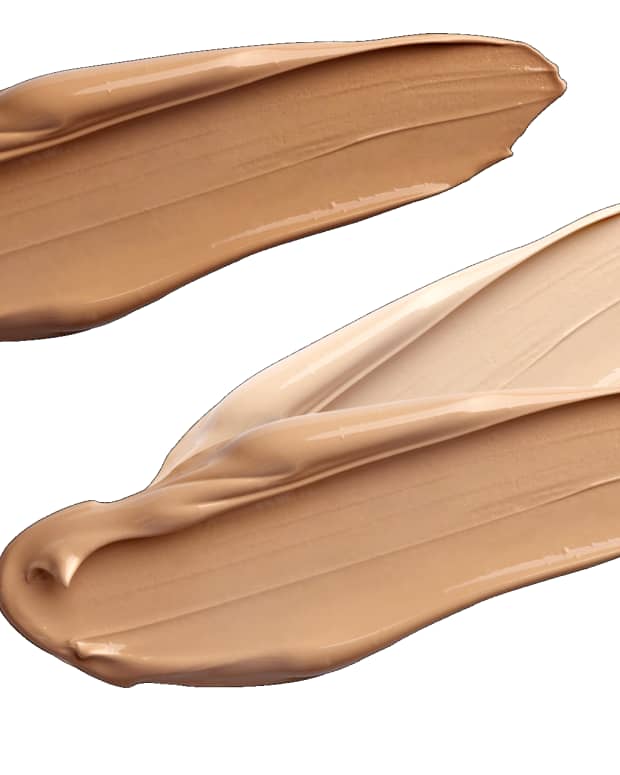
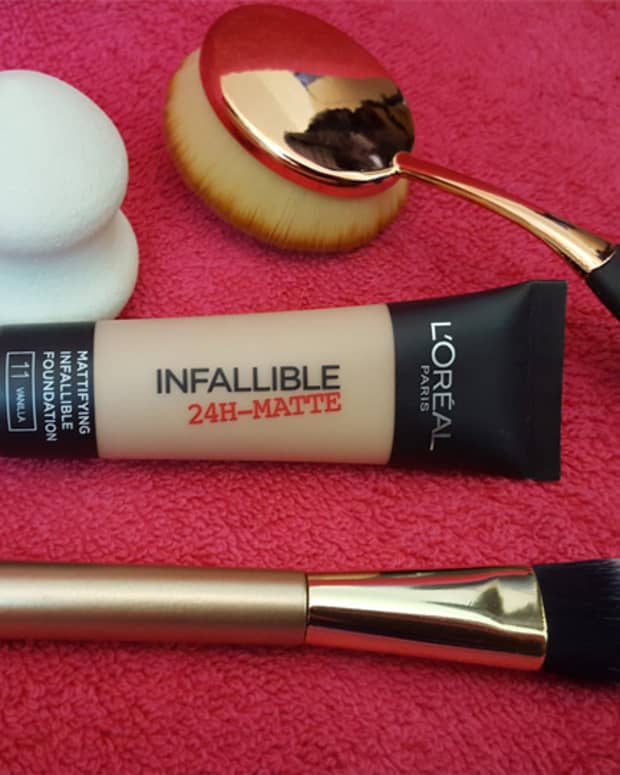
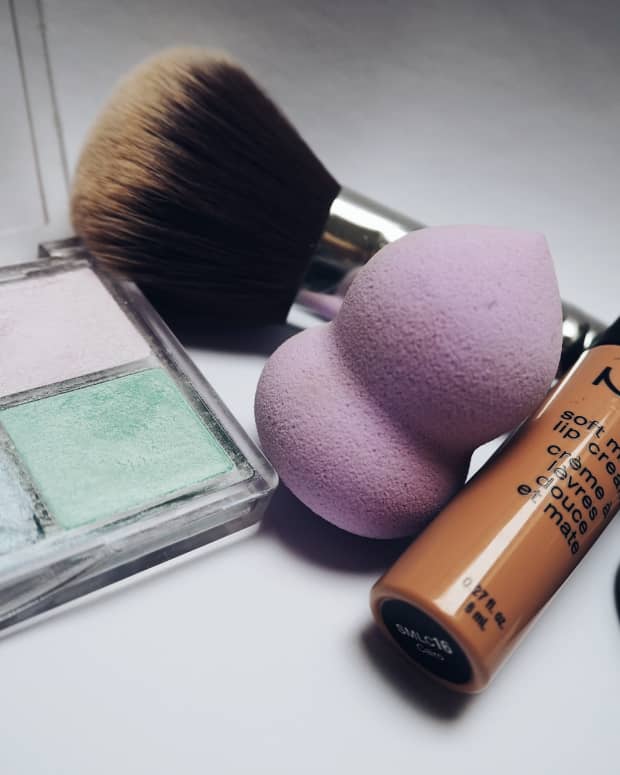
There are three basic ways to apply foundation—with fingers, a makeup sponge, and a foundation brush. Each one has its strengths: using fingers is convenient, and using a sponge means the lightness or heaviness of the makeup is highly controllable because it can be wiped or smudged on or off easily, but my own favourite is a good, soft foundation brush. It gives a flawless finish with minimal blending and fuss, and leaves absolutely no streaks or demarcation lines at all.
I didn’t have a foundation brush for a long time. And, honestly, I never gave it much thought. That is, until I went for a makeover where the assistant showed me how to use one, and I loved the result. I have very pale skin that is far from even, so before I put my makeup on in a morning I am rockin’ that blotchy look! But using my foundation brush and a good liquid foundation, even I get a nice and even skin tone.
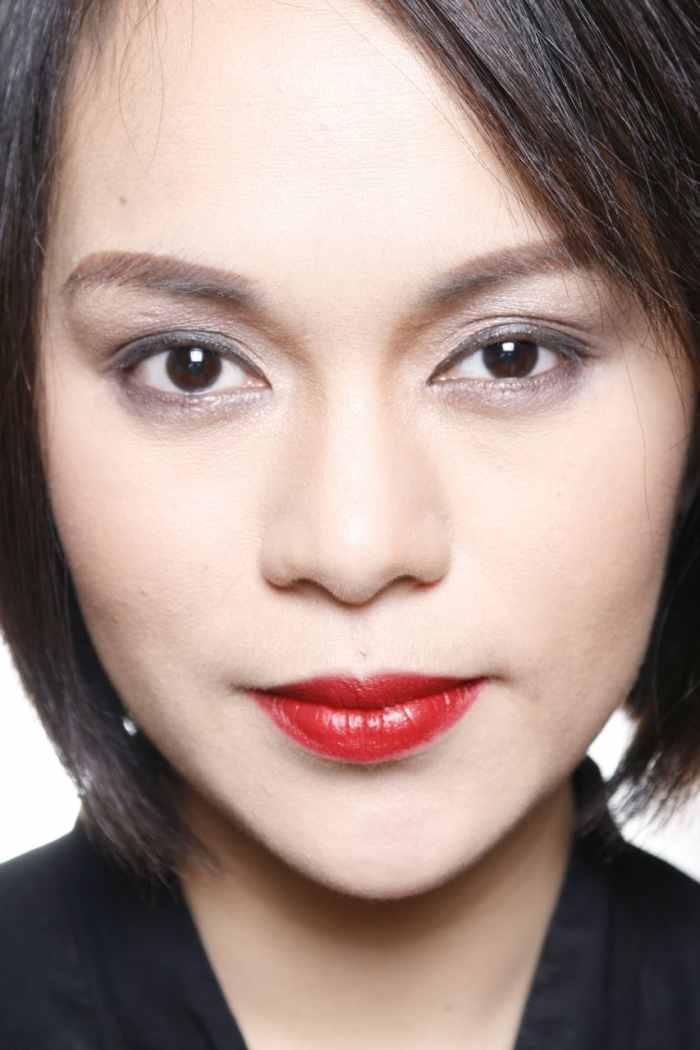
Photography by Jeffrey Avellanosa Makeup by Ms Razel Pong. Used under CC-BY-SA 2.0 Licence.
Fingers
Using fingers can easily drag and pull the skin, and a bit more moisturiser or primer might be needed as a base so that the liquid flows smoothly and stays smooth while blending. Using fingers can be a bit of a hit-and-miss hodgepodge because fingers tend to apply foundation as though it were a moisturiser to be rubbed into the skin, and blending to give a smooth, even finish can be a bit of a trial.
Makeup sponge
These are very good if you have a soft natural sponge and lightly dampen it before use, but they can leave streaks, and blending can be difficult if the sponge is too small or too damp or dry.
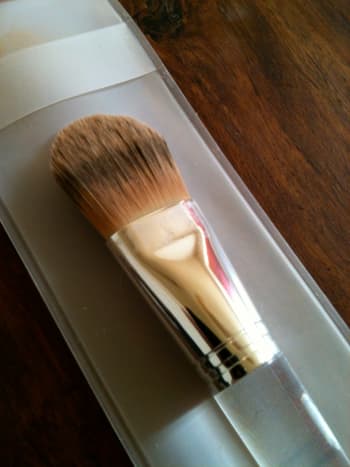
Foundation Brush
A brush is a joy to use and create a perfect look with almost no practice or expertise. For the best results you'll have to pay a bit extra and get a professional-standard brush that is large and has very soft natural bristles. I have a Clinique one that I love, but most of the high-end make-up manufacturers have a selection of brushes that are equally suitable.
But all that said, natural-looking foundation can be applied using any of the three methods – it’s just that some take a bit more work than others. I’ll start with my favourite method of using a foundation brush, and then add the extra steps of the other two ways.


Foundation Brush
- Apply your regular moisturiser.
- Pour a small amount of foundation onto your hand, to act as your 'artist’s pallet'.
- Collect a little foundation onto the foundation brush.
- Start from the centre of your face – the sides of your nose and the centre of your forehead and chin - and brush lightly outwards to the sides. Then blend with light, sweeping strokes at all the tricky areas or demarcation lines at the edges, ‘recharging’ the brush with just a little more foundation as in step 3 when necessary.
- Leave the ridge of your nose, eyes and around your mouth until last, and use only the smallest amount of foundation for these areas, once again blending with sweeping strokes.
Foundation Brush Application Tips
Don’t use foundation as a concealer. Foundation is for evening-out the tone of your skin, but for under-eye shadows (for instance), pat on a dab of specialist concealer first and then apply and blend foundation.
By starting from the centre of your face and sweeping outwards, the foundation will blend with your natural tone more easily and create a subtle illusion of ‘natural’ as there will be just a little more coverage in the centre third of the face, where any sun damage, broken capillaries and minor complexion flaws are most likely to be. Because the coverage will be even without being completely uniform you'll escape the dreaded mask-like look.
Don’t Dot! Concealer is for dotting and ‘patting’, but foundation is for creating light coverage. Professional makeup artists use concealer on blemishes first and then apply a sweep of foundation with a brush. Foundation liquid doesn't necessarily go on 'all over', but rather than dot and then blend, sweep the brush over the area that needs extra attention, and then blend by sweeping again (without 'recharging' the brush with more foundation) to distribute it evenly.
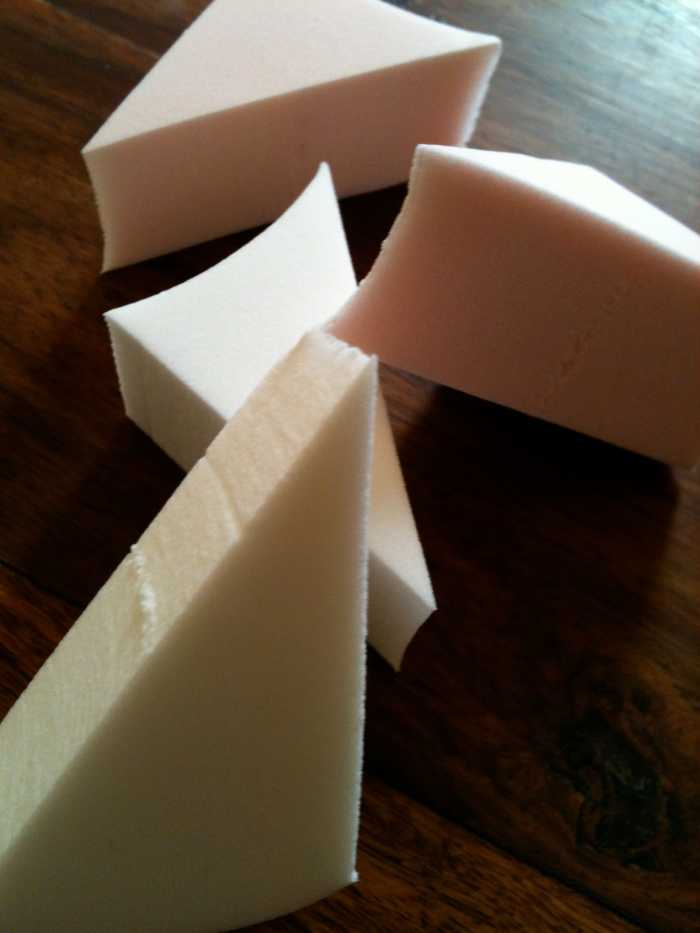
Foundation Sponge Wedges. Photo ©Redberry Sky
Makeup Sponge
- Apply your usual moisturiser.
- Dampen the sponge first with a little water and then squeeze it a few times so the sponge is evenly (and very lightly) dampened.
- Pour a small amount of foundation onto your hand to act as a palette (the same as for the foundation brush method), and then collect a little of this onto the sponge by dabbing it on your 'palette'.
- Again, apply from the centre third of the face – the sides of the nose and middle of the forehead and chin – sweep the sponge outwards to the sides of the face in small strokes, blending gently as you go.
Tips for Foundation Sponge Application
To avoid streaking, make sure your sponge is (1) either new or thoroughly washed in warm water beforehand, (2) slightly and evenly damp so that it’s soft to the touch, and (3) loaded with just a small amount of foundation. Rather than collect a large amount of makeup on the sponge, ‘recharge’ it as you go so that you’re only applying a little at a time on your face.
Read More From Bellatory


Using Fingers for Foundation Application
I used to use my fingers to apply foundation, and it can work quite well. With this method, a little ‘dotting’ is almost inevitable, so you’ll need to blend a bit more thoroughly and make sure that you’re properly moisturised before applying the makeup so that it glides on and you don’t have to tug or drag the skin when blending.
- Apply moisturiser - using a light, thin 'serum' type will work best for this to help the foundation glide on more easily.
- Wash your hands in warm water - if your hands are warm the foundation liquid will stay just that little bit more workable for longer so that you'll be able to blend more easily.
- Put a little foundation onto your fingertips and then, using short, regular strokes, start applying from the centre of the face and work outwards.
- Blend as you go, using the flat pads of your fingers, and as much as possible sweep in one direction – outwards to the sides of the face.
The temptation with fingers is to ‘recharge’ a little too often because they don’t distribute the foundation quite as easily as brush or sponge, but if you are properly moisturised first, and apply and blend quickly and evenly (so that the liquid doesn’t dry out before you have a chance to blend), using fingers can give a nice even complexion and tone.
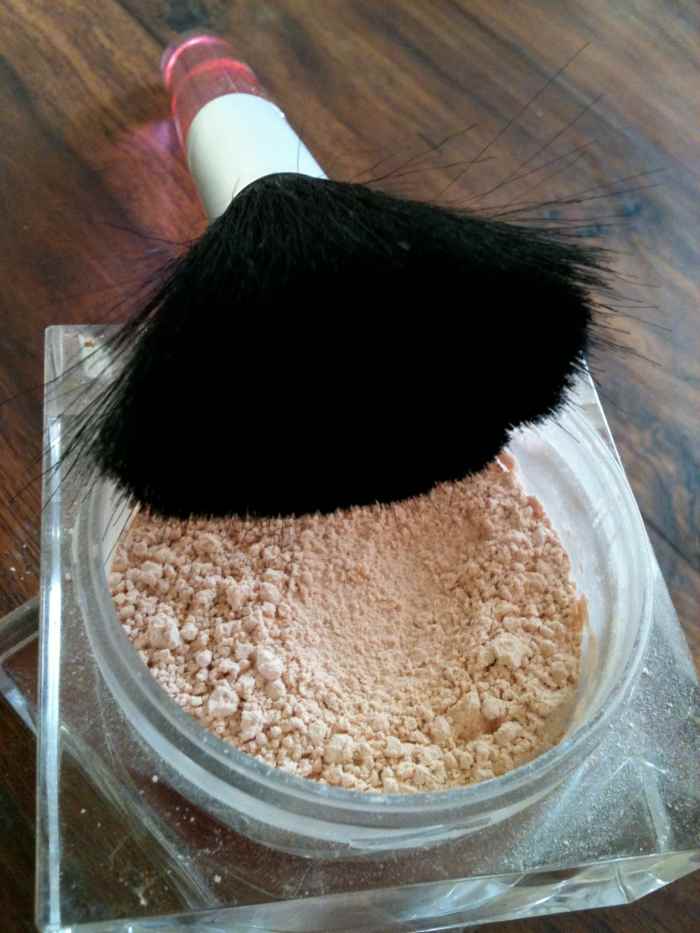
Powder and large soft powder brush. Photo ©Redberry Sky
A Few Tips for a Natural Appearance with Foundation
Liquid foundation sets quickly because it is applied in such a thin layer. The thin layer is great for a natural appearance, and brushes and sponges make the most of it and distribute it rapidly and evenly in a few sweeps.
If you use your fingers to apply, cream foundations might be a bit easier to use because they don’t set quite as quickly, so they give a little more blending time.
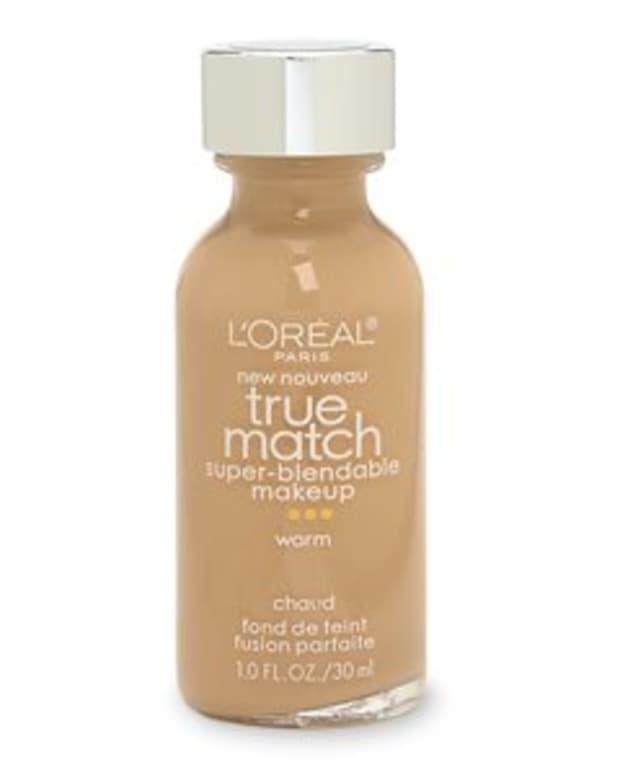
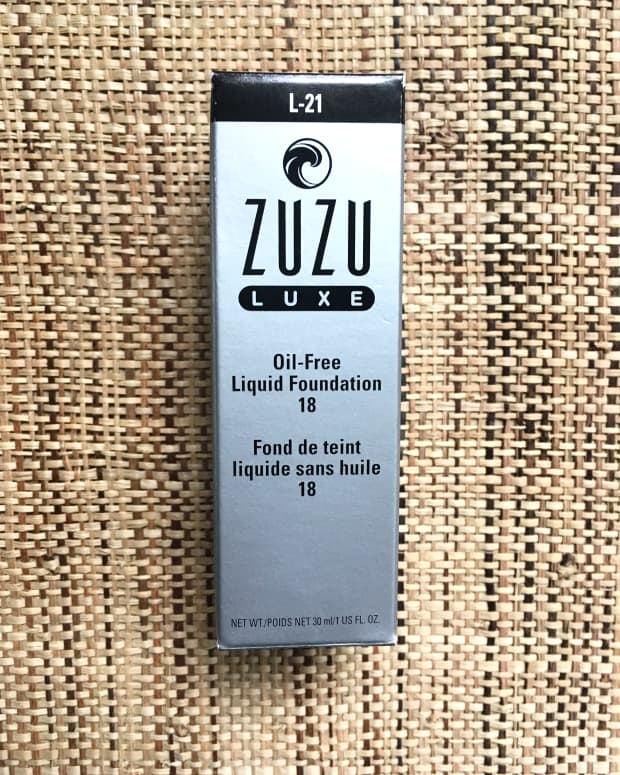
Use a foundation shade and tone that is an exact or very close match to your natural shade to avoid demarcation lines or patchiness. If you absolutely cannot find the right shade for you, a BB Cream or tinted moisturiser might be better than using the wrong foundation shade – they’re a little more forgiving and each shade has been developed to complement a much wider range of skin tones. The BB Creams I’ve tried are applied in the same way as foundation, but they are much more like moisturisers, and go on almost as easily and evenly as a moisturising cream.
Setting Powder/Face Powder – if you use this, apply it with a large soft brush and dust very lightly over the face to avoid clumping or patches of powder (and apply it before mascara or your lashes will end up looking festively snow-tipped!)
Problem Skin
If you have very oily, very dry or any other kind of ‘problem’ skin, or a skin condition like acne or rosacea, don't apply makeup to cover the problem - get advice from a dermatologist. Common mild skin problems can often be addressed with simple diet and exercise changes, or low-dose antibiotics or other medication, but applying makeup to cover up problems can end up making them much worse.
This content is accurate and true to the best of the author’s knowledge and is not meant to substitute for formal and individualized advice from a qualified professional.
Comments
BuyMeBeauty on July 24, 2015:
I've always steered away from liquid foundation because I could never get it to look as natural as just using a BB Cream or powder. I think I'll try applying it with a sponge and using a setting powder on top. Thanks for the tips!
Rebecca Mealey from Northeastern Georgia, USA on March 10, 2013:
Interesting facts about how to apply make-up. I need all the hints I can get on applying foundation. I have a hard time getting it to look natural!
Redberry Sky (author) on February 03, 2013:
Hi Learning in Life, glad to find another brush fan :) I must admit I'm a little envious of your MAC make up, it's a fabulous brand. Oh dear, I feel another shopping trip coming on ...
Megan Garcia from Florida on February 03, 2013:
I started using a brush for my liquid foundation recently and it looks so much better. I never knew you could apply it like that until a MAC girl showed me to cover tattoos for work.