Hair DIY: How to Do Hidden Rainbow Hair
Tori loves dying her hair all colors of the rainbow and shares her tutorials with others.

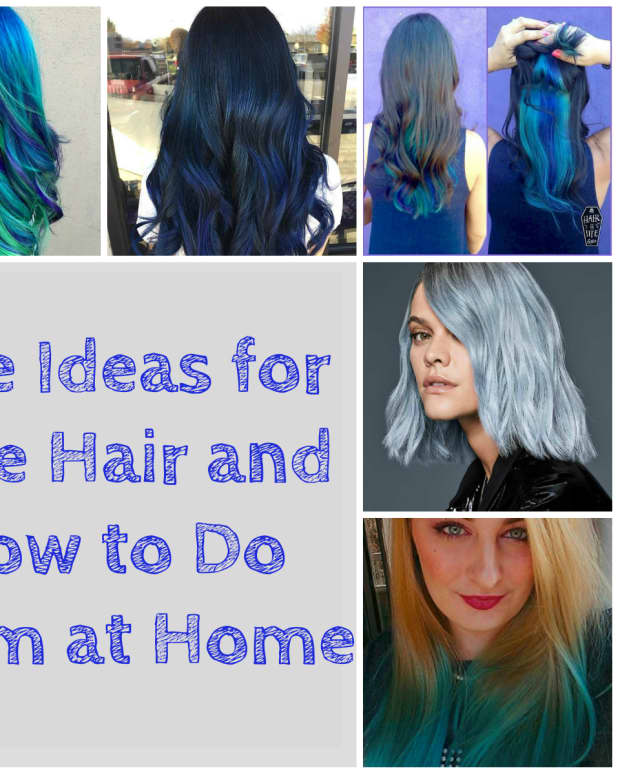
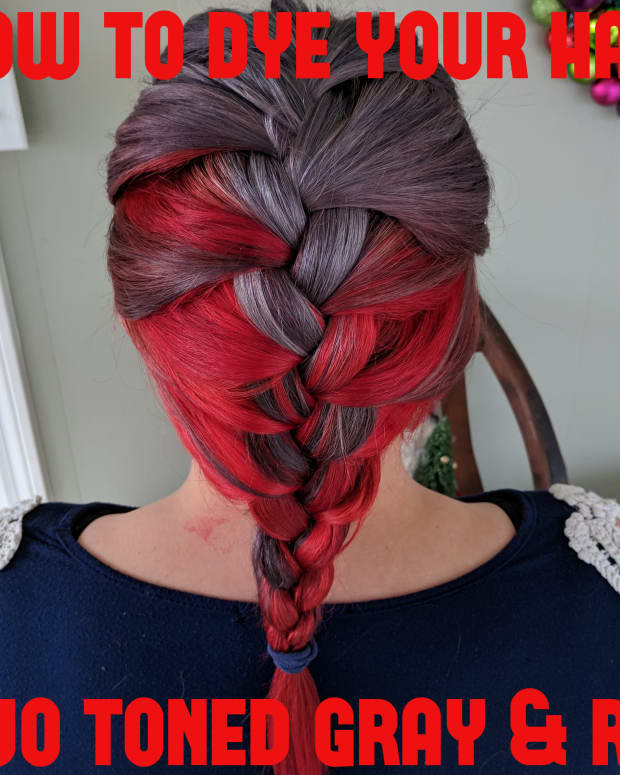
Give yourself hidden rainbow hair at home.
hellovictoria
Why Hidden Rainbow?
Hidden rainbow hair is so pretty, but also extremely functional as well. It's when you color just a section of your hair instead of your whole head, and the color is only revealed if you wear your hair a certain way or move your hair in a certain direction. Hidden rainbows are particularly awesome for people who want to dye their hair bright colors but work at companies where it is frowned upon to have unnatural hair colors.
The other thing about hidden rainbow hair is that you do not have to do an actual rainbow—it's just the name of the trend! There are many ways to execute the look. You can have it on the side or the back of your hair; the whole length of your hair or just a section that doesn't touch your roots or ends. You can also apply the color in many different ways—streaky, ombre, patterned, or just one color.
I am lucky enough to work at a company that does not care what color my hair is. My coworkers have seen all of my hair color excursions, from every color of the rainbow in dip dye to hidden rainbow, tinting, highlights, et cetera. When I cut my hair in April after I decided to stop dip dying it, many of them were asking me what color or style I would be doing next. I was in my cousin's wedding in July, and I didn't want my hair colors to take away from her wedding, which is part of the reason why I cut it in the first place—that and my ends were getting pretty damaged from re-bleaching.
After the wedding in July, I wanted to dye my hair again but I was a little more apprehensive about what to pick since my hair was pretty short. I didn't want to do any colors that would not wash out after a couple of washes because I still wanted the freedom of redying other colors or going back to my normal blonde if I wanted to. I also wanted to be able to hide the dye if it didn't work out so well since my hair was short. So I settled on a hidden rainbow.
How I Chose My Colors
When I was deciding on my colors, I already had a pretty large collection of colors underneath the sink so I didn't want to buy anything new. I also knew I didn't want to use blues or greens. If you've read my previous hubs, you know that the blues and greens are a little bit more difficult to remove and I wanted to do some bright colors before I did steadfast colors.
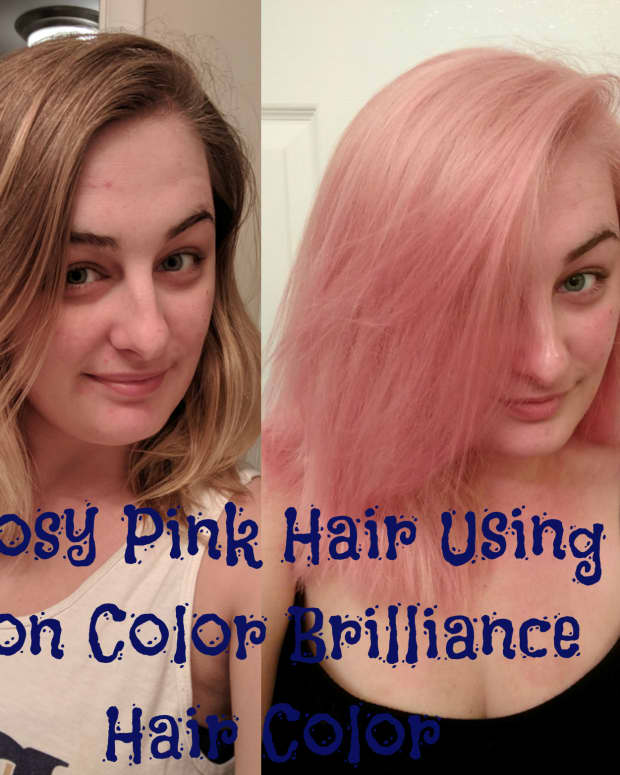
I ended up using Ion Color Brilliance in Cantaloupe and Manic Panic in Wildfire. Since my hair is already blonde and I didn't want to look like a McDonald's mascot, I mixed the Cantaloupe with a tiny bit of the Wildfire to make a pastel creamsicle orange.
I decided to do the rainbow in an ombre style with the lighter color on top fading into the darker color. This is a good way to do multicolored ombres at home. I say this because when you are working with reds, pinks, oranges, and yellows, I have found that if you put the dark color on top, and the light color on the bottom, if you aren't careful with how you rinse, then the darker color will almost always overtake the lighter color during rinsing. I haven't figured out an at-home way to prevent this from happening other than trying to rinse lighter sections first and darker sections last.
Things You Will Need
| Product | Where You Can Buy It |
|---|---|
Various Colors of Hair Dye (I used Ion Color Brilliance in Cantaloupe and Manic Panic in Wildfire | Sally Beauty, Ulta Beauty, Amazon |
Application Brush | Sally Beauty, Amazon |
Separate Bowls for each of your hair dye (glass or porcelain is best so it doesn't dye your bowls) | Your Kitchen |
Rubber or Silicone Gloves | Sally Beauty, Walmart, Amazon, Grocery Store |
Plastic Wrap or Tin Foil | Grocery Store |
Hair Lightener (I like Ion Powder Lightener in the Purple Tub) | Sally Beauty, Amazon |
Creme Developer for the Powder Lightener (I like Ion 20 volume developer) | Sally Beauty, Amazon |
Conditioner | Anywhere |
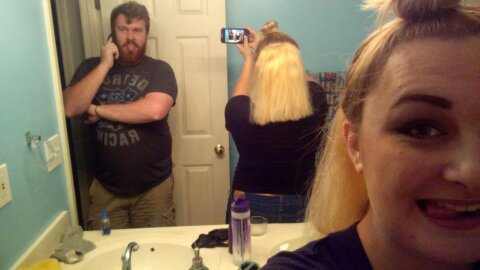
As you can see in this image from the Killer Strands Hair Clinic, you'll need to apply the bleach but be very careful to only apply to the section you want the bleach to be on. This will require a buddy's help.
Directions for Sectioning Hair and Applying Lightener
- Decide where you want your hidden rainbow to be. There are many placement ideas for where you could put it online. My favorite places are the middle side and middle back of the head.
- Start with parting the hair that will be on top of your rainbow. You can make the part straight across, zigzag, or rounded depending on your preference. Section the hair that will be remaining normal color up out of the way with a rubber band or hair clip.
- If you want normal hair underneath your hidden rainbow as well, you will need to create a second part underneath the section of hair you will be dying. Put this hair in a ponytail and wrap it with plastic wrap or tin foil to protect it from the bleach and dye.
- Mix the powder lightener and the creme developer to make your lightening mousse.
- Starting with the roots, apply the bleach like you are painting to all of the hair. You will more than likely need an extra set of hands to help you with this part. I had to have my boyfriend help me paint the bleach since my rainbow section was on the back of my head and I couldn't see.
- Wrap the section in plastic wrap or tin foil and allow it to process between 20–30 minutes depending on the directions of your hair lightener.
- When it's ready to rinse out, you will need an extra set of hands to help you rinse. Sit in a chair with a towel over your shoulders, and tip your head back into a sink. Have your buddy rinse the bleach out of this part of your hair. A sink with a retractable faucet is much easier to use when rinsing, but you can also have your buddy fill a container and pour water on the bleached section to rinse. You do not need to rinse the sections of your hair you have designated to not color.
- Condition hair, and rinse conditioner. Towel dry the newly lightened section of hair.
- If the hair has not lightened enough, wait a day or two and lighten the section again until it is the desired blonde that you prefer for the color application. Be careful not to bleach too many times, or your hair will become very damaged. If you only had to process once like me, apply a heat protectant to the bleached section and blow-dry so you can move directly on to the color application.
Read More From Bellatory


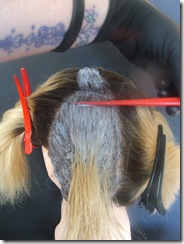
This is the section I lightened after I have blow dried it. I only had to lighten it once. My boyfriend helped me apply the lightener so that i didn't get it on other parts of my hair.
hellovictoria
Sectioning Hair for Ombre Color
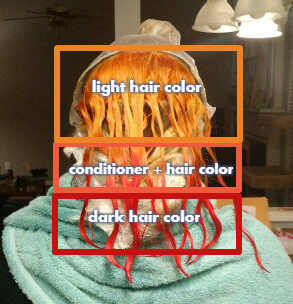
These are the sections of color mixtures that are described in the instructions. As you can see underneath the parts I've dyed, I have wrapped the hair that I don't want to get dyed in plastic wrap.
hellovictoria
Directions for Applying Color (Ombre Style)
- Make sure your designated non-color areas of hair are pulled up and out of the way. If you have elected to have a section of hair underneath your hidden rainbow remain the same color, make sure that section is covered with plastic wrap or tin foil prior to dying. The directions can be a little confusing, so if you need help understanding the steps, refer to the diagram of where to apply each dye mixture!
- Squeeze the color you'll be using for the top into a bowl. Have your buddy paint the dye on from the roots to where you want the dye to fade into the next color. Make sure to color inside the lines so as not to dye any sectioned no-dye hair.
- In a separate bowl, squeeze some of the bottom color into a dish and mix with an equal amount of conditioner. This mixture is going to assist in the transition of one color to the other to get a great looking ombre.
- Because this dye is a transition color to your dark color, you don't want to apply it underneath where you stopped your first dye - you want to put it on top. Apply it to about a 1-inch section of hair where you've already put your lighter dye, and bring it down about a half-inch into the uncolored hair.
- In another bowl, squeeze pure dye and apply to your hair from the conditioner/dye section all the way to the ends of your hair.
- Let the color process for 45 minutes to an hour or more. If you are using Manic Panic, Ion Color Brilliance, or One 'N Only Argan Oil hair dye, the color is non-toxic and can stay in as long as you like. The longer you leave it in, the longer the color will remain before fading out.
- Get your buddy to help rinse your hair in the same way that you rinsed from the bleach. Rinse from the root first then work your way to the ends to prevent any color bleeding.
- Condition and then either towel or blow-dry.
Directions for Applying Color (Streak Style)
- Make sure your designated non-color areas of hair are pulled up and out of the way. If you have elected to have a section of hair underneath your hidden rainbow remain the same color, make sure that section is covered with plastic wrap or tin foil prior to dying.
- Squeeze each color into a separate bowl.
- Section out a small strand of pre-lightened hair.
- Have your buddy help you apply a color with the brush from the root to the tip.
- Wrap the strand in plastic wrap or tin foil.
- Select the next strand of hair, and using a different color, repeat steps 3 and 4.
- Repeat steps 2–5 until all strands are colored and wrapped.
- Let the color process for 45 minutes to an hour. If you are using One 'N Only Argan Oil, Manic Panic, or Ion, you can leave the color in as long as you like because the dyes don't contain damaging chemicals.
- Have your buddy help you rinse your hair. I recommend removing each tin foil/plastic wrap individually, and rinsing one strand at a time to prevent your darker streaks from bleeding rinsed color into your lighter strands.
- Condition and then either towel or blow-dry.
The Finished Product
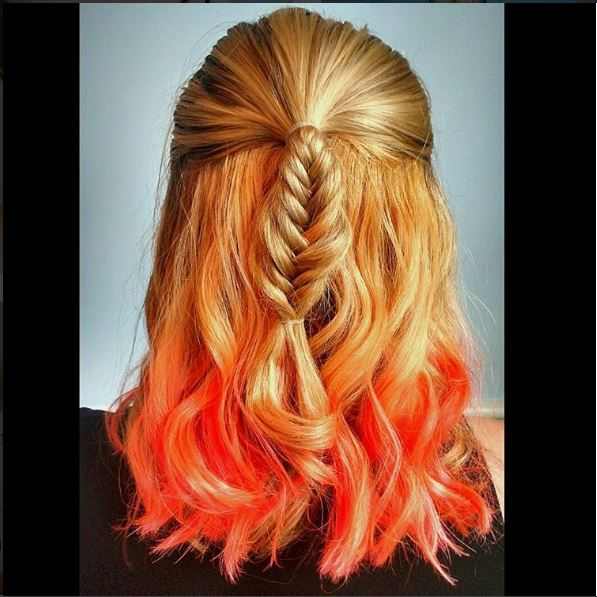
The finished product is bright color that is easy for me to hide or show off whenever I want to!
hellovictoria
This content is accurate and true to the best of the author’s knowledge and is not meant to substitute for formal and individualized advice from a qualified professional.
Comments
Lindaslife on March 25, 2018:
Thank you for the streak style tutorial. This was a big help. I also love the idea of adding conditioner to get some lighter colors. I'm working with splat blue envy and purple desire. They seem to work great for me. Again, thank you! :)
Lynn Fox on February 13, 2017:
Wow looks good. You're instructions seem easy to follow too. Great job.
Kathleen Motteler on November 20, 2016:
Good Job!