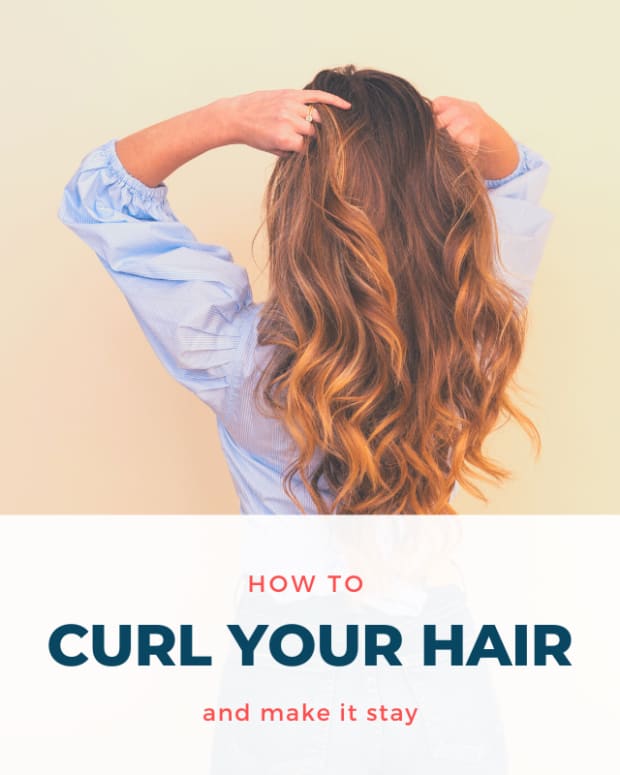
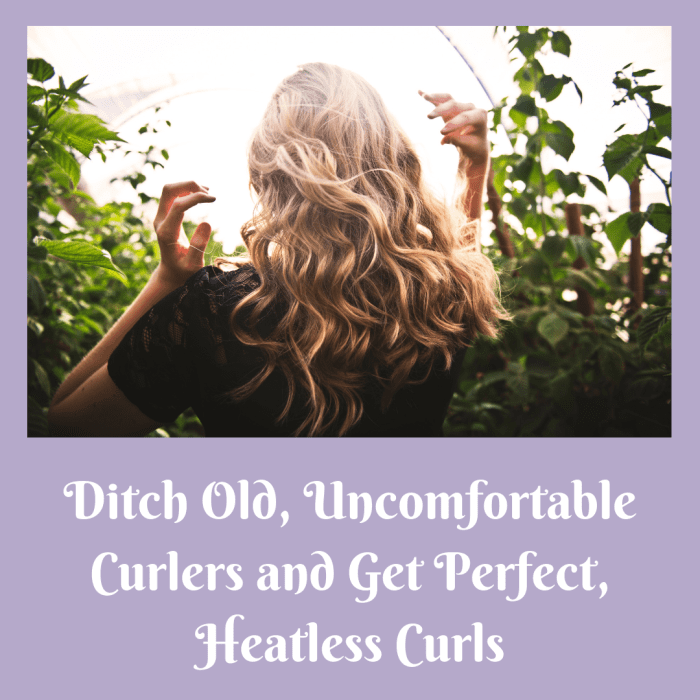
5 Ways to Get Overnight Heatless Curls
Javayria is a hair styling enthusiast who loves to experiment with ways to do hair for everyday wear and formal occasions.
Here are five ways to get beautiful pain-free curls.
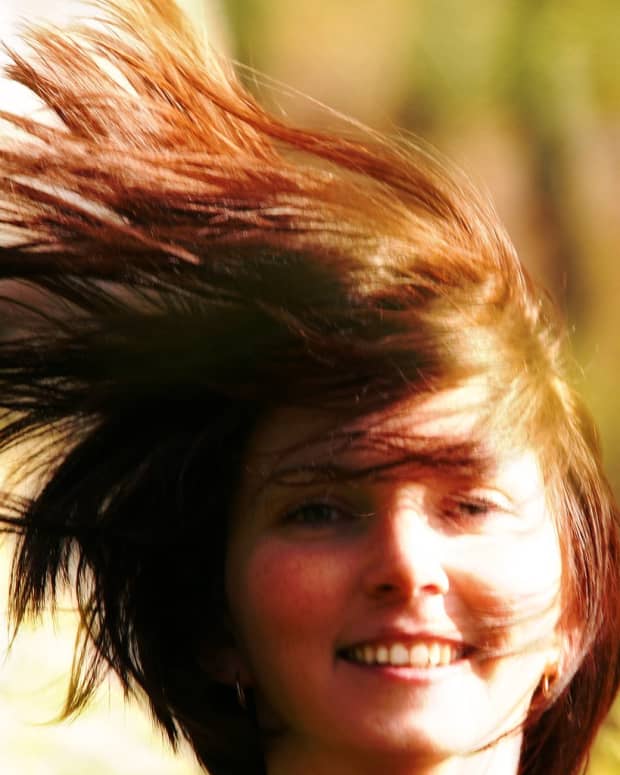
Photo by Tim Mossholder via Unsplash
Why Heatless Curls?
Curls have withstood the test of time. Hairstyle trends come and go, but curls continue to be used to transform hairstyles from normal to sophisticated, whimsical, and fun. They can be used to create a softer look and are a great way to wear your hair both pinned up or down.
If you are like me, you know how frustrating it is to curl your hair with a straightener or curler in the morning. It takes up so much time, leads to damaged hair, and can cause painful burns. It is a struggle to get gorgeous curls in the morning, or before a party, and then to have to use a ton of hairspray to make them hold.
The perfect solution is clear and easy—overnight heatless curls!
Benefits of Heatless Curls
Many people think that heatless curls aren't worth the hassle and don't give nearly the same look as curling irons or hot curlers. That is partially true, they do take much longer, but they are safer and ready when you get out of bed in the morning. They are ideal for everyday use, not necessarily for an upcoming wedding or formal party. If you want to go to work or school with lovely curls, these are the way to go!
- They can be done at night and are ready for you in the morning. Seriously, who doesn't want hair ready right from bed? Forget the morning rush and have one thing less on your mind.
- They only require water and are completely safe and healthy for your hair. They do not burn or damage hair, yet give amazing results.
- There is so much variety! You can change the thickness of whatever method you are using, and can give yourself ringlets, tight curls, large bouncy curls, or beachy waves. It is completely up to you!
Perfect curls using the straw method.
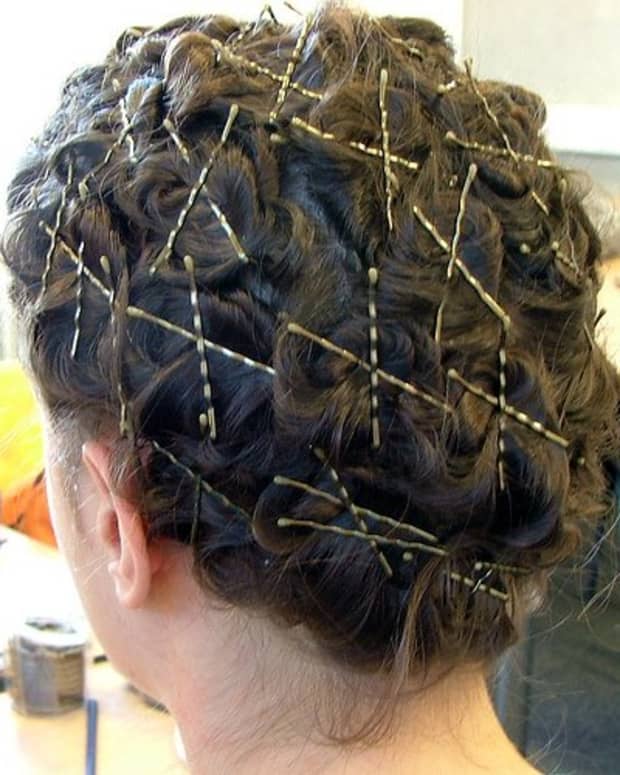
1. Paper Towel Curls
These are one of my absolute favourites! They are super easy, and they work equally well on thick or thin hair. If you have thick hair, then these are the curls for you. Paper towel curls generally come out as tighter ringlets and look stunning half-pinned up or swept into a bun.
- Cut paper towel sheets into two pieces, and cut as many as you need.
- Dampen, not soak, your hair and separate a 2–3" section of hair.
- Roll up the damp hair on the paper towel, starting at the end of the hairpiece, until you reach the scalp.
- Tie the ends of the paper towel together, and if necessary, pin the ring of hair to the scalp.
- Repeat this all the way around your head.
- Tie a scarf around your head before going to sleep to reduce frizz.
- Sleep overnight.
- Wake up in the morning and carefully open and release your curls.
- Run your fingers gently through to pull them apart, and style as you wish.
Voila, there you have a head full of gorgeous curls! In my personal experience, these curls and sock curls turn out the best. They are absolutely worth it and are my go-to method for heatless curls. These will not disappoint!
How to Create "No-Heat" Paper Towel Curls
2. Sock Curls
Sock curls are probably the most comfortable to sleep on, and are extremely easy and quick! They are basically paper towel curls but with socks. These, or the paper towel curls, should be the first method you try because they have the most promising results.
- Dampen hair very slightly.
- Take a sock (not an ankle cut), and wrap a 2–3" piece of hair around it. It depends on how you wrap the hair for the shape of the curl. For more spiral curls, wrap in a spiral effect downwards (like in the video). For more bouncy and natural-looking curls, roll upwards like the paper towel curls.
- Tie the ends of the sock tightly.
- Wrap a scarf around your head to reduce frizz, and sleep overnight.
- Untie the socks, and gently undo the curls.
- Separate the curls with your fingers.
You can leave your hair down, do a high ponytail, or twist the front pieces from both sides and pin back. Spirals come out nicer with sock curls and are easily achieved. No matter what, it will look stunning
Tip: The trick with these is that you cannot put too much hair on the sock. You have to put a small piece of hair on the sock to make the curl more defined, and wrap it very tightly. Also, make sure that they are nearly the same sized socks to make the curls look uniform and not messy.
Heatless Sock Curls
3. Headband Curls
Headband curls give a softer look and are more like the type of curls that you expect from curlers and straighteners. They are loose, spirally curls that are perfect for a picnic or a special day at work or school. I have found that these work much better on thin and fine hair, and they do not work as well on thick hair. I also think they come out more wavy than curly, but they will still look amazing.
- Take a headband, or bandana that is folded in half, and place it around your head. My personal tip is to tie a scarf around, so it is much easier to take them out by untying in the morning.
- Dampen, not soak, your hair.
- Starting at the front on one side, loop a 2–3" piece of hair over and then under the headband and let go.
- Add the previous piece of hair with the next section, and continue looping until you get to the back.
- Repeat on the other side, and pin the two pieces of hair at the back under the headband.
- Sleep overnight.
- Unpin and untie the scarf, or take out the headband.
- Run your fingers through the curls and pin half-up, or just keep them down.
Read More From Bellatory


These make lovely, loose curls perfect for any occasion! I think that you could wear it during the day as an updo with a cute headband, and then have gorgeous curls the next day. A perfect 2-in-1!
These are much quicker than the previous methods and are much easier than I explained. Watch the video to get a full tutorial on how to get these curls.
Headband Curls Tutorial
4. Straw Curls
If you are looking for tight, springy curls with tons of gorgeous volume, these are the ones for you! They work well on any length of hair and create a style that makes hair look thick. They look the most uniform and come out the prettiest of the methods I've outlined, but they do require more work. They are totally worth it though!
- Dampen hair slightly (these do not need as much moisture as the other methods).
- Start from as close to the scalp as you can or they will end up looking awkward and misplaced.
- Take a 1–2" piece of hair, and wrap it around the drinking straw (the thicker, the better). If you want thicker curls, wrap more hair around the straw.
- Pin the end of the hair to the straw with a bobby pin.
- Bend the ends together, and tie with a rubber band to secure.
- Repeat around the head.
- Sleep overnight.
- Take out curls in the morning. Because these are tighter, separate curls with your fingers to give a soft, voluminous look. Keep out or clip one side back, and enjoy the day!
These are great if you want more prominent, fun curls. They come out much neater looking than any of the above methods. Remember, these do require tight wrapping of the hair so that they don't slide off the straw, and the thicker the straws, the better!
Heatless Straw Curls
5. French Braid Beach Waves
Some days you want an easy, more loosely-done look. Beach waves are perfect! They are loose, curly waves that look effortlessly fresh. However, if they are done wrong, they won't look very beach wave-like.
This method produces waves that have a bit of a curl to them, so they won't fall out as you go through the day.
- Dampen hair slightly.
- Split hair into two parts.
- Starting from the top of one side, french braid tightly on one side and braid until the end.
- Loop the ends of the braid through the hair tie so that the ends have a bit of a curl to them.
- Repeat on the other side.
- Sleep overnight.
- Open the braids the next day to get lovely waves.
Style as you wish, but beach waves generally look better when the waves are left down. Add some hairspray and there you have beautiful, breezy beach waves!
This is another one of those 2-in-1 hairstyles. Wear two french braids one day, and have beach waves the next day!
How to French Braid Hair Like a Pro
Try Them Out!
Remember, it's all up to you. Choose which one you think will give you the best results on your hair, and keep in mind that no matter the method, they all have to be wrapped tightly. Experiment on your hair, and see how your curls turn out!
Questions & Answers
Question: On the 4th method listed in this article, what do you mean when you say in the parenthesis "the thicker the better," thicker the straw or thicker the piece of hair?
Answer: In this case, the thicker the straw because it will make softer and less frizzy curls. If too much hair is wrapped, then the curls will slip out. So bigger straws, less hair.
Comments
Shadow Ranger on July 16, 2020:
Wow, this article is really well written! I will definitely try them out!
Joe on January 05, 2019:
Amazingly written, will try it out!