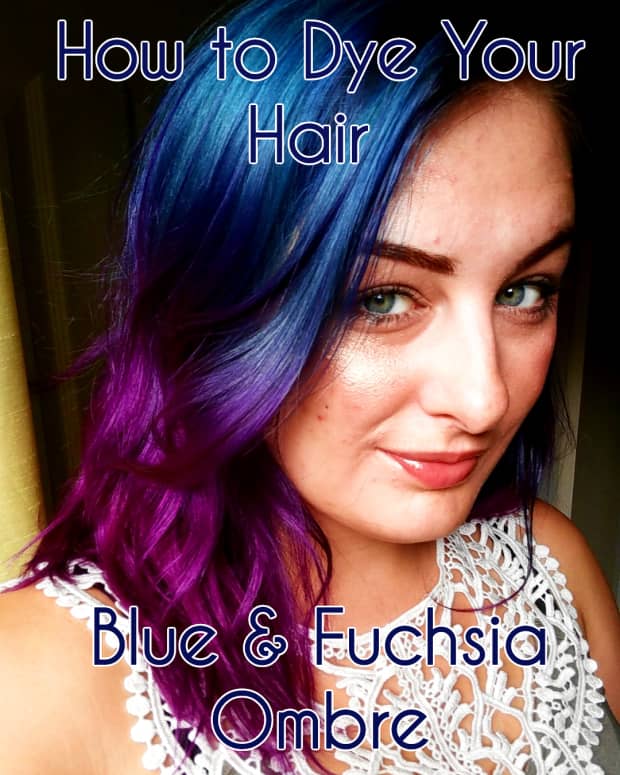
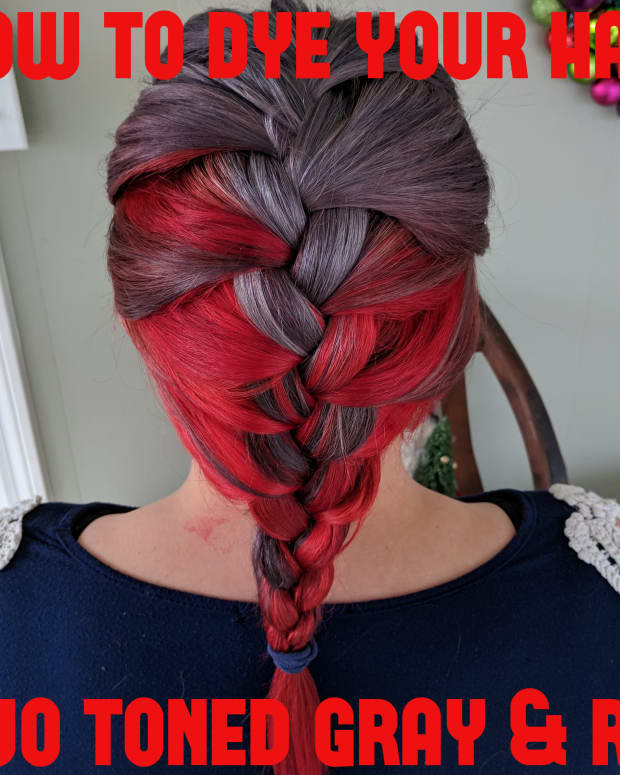
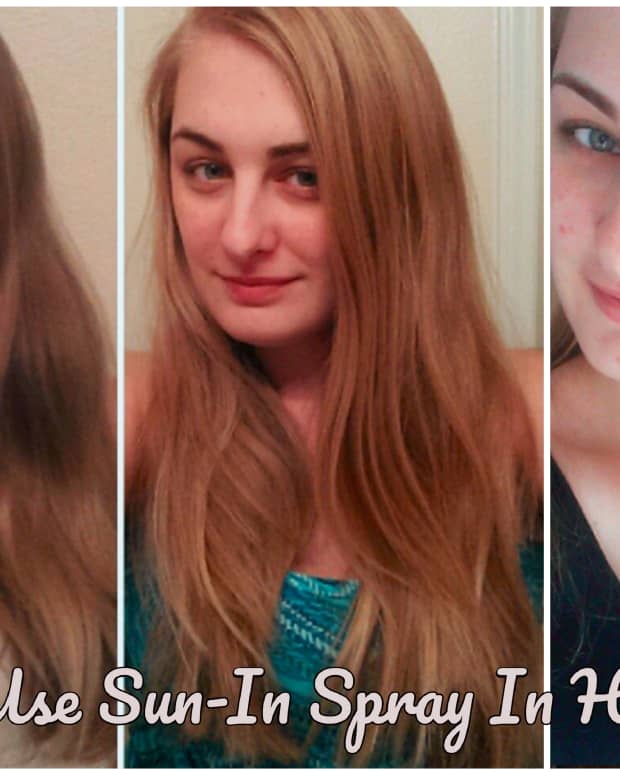
Hair DIY: How to Dip Dye Your Hair
Tori is a 28-year-old, three-time animal mom and DIYer living in Northern Atlanta with her boyfriend.
Dip dying your hair at home can be easy if you follow my guide.
hellovictoria
Disclaimer
I am not a professional hair stylist and this tutorial is based on my personal experience of dip dying my hair several times on my own. Additionally this tutorial is not meant to be used with permanent/demi-permanent dyes. If you are following this tutorial your dye should be semi-permanent or temporary.
You Will Need:
| Item | Where You Can Buy |
|---|---|
Color Mixing Bowl | Anywhere |
Hair Color Applicator | Sally Beauty Supply, Amazon |
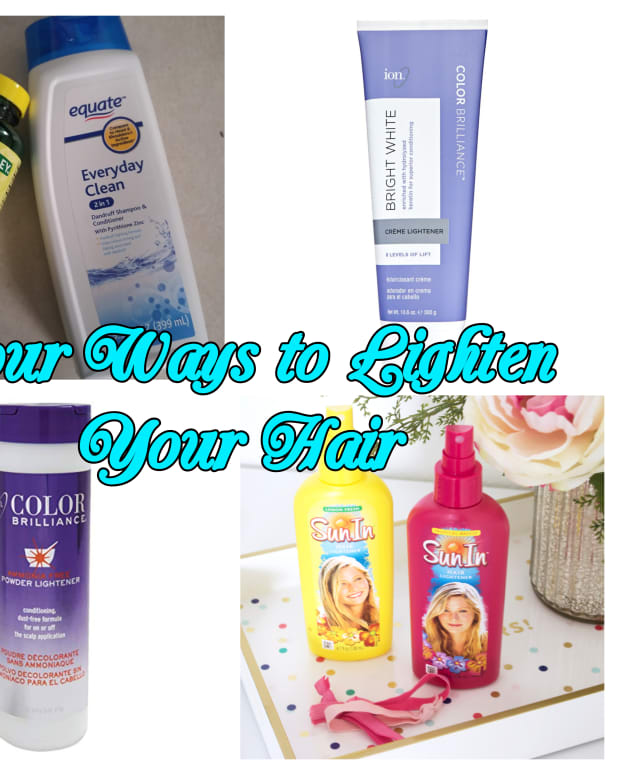
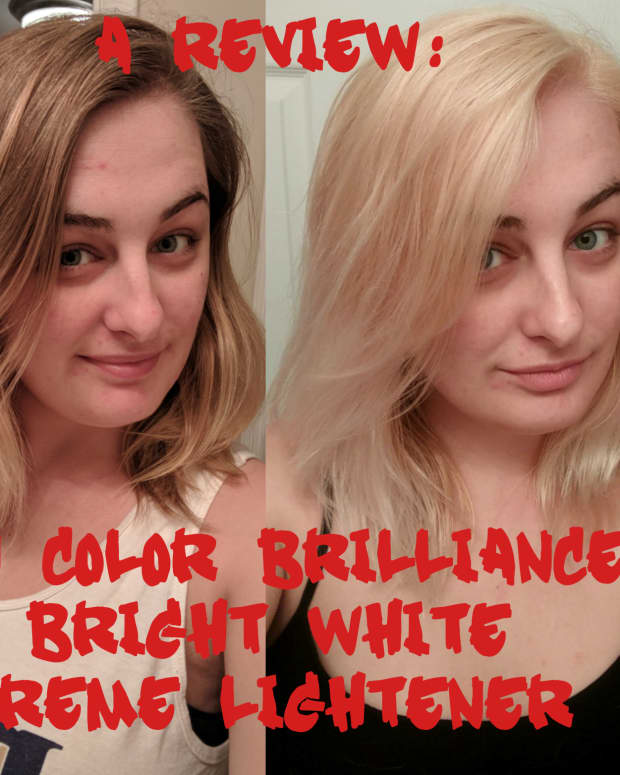
Ion Bright White Creme Lightener | Sally Beauty Supply, Amazon |
Ion Sensitive Scalp Creme Developer (20 or 30 Volume) | Sally Beauty Supply, Amazon |
Gloves | Anywhere |
Bright Hair Color of Your Choice (I recommend Arctic Fox or Manic Panic) | Sally Beauty Supply, Amazon, Distributor's Website |
Purple Shampoo | Sally Beauty Supply, Ulta, Walmart, Amazon |
Hair Oil or Leave In Conditioner (I recommend OGX Argan Oil or It's a 10 Miracle Leave In) | Ulta, Amazon, Walmart |
Your Favorite Conditioner | Anywhere |
Hair Ties or Clips for Sectioning Hair | Anywhere |
Plastic Wrap or Tin Foil | Grocery Store |
Step 1: The Lightener
The first step to getting your colorful ombre is bleaching your hair. In order to bleach properly, you need to know a little about how hair bleach works before you do it, or you could seriously damage your hair.
What Is Bleach and Developer?
Most hair bleach comes with two components that you have to mix together in order to make the mixture that goes on your hair: lightener and developer. The lightener itself is typically a powder or creme, then you add a liquid "developer" to the lightener in measured amounts to create the mixture. The developer comes in different volumes in order of lifting strength: 10, 20, 30, and 40. My preferred brand of lightener and developer is Ion Bright White Creme Lightener and 20 Volume Developer.
Ten is the weakest volume and will take the longest to lift your hair to lighter shades. 40 is the most powerful and works the fastest to lift your hair to a lighter shade. But using 40 volume developer comes with a price. Because it pulls the color out faster, it will damage your hair much more quickly. My recommendation for anyone with any color of hair is to start with 20 volume. If your hair is really dark, you could use 30 volume.
Now, I can understand the yearning to have the end result quickly—but trust me on this, you really want to be patient when working with hair lighteners. When lightening your hair, you will almost never get the shade you are looking for after the first round unless your hair is already very blonde to start with, or you don't want it to be platinum before you put the color in.
How Light Should I Go?
Keep in mind that your hair does not need to be platinum or white before you can put the color in. You can stop lightening your hair if you are happy with the result before it gets to platinum. You just need to know that the darkness of your hair after lightening will affect how bright the color appears. The whiter your hair is, the brighter and more vibrant the color will be, but the more damage may be visible. The darker your hair is, the darker and more muted the color will be.
When lightening your hair, if you choose to do multiple sessions, it is best to space out the bleach sessions between 3–7 days to let your hair rest, making sure to condition it well in between sessions. If you have to bleach more than twice to lift the color out enough, then you definitely need to space it out much longer, between 7–10 days.
You may end with an orange or yellow tone after lightening. If you want to, you can add an in-between step of using a toner such as Wella T-18 to reduce the orange and yellow tones.
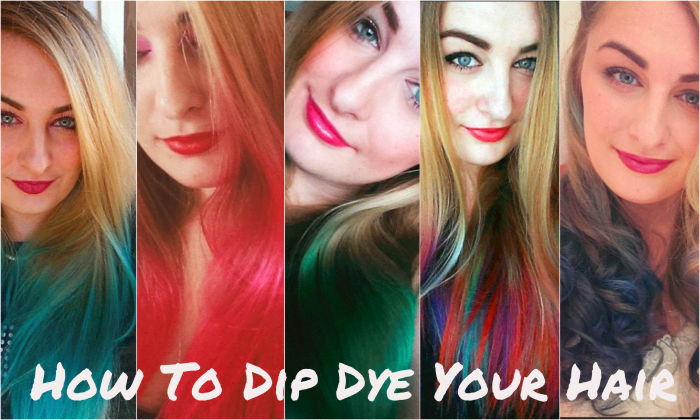
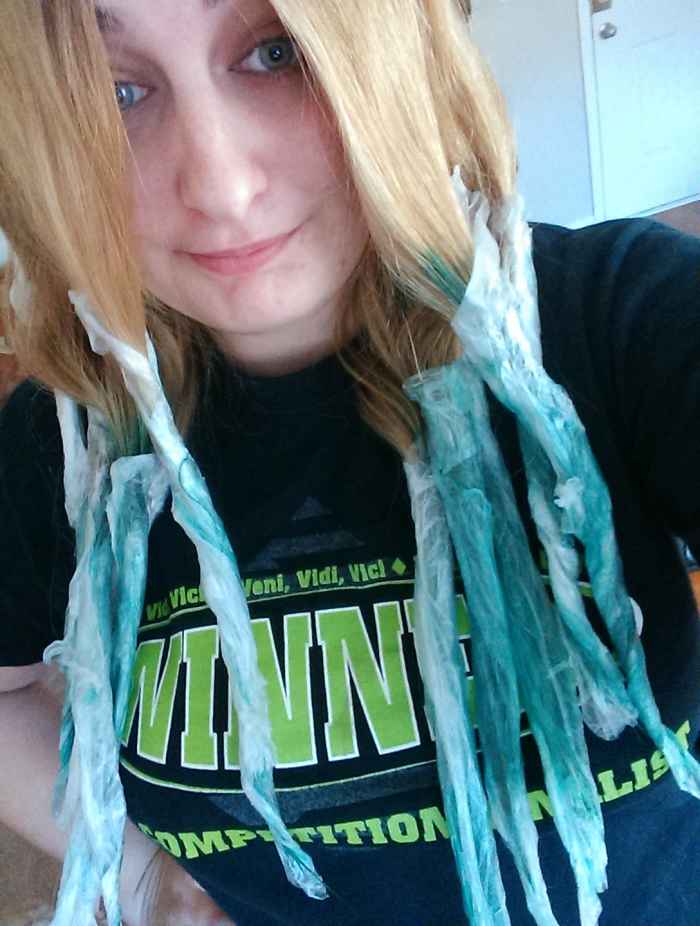
Here the lightened section of my hair fresh from the shower after two sessions for my hair. you can see it got pretty light.
hellovictoria
Dip Dying Without Lightener
The first time I dip dyed my hair, I had it done professionally. I was a little too scared to do the bleaching just yet, so I had my stylist do a nice navy-turquoise color by Pravanna without bleaching my ends. The color looked SO awesome and it turned out great. But the problem with my hair, which up to that point had not been dyed, was that it didn't absorb the dye very well. It looked so gorgeous but started fading after the second time I washed it because my hair was so thick and strong that the color did not take very deep.
If you are non-committal to bright-colored hair, and your hair is not bright blonde already, I do recommend dip dying without the bleach so that you can see whether it's something you want to do in the future. I also recommend getting it done professionally the first time, just so that you can get a feel for everything and know that it will look awesome the first time around before you start trying to do it yourself. However, you can definitely do it at home with a couple of hours and an extra hand!
Directions for Applying Lightener
- You will need gloves, a bowl for mixing, the lightening powder or creme, developer, plastic wrap or tin foil, and a hair color applicating brush.
- Decide on the line where you want your eventual color to stop so that it can fade into your normal hair color. For me, that line was about 8 inches up from my tips.
- Divide out a section of hair and mark that line with a clip or a hair tie. If you are confident enough eyeballing it instead of marking it, you can do that.
- Mix your lightener and developer in the bowl according to the directions on the packaging.
- Apply the bleach to the section of hair from the tips to about two inches under the section you marked. Make sure that the entire section of hair under your cutoff line is covered.
- After the bleach is applied, wrap the section with a piece of tin foil or plastic wrap to keep the lightener from getting on anything as it takes to your hair.
- Move on to the next section and repeat steps 5 and 6 until all of the sections you wish to lighten are coated.
- Let the lightenerpLightener I would not leave it on more than 20 minutes. You will see the bleach start to lighten your hair relatively quickly.
- After the processing time has passed, jump in the shower and rinse everything out. Use shampoo and conditioner.
- Apply either hair oil or leave-in conditioner after you get out of the shower to help re-moisturize your hair after the bleach. I like OGX Moroccan Argan Oil or It's a 10 Miracle Leave-In.
- I don't recommend blow drying your hair to prevent additional damage, but if you do, just be careful not to concentrate the heat on one section of your hair for too long to prevent damage. You can also let it air dry if that is your preference.
- If you feel your hair still needs another round of lightening, wait a few days before lightening again.
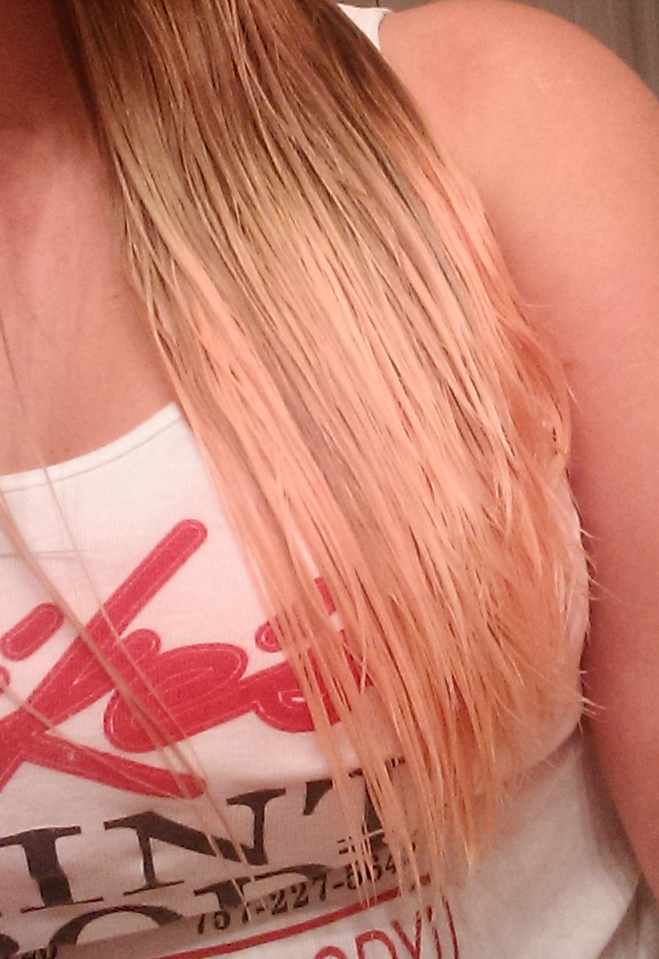
Here you can see my lightened ends have no more yellowy brassiness - they are a nice cool platinum color - which is optimum for having a really bright color in your hair!
hellovictoria
Step 2: Don't Skip The Purple Shampoo
Before you apply your color to your bleached ends, you may notice that the bleached areas of your hair look a little brassy or orange. There is an easy fix for this. A night or two before you are ready to put the color in your hair, wash it first with purple shampoo. Purple shampoo takes the yellow, orange, and red tones out of your hair to make it a cooler blonde, which is generally preferred prior to applying any bright color to your hair. You can also use a toner to remove orange and yellow tones as well.
As far as purple shampoos go, there are so many to choose from, but I personally really like Generic Value Products Purple Shampoo. It works just as well as the name brand products and smells really good too!
To use purple shampoo, you will apply it in the same way you would apply normal shampoo, except you'll want to let it sit for a minute or two before washing it out. You'll notice an immediate difference after washing it out that your hair is a cooler shade of blonde. Don't leave the purple shampoo in too long, or else it may tinge your hair the same color! Apply conditioner after rinsing like you normally would, and once your hair is dry, you are all ready to apply your color.
Read More From Bellatory


Step 3: Apply Your Color
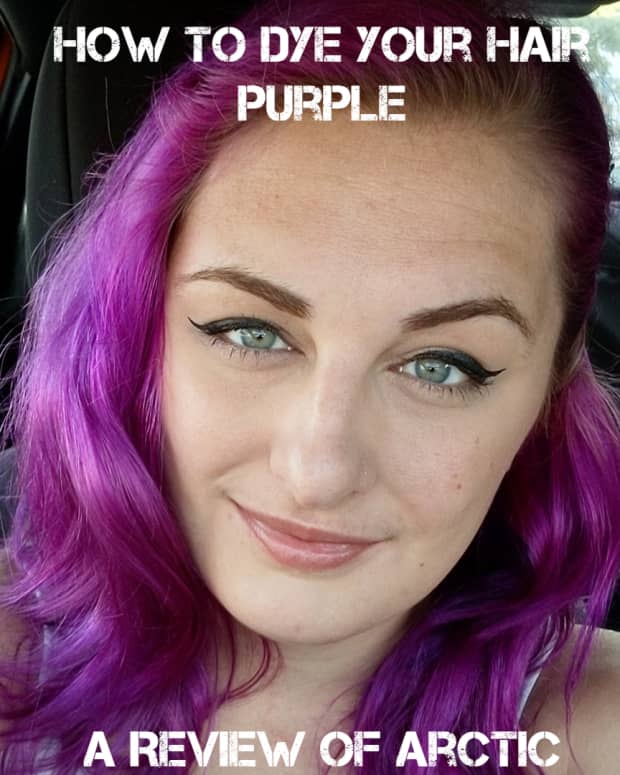
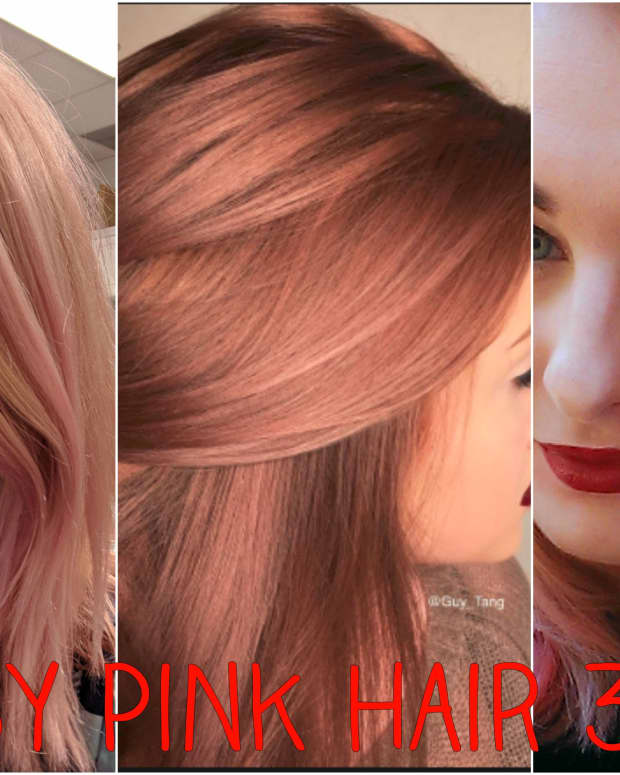
This is the fun part: it is now time to apply your color so you can achieve your vibrant ombre look. First, you'll need to choose your color. There are many different brands of color to pick from, so make sure you read the reviews and look at pictures of people who have already used the color you're looking at so that you have an idea of how it will turn out.
If you prefer a brand of dye that does not come out easily because you plan to keep the color a while, One N Only Argan oil is what you should use. For dye that lasts roughly 8-10 weeks, I recommend Arctic Fox. For dye that lasts a few weeks to a month, You should use Manic Panic.
If you aren't finding the exact color you are looking for, it is ok to mix the dyes to get the color you want. All of the brands are non-toxic and don't contain any chemicals that would damage your hair, but just because of the formulations between each brand I recommend only mixing colors within each of the brands rather than mixing the brands themselves to make a new color.
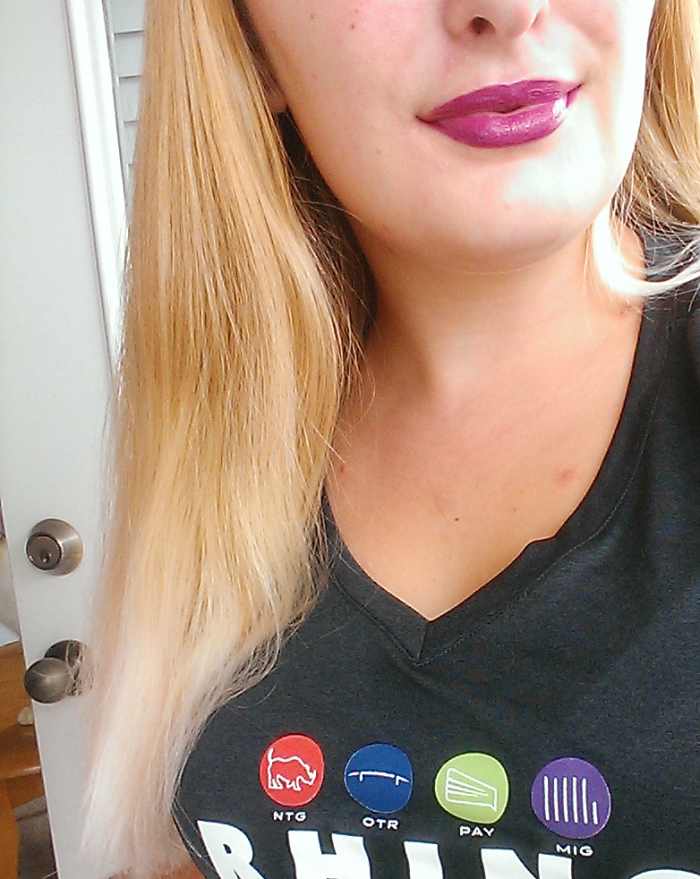
Letting the color process a while is important to having long lasting color!
hellovictoria
Directions for Applying Your Chosen Color
- You will need your chosen color, two bowls, gloves, conditioner, plastic wrap or tin foil, and a hair color applicator.
- Section off a piece of hair to work with first. Apply conditioner about three inches above the bleached portion of the hair, down to one inch above the bleached section of hair. This helps prevent any stray hair dye from getting where it doesn't need to go. it also helps the color fade nicely into your natural color like a smooth gradient instead of a choppy color.
- Using the hair color applicator, apply color directly to the bleached portion of your hair. Make sure the entire strand is coated. Pull the color up all the way to meet the area you applied conditioner to.
- Wrap the section of hair with tin foil or plastic wrap, and repeat the process for the next section of hair, until all sections of hair are complete.
- Let the dye sit for at least 45 minutes to an hour.
- Jump in the shower and rinse all the hair dye out until the water is running mostly clear. Apply conditioner.
- Apply your hair oil or leave-in conditioner the same as you did after the bleach, and either air dry or blow dry according to your preferences.
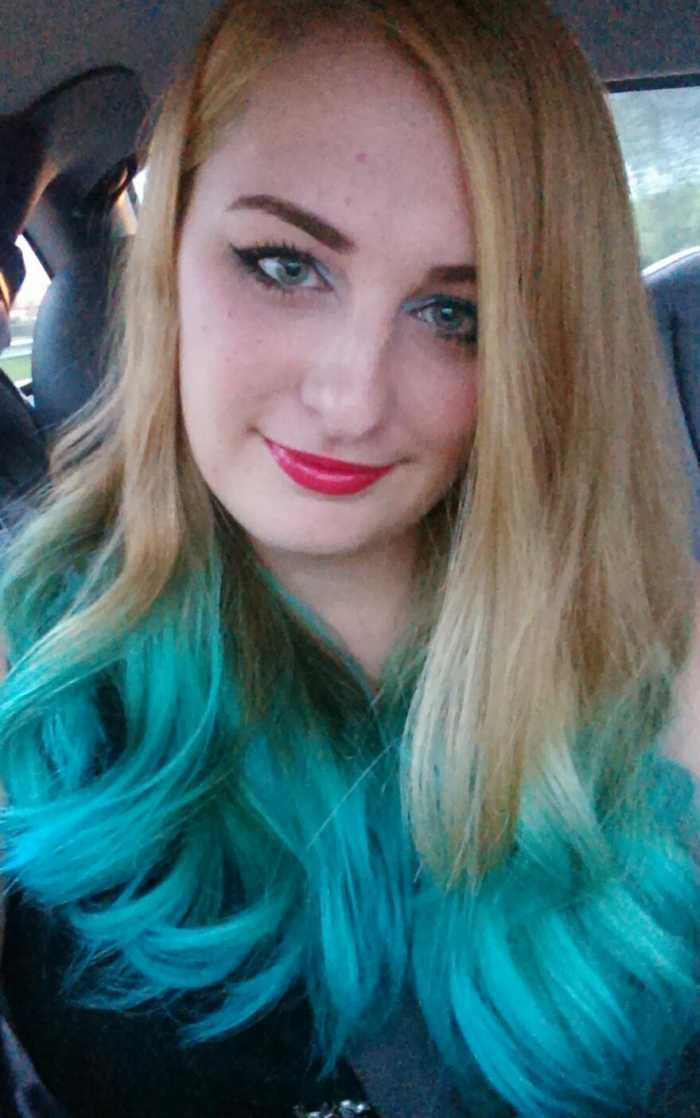
This is an example of how vibrant the color can be!
hellovictoria
Taking Care of Your Ombre
Now that you've successfully dip dyed your hair, it's important to know what you should do to preserve the color! Here are some things to remember about caring for your tresses:
- Don't apply shampoo directly to the colored portions of your hair. Apply it only at your roots, and rinse it out without scrubbing it into the colored parts of your hair. My hair was actually long enough to where I could hold the colored part in one hand out of the way while I shampooed and rinsed my roots. Then, I would let my hair down when the shampoo was out and I was ready to apply conditioner.
- Try to stay away from shampoos that contain sulfates and also clarifying shampoos. Both will strip your color away faster.
- Don't let your hair in chlorinated water.
- If you had to bleach your hair multiple times prior to dying, always apply a leave-in conditioner or hair oil after getting out of the shower to help keep breakage to a minimum and close up your split ends.
This content is accurate and true to the best of the author’s knowledge and is not meant to substitute for formal and individualized advice from a qualified professional.
Questions & Answers
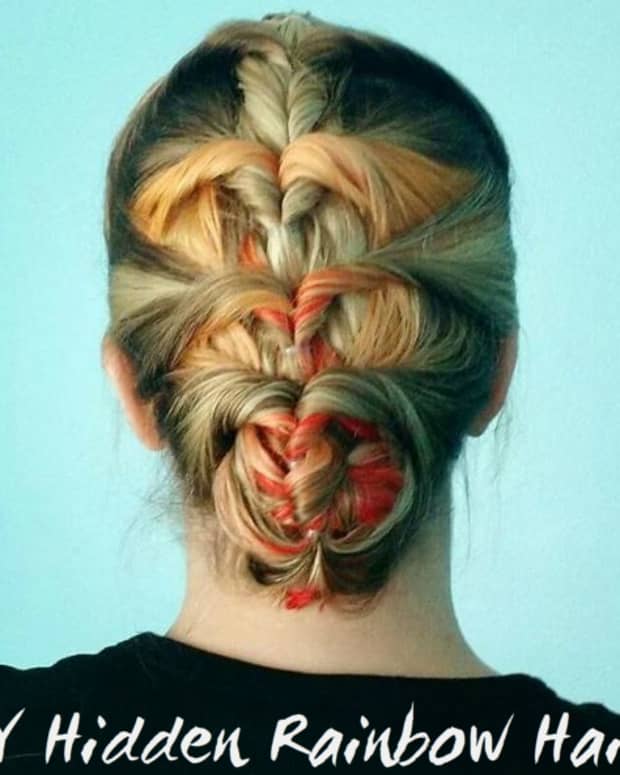
Question: How do I blend the dye so that there is no line of separation when using two colors?
Answer: Once I have applied the two colors of dye, I will take a flat section in between my forefinger and middle finger and rub up and down to create the gradient.
Question: For coloured hair dyes are we meant to do an allergen test, like you do for bleach?
Answer: You can if you are concerned, but I have never had any issues with them since semi-permanent dyes don't have harsh chemicals in them! I would do a strand test if I wasn't sure about how the color would turn out, though.
Question: Do you use a brush or a bottle to apply dye to your hair for the dip dye look?
Answer: I used a brush, but you could use a bottle if you wanted to!
Question: Would dip-dying be a similar process with permanent dye?
Answer: Yes, except you do not want to leave the permanent dye on for nearly as long because it will damage your hair. Also make sure you are in a well ventilated room!
Comments
Kathleen from Michigan on November 20, 2016:
Interesting