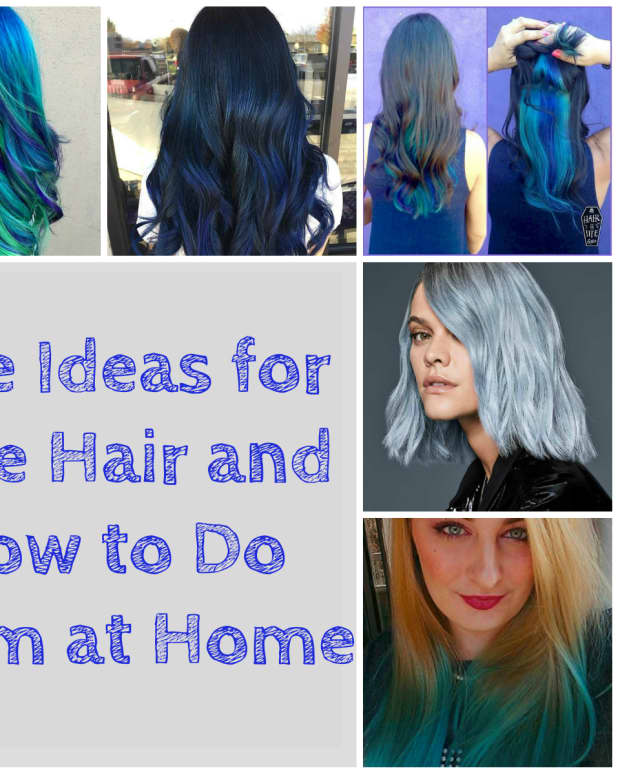
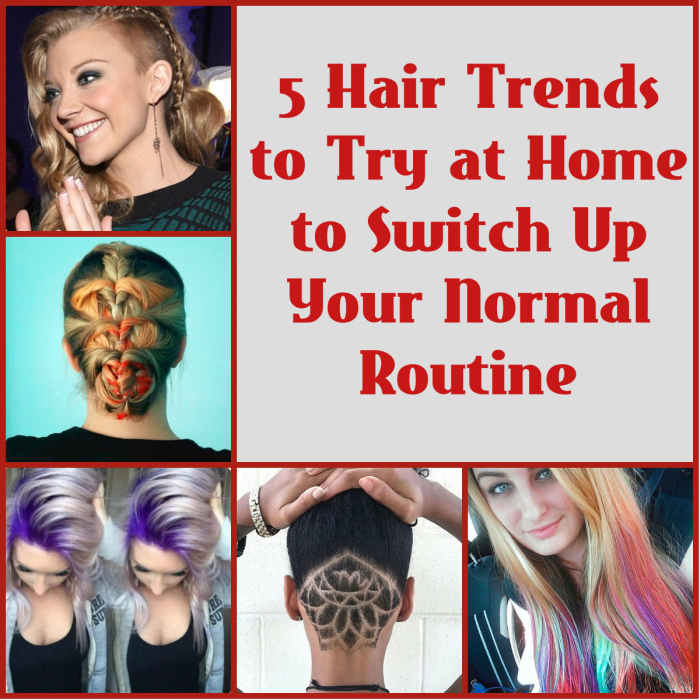
Hair DIY: 5 Hair Color and Style Trends to Switch up Your Normal Routine
Tori is a 28-year-old, three-time animal mom and DIYer living in Northern Atlanta with her boyfriend.
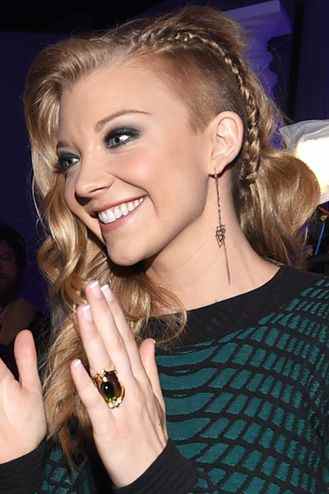
1. Shaved or Buzzed Side
When Natalie Dormer stepped out with a shaved side in 2015 for her role in Mockingjay, I instantly fell in love. This style has been around for a long time and it is still eye-catching and incredibly bold when done right!
To execute this style, you'll need to section out the part of your hair that you'd like to shave using the pointy tail end of a comb. Tie back the hair that is not being shaved. Depending on the length of your hair, it may be a good idea to cut some length off before getting the electric clippers. After you've cut down your hair a little shorter, decide what length you want it to be buzzed at. Electric clippers typically come with a couple of different guide combs that go for different lengths of hair. Refer to the sizing guide below to decide which length you would like to choose.
| Guide Comb Size | Length the Hair Will Be |
|---|---|
0 or 1/2 | 1/16 inch |
1 | 1/8 inch |
2 | 1/4 inch |
3 | 3/8 inch |
4 | 1/2 inch |
5 | 5/8 inch |
6 | 3/4 inch |
After you've chosen your guide comb size, carefully shave the section of hair up to the edges of the part you've created. And voila, you have yourself a bold haircut that will definitely help change up your routine!
hellovictoria
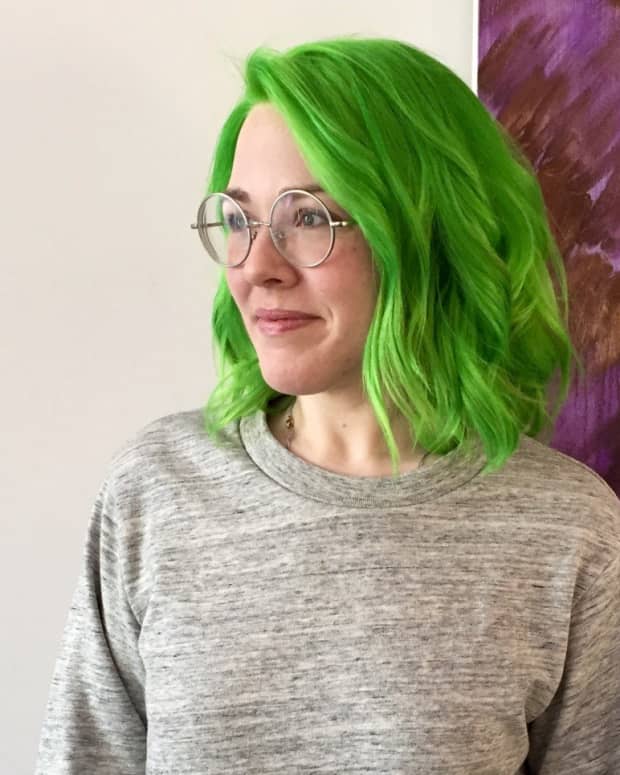
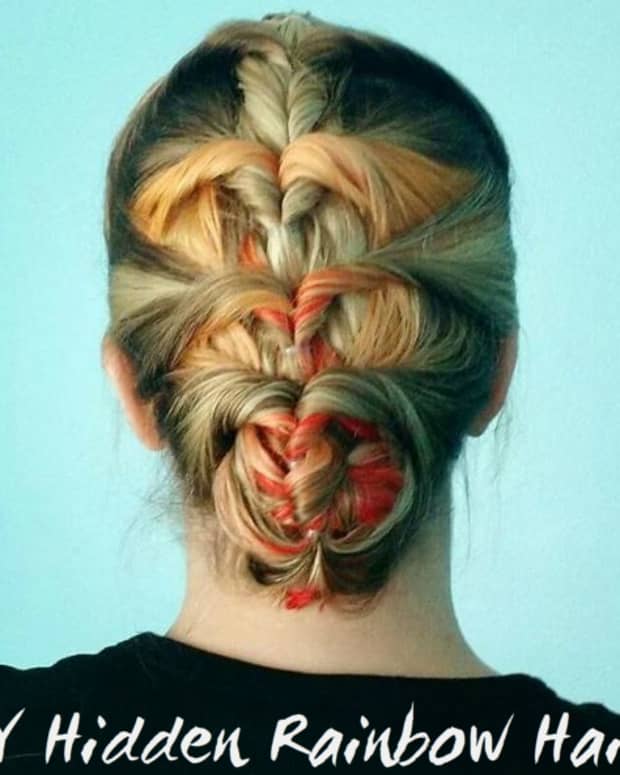
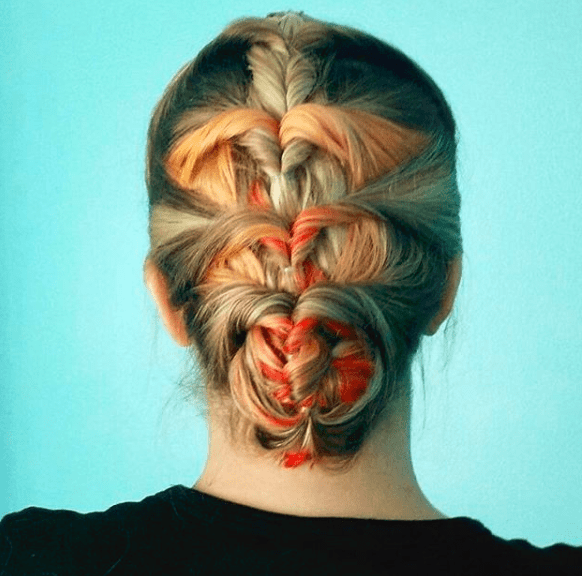
2. Hidden Color Hair
Hidden rainbow hair is another amazingly beautiful trend that I love. It's perfect for people who can't dye their whole head and want to spice things up in a tasteful way that is easily hidden or put on display by different kinds of hairstyles.
Depending on what you decide to do, hidden rainbow hair can be relatively easy to complete, but the beginning steps are all the same. I actually wrote a tutorial on accomplishing hidden rainbow hair that you can take a look at here, but in a nutshell here are the instructions you need to follow.
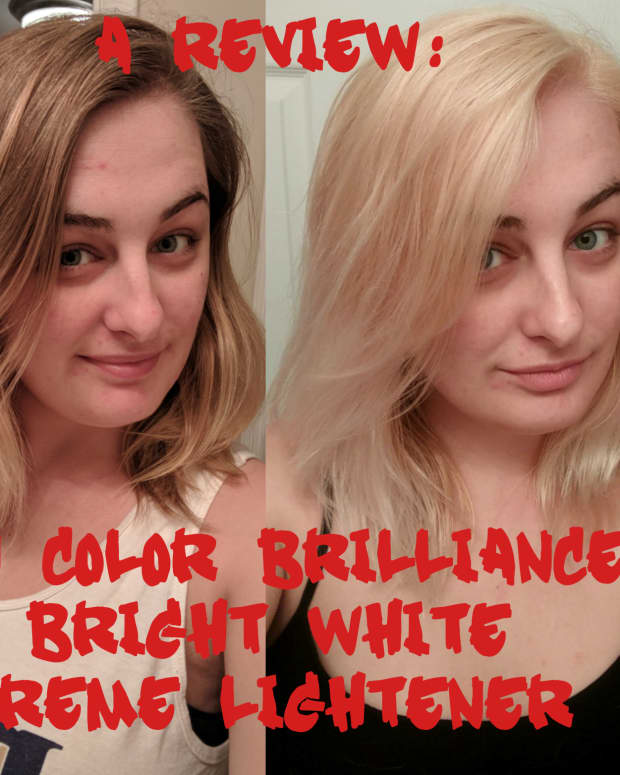
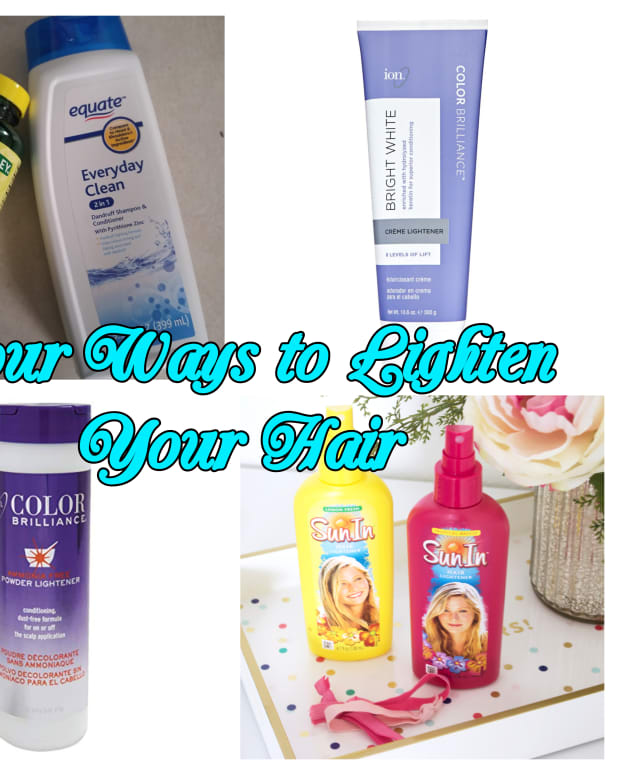
First, you'll need to choose a section that you are going to dye - tie back the sections of hair you are not dying. Put a piece of tin foil underneath the section you're about to do because you don't want lightener or color all over your neck or other hair. Start by applying lightener to the area that you'd like to dye. I love using Ion Color Brilliance Bright White Creme Lightener and Sensitive Scalp 20 volume developer to lighten my hair quickly and with minimal damage.
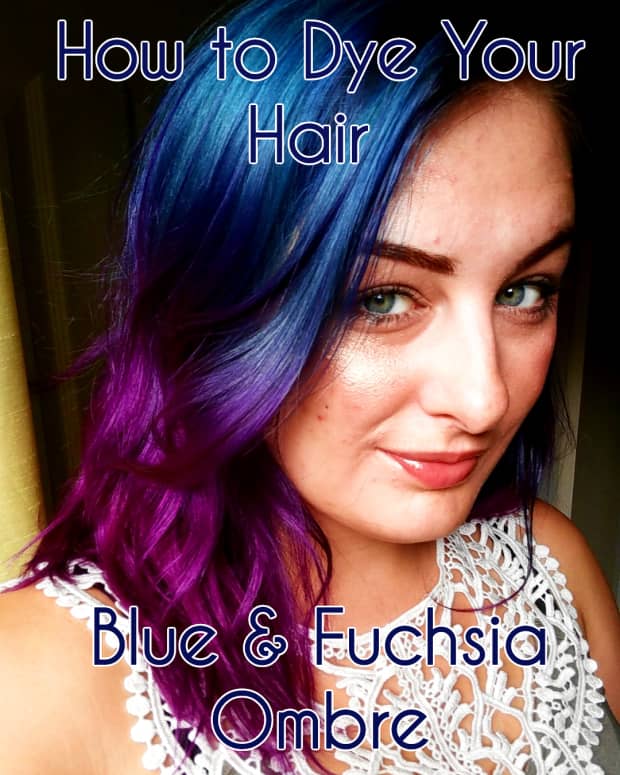
You'll need to rinse the lightener out and dry your hair. After this, you will need to re-section the hair out and pin back any non-lightened pieces of hair. Slide another piece of tin foil underneath the hair you are dying and apply the color you decide to use. In the picture I used Ion Color Brilliance in Cantaloupe, mixed with a little bit of Manic Panic in Wildfire, to achieve an orange color. For the bottom half of my hair, I used straight Manic Panic in Wildfire and blended the two colors together to get a beautiful gradient fade between the two.
I recommend leaving the dye in for 30 minutes to an hour, and then you will have hidden rainbow hair!
Read More From Bellatory


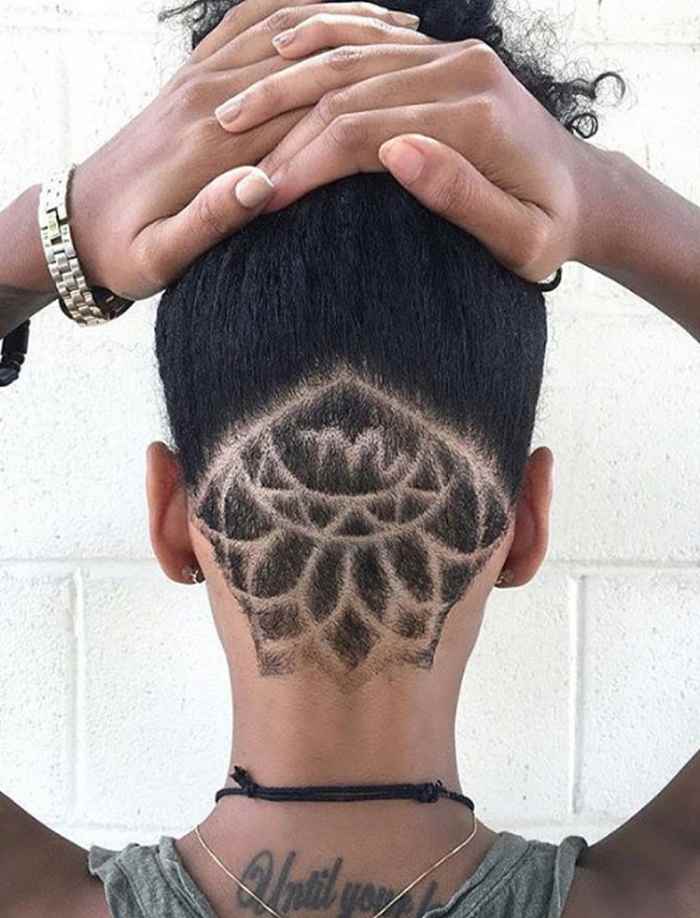
3. Shaved Undercut With a Design
Another shaving style that is super trendy and can be easy to do at home is the undercut with a design.
This trend can be at varying levels of difficulty. If you have a friend that is pretty good at drawing designs, this might be the right project for them to help you with, but it is doable on your own if you choose a simple design. To do a simple undercut, section out the hair that you'd like the undercut to be applied to, and pin the rest of the hair back. For the chosen section, if your hair is long cut away some of the length first. Shave the hair across evenly. If you need to, you can draw your design onto the shaved piece first using chalk or other hair safe material (don't use a sharpie!!!). Then use the clippers without a guard to cut your design.
Youtuber Tessarr gives a great tutorial on how to do this type of a cut by yourself. Take a look below if you're interested in this style.

hellovictoria
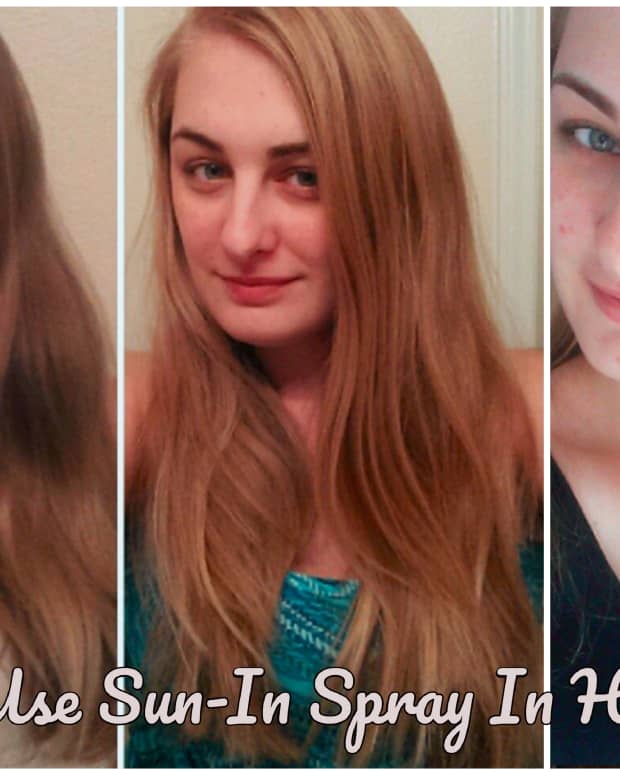
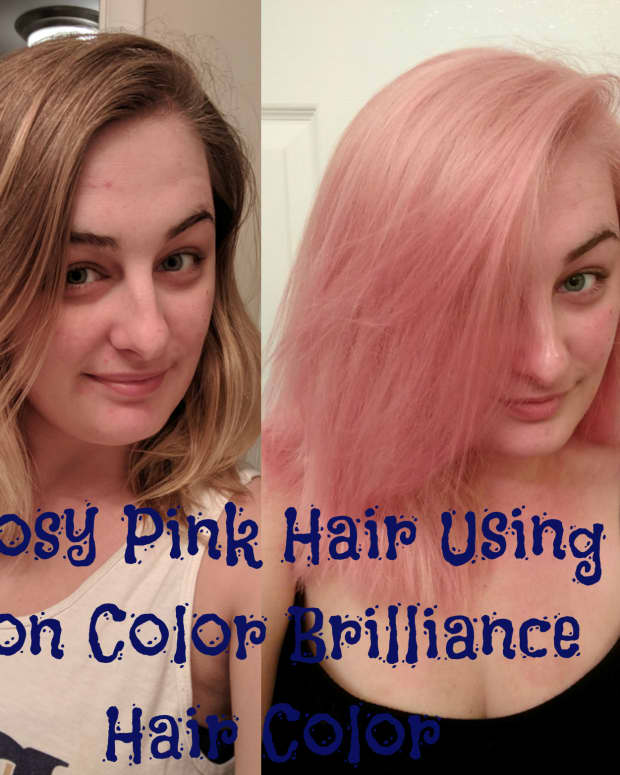
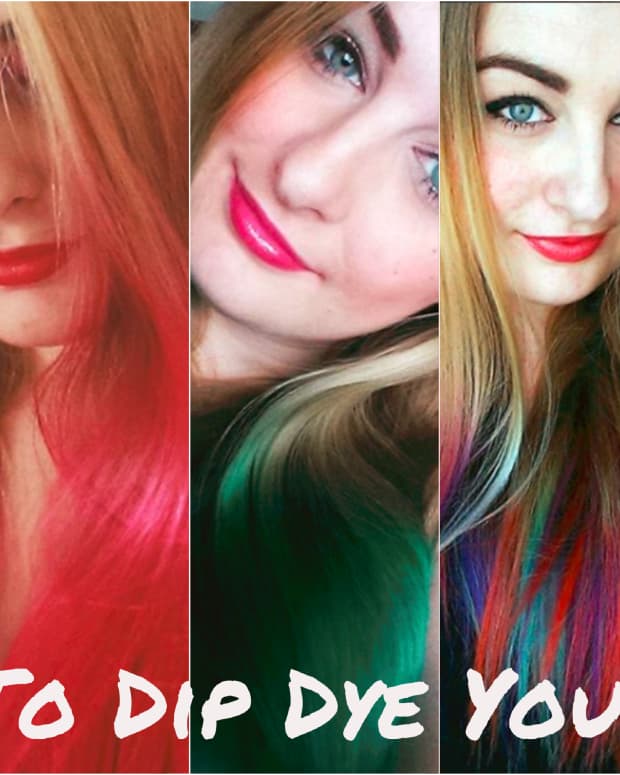
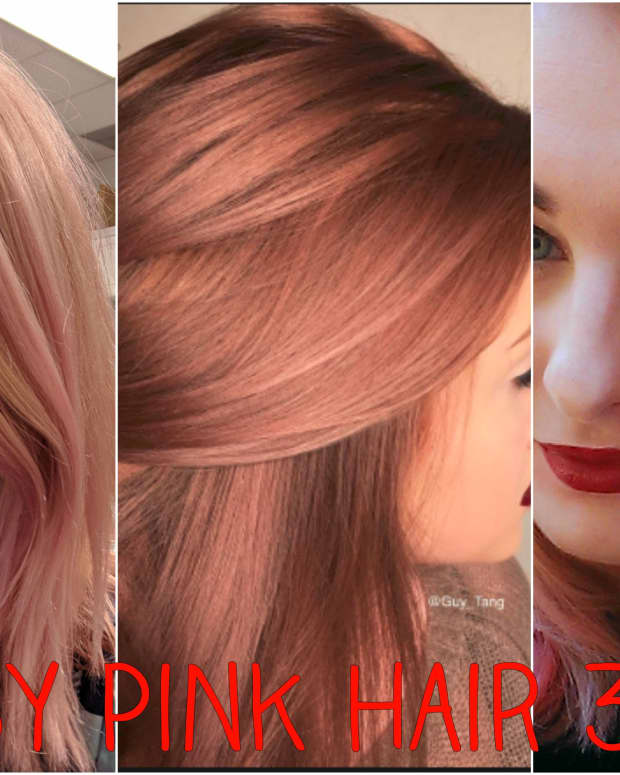
4. Ombre With Bright Colors
By far this is one of my favorite hair trends. I spent about a year dying my ombre different colors, and when I got bold enough I did multiple colors at once. As with some of the other hair trends I've mentioned, this one can have varying levels of difficulty depending on what you decide to do. Again with this one, I did write a tutorial on dip dying that you can find here, but below are short instructions for a couple of different methods of dip dying.
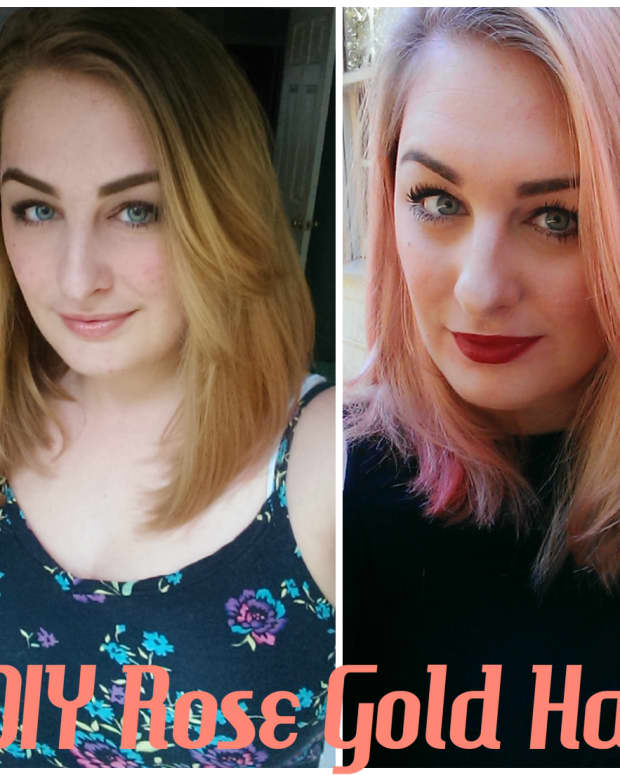
To start, you'll need to lighten your hair to a level 7 blonde or higher. Then, decide how you want to distribute the color in your hair. If you read my articles regularly, you'll know that I particularly love using Ion Color Brilliance, Manic Panic, and One N Only Argan Oil hair color brands. They all have beautiful bright or pastel shades depending on what you want to achieve, and all three can be found at Sally Beauty Supply or on Amazon.
Are you using just one color? Great! Start by sectioning your hair, because it makes it easier to handle everything when it's in small sections. Apply conditioner to your hair to the section of your hair just above where you lightened, being careful not to get conditioner in the lightened area. Take your desired hair color and apply it either with a tint brush or with gloved hands. Carefully blend the dye up into the conditioner, so that you can create a nice fade between your regular hair and your colored hair.
You can also be more creative with this trend by stacking colors or doing streaks. Stacking follows the same directions that I mentioned above, but streaks can be a little harder. You can pick out sections of your hair and individually color them until you've covered your whole head, or if you have long hair like I did in the photo, I picked out sections for each color and group them together with a ponytail holder. Then dye each ponytail its respective color, wrap it in plastic wrap or tin foil, and let it sit for 30 minutes to an hour before rinsing.
No matter which method you choose for doing an ombre hairstyle, you can't go wrong! They're all gorgeous!
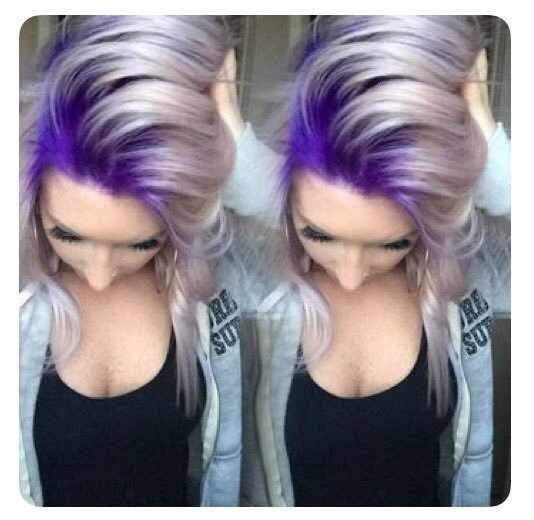
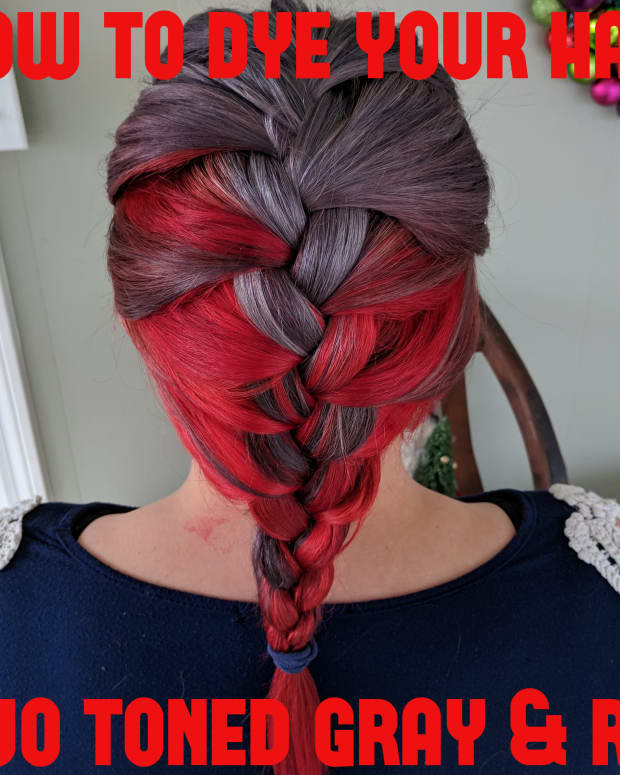
5. "Unicorn" Shadow Roots
I love me some unicorn hair. In my opinion, this was one of the most unique trends to come out over the past couple years. I would say this is a medium difficulty to complete.
For the colors in the picture, I'd recommend Manic Panic Hair Color in Ultra Violet for the roots. For your hair, I would lift up to a level 10 blonde before beginning and also use an excellent purple shampoo that will take all traces of brassiness out of your hair.
To apply the shadow root, section out your hair first. Then use a tint brush and paint sections of hair from your scalp that are about an inch and a half long. While the roots are processing, mix about a tablespoon of the ultra violet dye with a half a cup of conditioner and use another tint brush to apply the mixture to the rest of your hair. Let everything sit for about an hour before washing out and you will have beautifully violet roots with pale purple tinted hair.
This content is accurate and true to the best of the author’s knowledge and is not meant to substitute for formal and individualized advice from a qualified professional.