How to Do DIY Ombre Nails
Kasja is interested in makeup and beauty and likes to try out new trends for hair and nails.
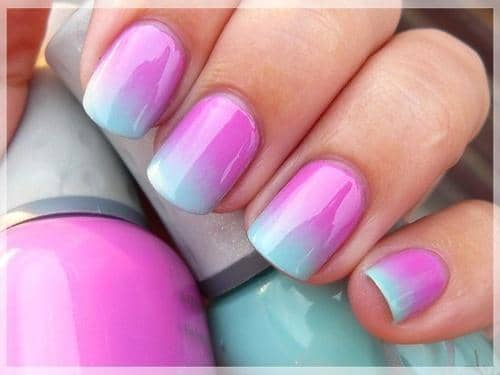
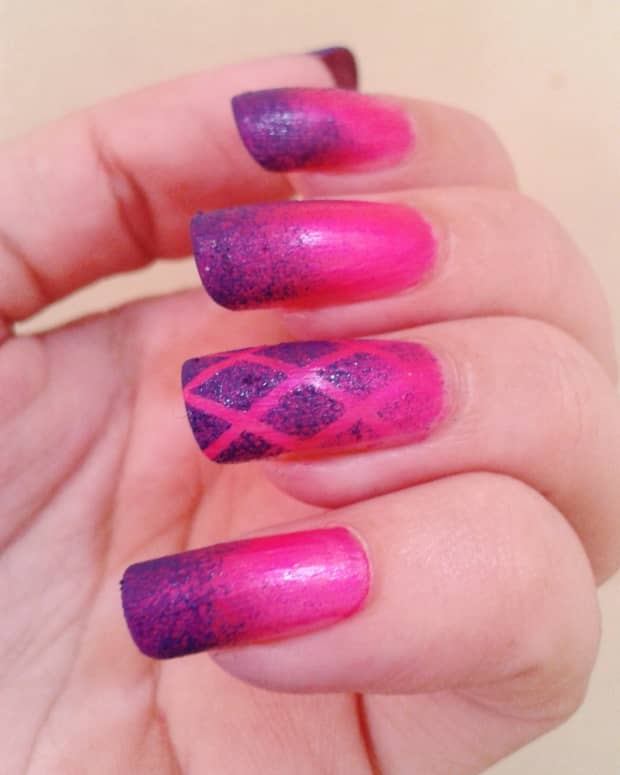
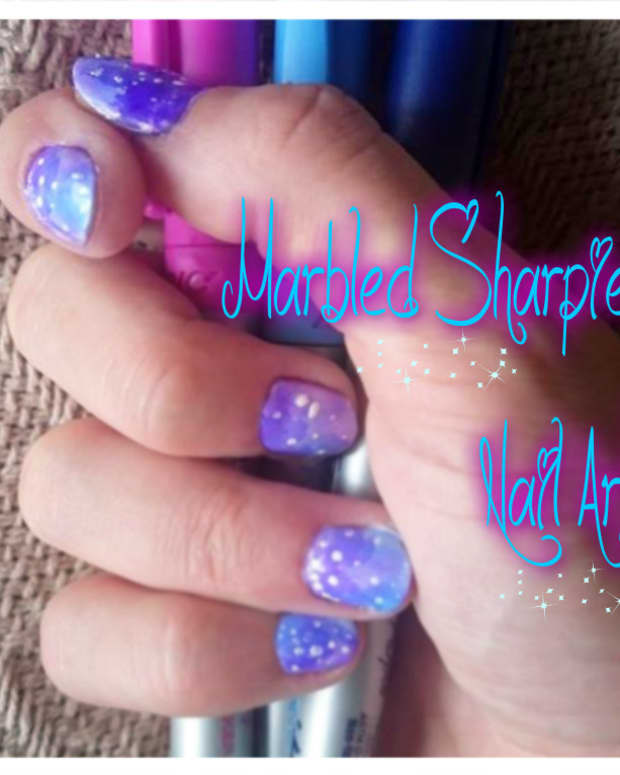
Ombre nails slowly shift from one color to another. They're surprisingly easy to do at home.
I'm always on the lookout for beautiful and colourful nail polishes to paint my nails with. One trend that I have taken a recent liking to is the gradient (or ombre, as they are most often called) nail art trend. Not only is this look extremely easy and beautiful, but it is also one design that you can probably do as soon as you finish reading this tutorial!
In this tutorial, I will show you how to create traditional ombre nails as well as one-colour nails with an ombre design on top of them. Let your creative side soar as no two nail designs will come out exactly alike.
What You Will Need
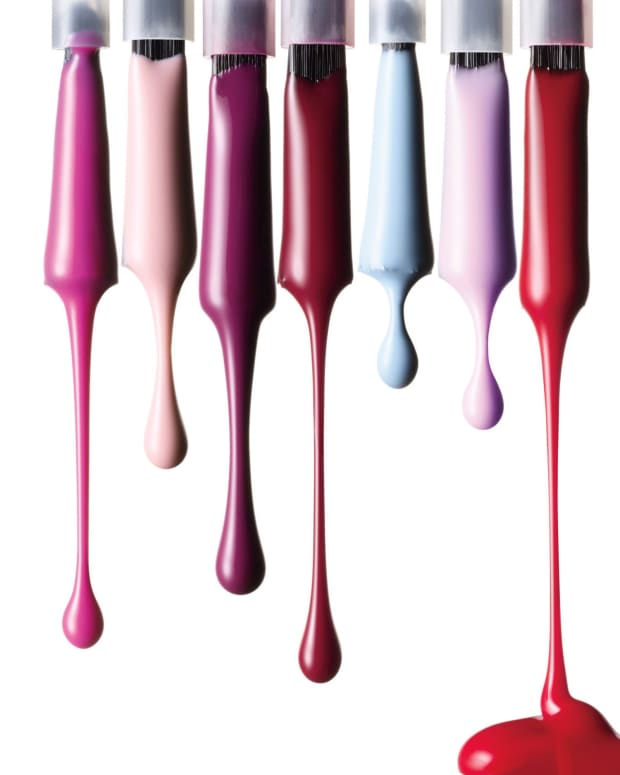
- 2–3 (or more) different colours of nail polish, depending on how many gradients you want to experiment with.
- A make-up sponge or any sponge found around the home. All that matters is that the sponge is one level and not used.
- Nail polish remover
- Q-tips
- Scissors
- Tape (if you are planning on trying a gradient design). Regular Scotch tape will do.


Ombre Nails
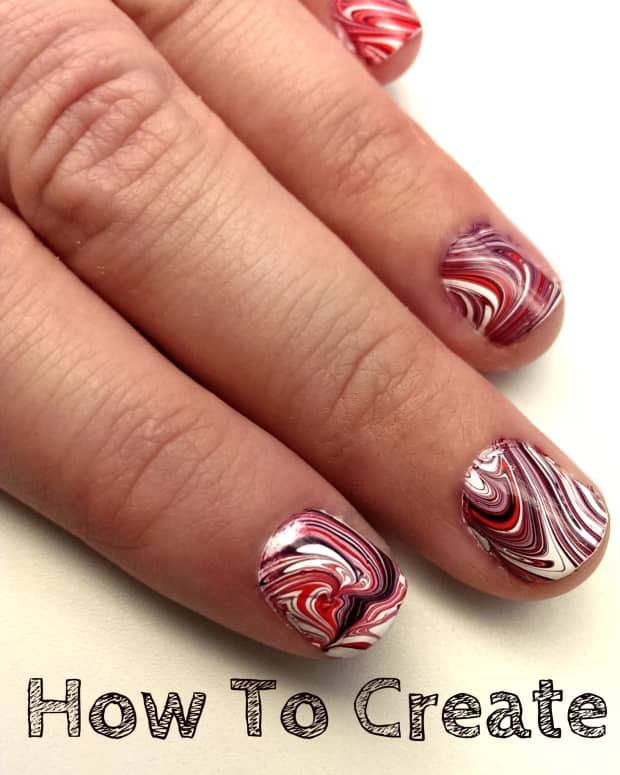
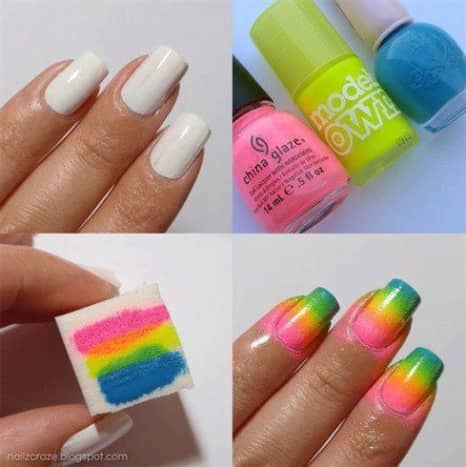
The first method we are going to try is the traditional method that is used with almost every gradient nail tutorial. This method is extremely easy to do, and the results almost always come out beautiful. Do keep in mind that you may need to practice this method a few times until you get it absolutely correct.
Supplies for This Tutorial
- Nail polish
- Makeup sponge or any similar sponge
- Nail polish remover
- Q-Tip
Instructions
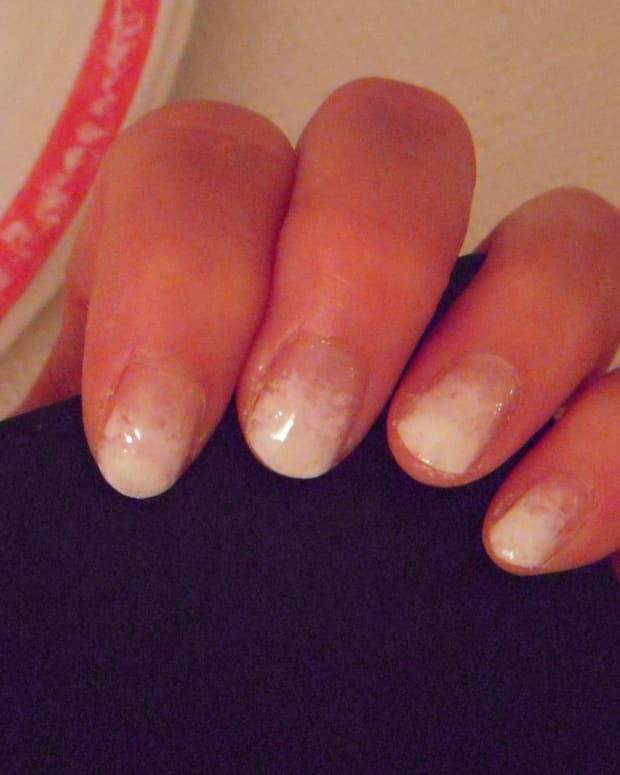
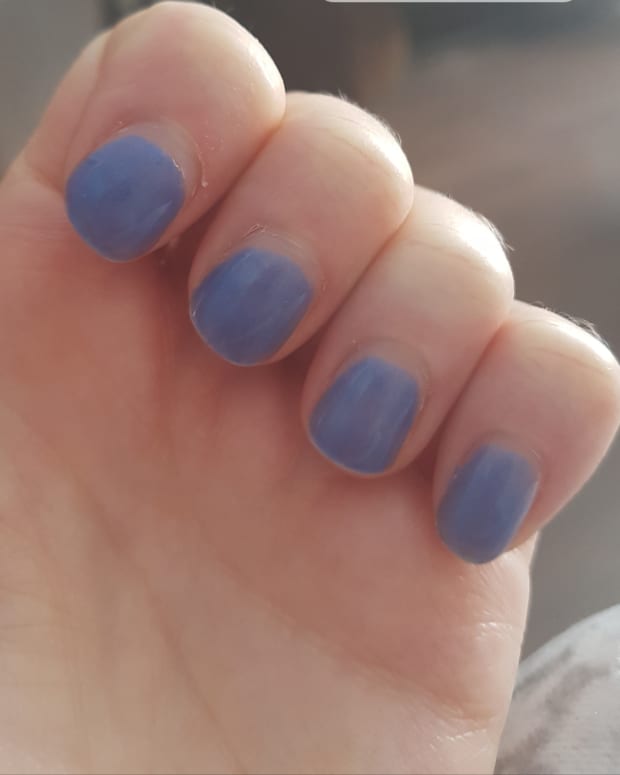
- Paint nails with a nude or white colour. White is usually the best to choose to make your colours seem more vibrant. Some colours blend better with a white base colour.
- Wait 5 minutes or until your nails are completely dry. Attempting to sponge nails before they are dry may result in a mess.
- Grab your make-up sponge and paint onto it the colours that you want to use. Make sure that the colours touch each other to avoid any gaps when applying the sponge to your nails.
- Carefully align the make-up brush to your nails and gently dab it onto your nails until they are completely coloured. Don't stress yourself about being neat at this time as we will clean these up later.
- Immediately after dabbing one nail, gently apply a top coat to smooth colours and blend them in even more. More than one top coat may be needed. Finish off nail with a layer of glitter nail polish if you choose to do so.
- Add more nail polish to the sponge after each application. Sponges will soak up the colour. If you want to change up the pattern on your nails, you will have to use another sponge.
- Wait until your nails are completely dry. The final step is to dip your Q-Tip into your make-up remover and clean up the areas around your nails.
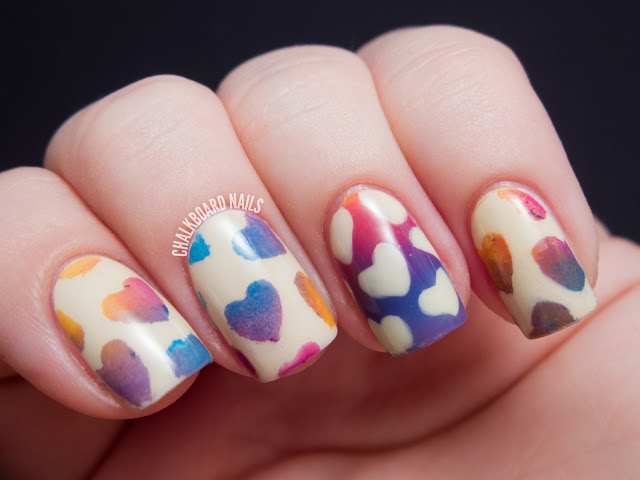
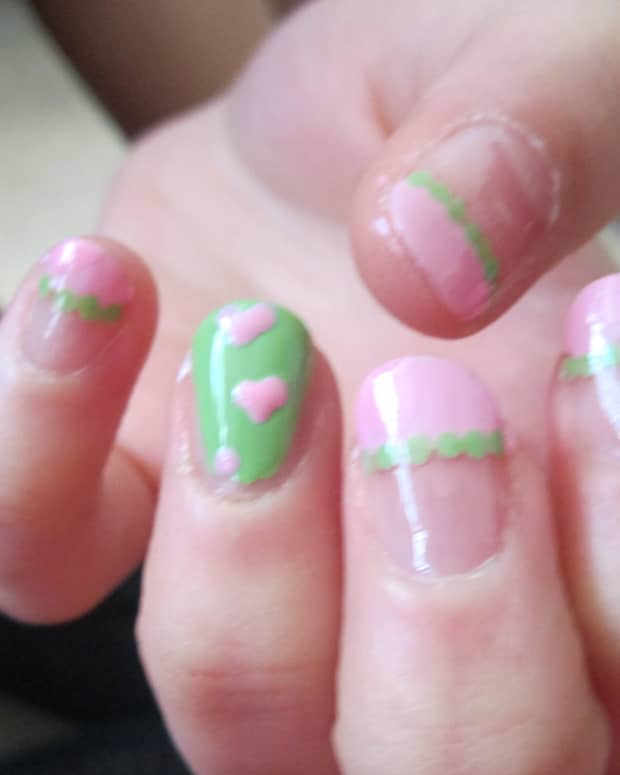
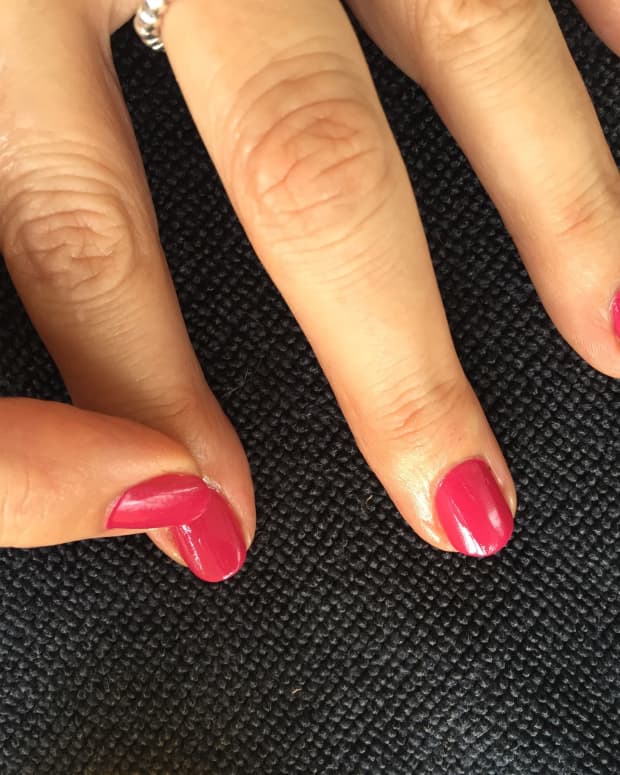
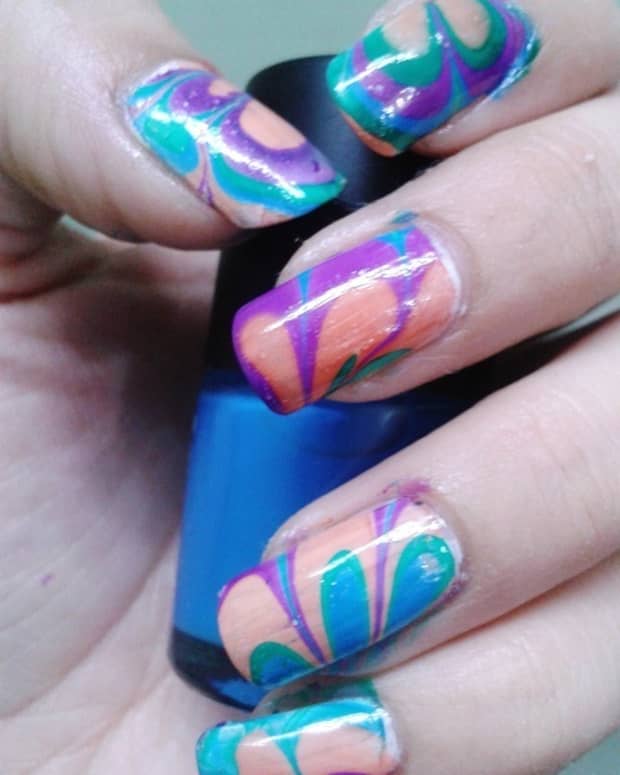
Nails with a gradient design on top.
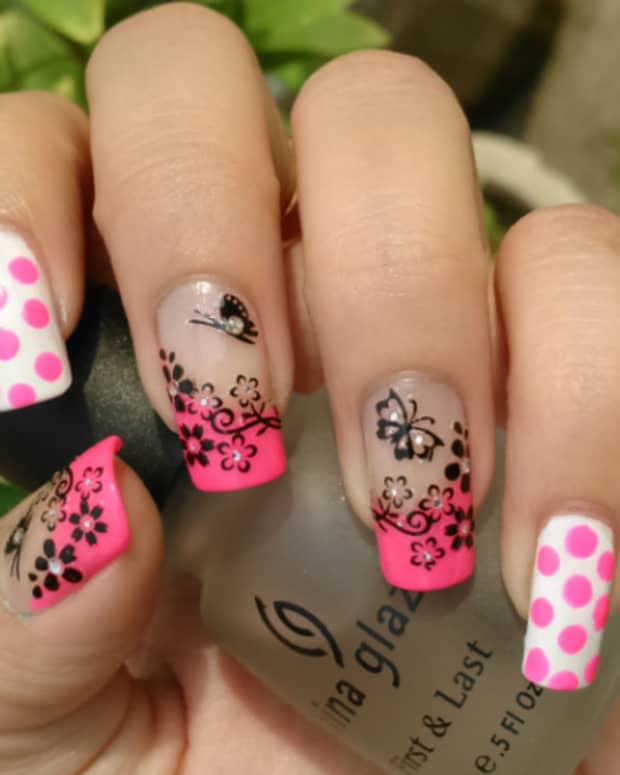
Gradient Nail Design
The next style of ombre nail art is going to be a single design in the middle of your nail that is painted a gradient colour. This is a fairly unique trend but it is just as simple as the traditional way of painting a gradient on your nails. If you use a heart-shaped design, this is also a great look for Valentine's Day!
Read More From Bellatory


Supplies for This Tutorial
- Nail polish
- Makeup sponge
- Scissors
- Tape
- Nail polish remover
- Q-Tip


Instructions
- Paint nails with a white or nude colour. Once again, white would be the best option as it will make your colours pop.
- Wait 5 minutes or until your nails are completely dry.
- Fold a thin piece of paper or tape in half. Using your scissors, cut out a half heart design. Open and check your design. It may not be perfect the first time, so keep working on it until you get a design that you like. Also, you do not have to use hearts. If you have any nail art stencils, feel free to use those.
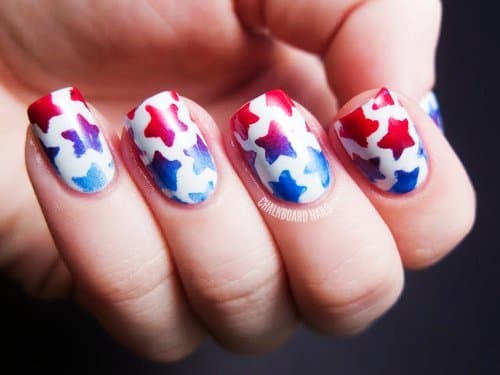
- If you are using tape, place the non-stick side down onto your dried nails. Fold it around your nail and tape the ends together underneath.
- Paint your colours onto your make-up sponge. Remember to make them meet so that they will blend properly.
- Very gently, dab the sponge onto your nails. If you are using tape, be extremely careful as you may tear your design.
- Carefully remove tape and add it to any other nails that you wish to use.
- Paint nail with a few layers of top coat to further blend and smooth out colours.
- Reapply another coat of nail polish to your make-up sponge after every application.
This content is accurate and true to the best of the author’s knowledge and is not meant to substitute for formal and individualized advice from a qualified professional.
Comments
Jasmeet Kaur from India on January 08, 2016:
beautiful work and hub
Valice Harris on October 13, 2015:
Look so professional i will be trying this out directions understsandable
Lubowa from Uganda on September 26, 2015:
Kasja, thank you for this informative article. I always admire anyone who adorns gradient nails. They look pretty if done very well. The way you wrote is clear and precise such that when I was searching for info to write an article for a client, with related keyword, your tutorial helped alot and he liked it and had it published at http://www.designsauthority.com/ombre-nails-art/
BuyMeBeauty on July 24, 2015:
I love the ombre nail trend but I never knew how to do it, so thanks for this tutorial! I bet it would look great with some Essie polishes.