How to Make Your Own DIY Lip Balm
I was shocked by how easy it was to make my own lip balm at home by using essential oils and other ingredients.
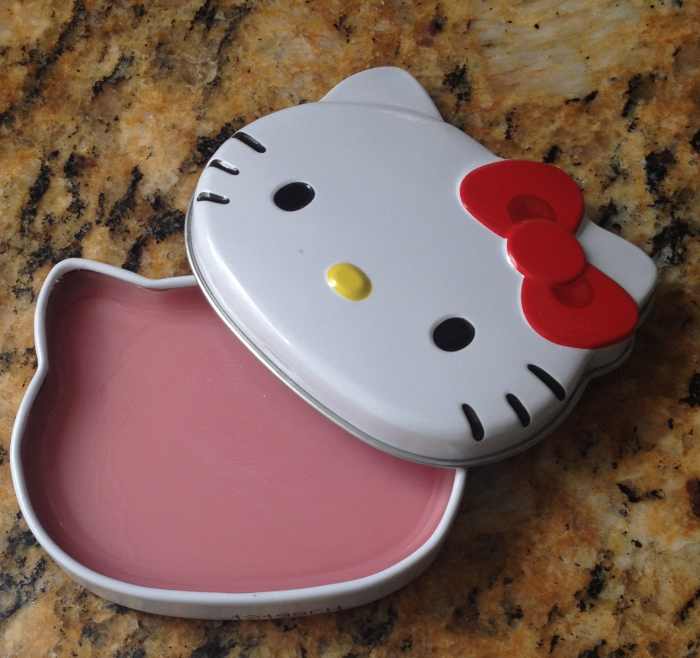
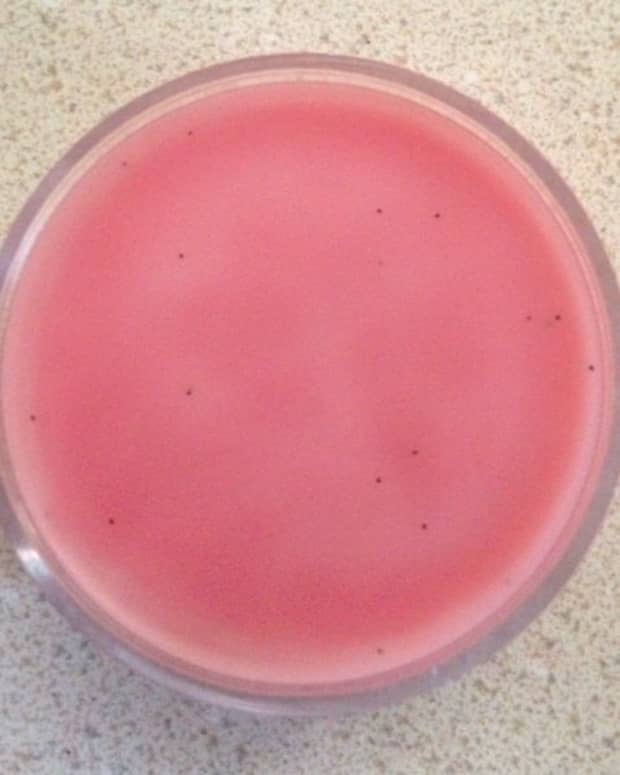
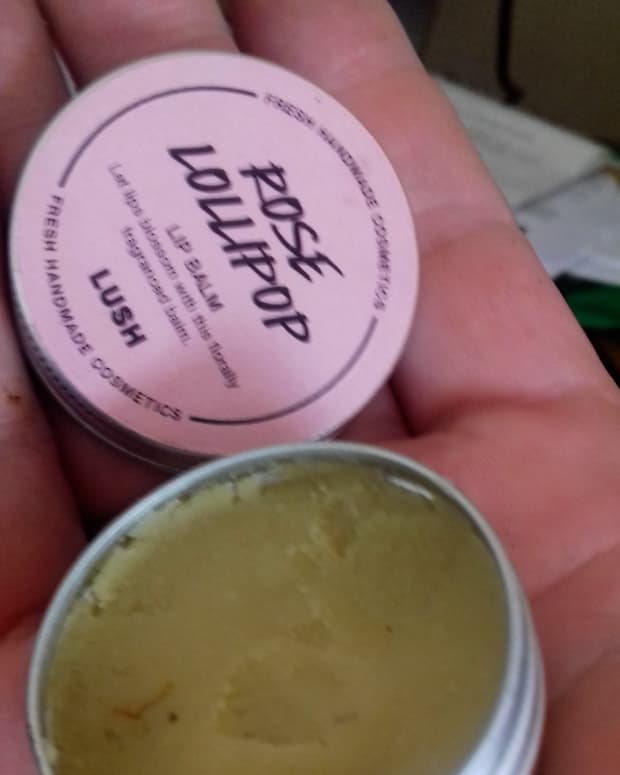
I'm quite proud of my DIY lip balm.
I love lip balms, lip glosses and lip moisturizers! I like them in all kinds of colors and flavors. But they're expensive, especially if you try to go with the products that are all natural, such as Burt's Bees brand. Eventually, I got tired of spending so much money on lip products, so I decided to start making my own.
Here's how you can also make your own lip balm.
Homemade Lip Balm Recipe
Gather your ingredients together and join me for the fun. Here's the recipe for my favorite, moisturizing, DIY lip balm
Materials:
- 2 tablespoons cocoa butter
- 1 tablespoon shea butter
- 1 tablespoon beeswax
- 10 drops of peppermint essential oil
- Red lipstick shavings
- Bain-Marie materials (glass container, pot, water, stove)
Instructions:
- Place the cocoa butter, shea butter and beeswax in your glass container and begin the Bain-Marie process.
- When all ingredients are melted, add the lipstick shavings.
- Once everything is melted, add the essential oil, mix and place in lip balm container immediately.
- Allow 1 hour to cool.
Your DIY lip balm is ready!
EO Safety
People with sensitive skin might develop irritation from the use of some strong essential oils, especially those with antibacterial properties. Therefore, it is best to perform a skin patch test prior to actual application and to follow proper dilution methods.
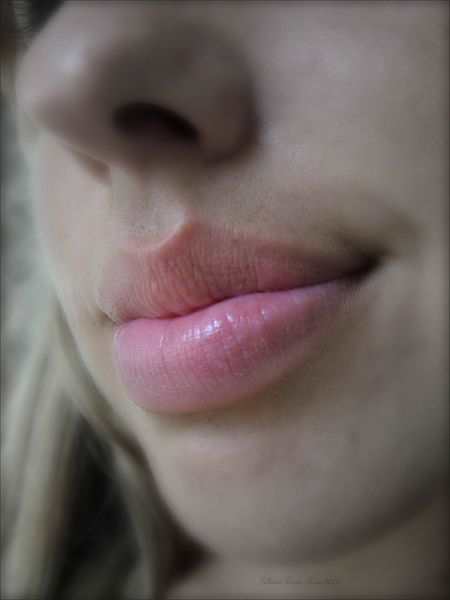
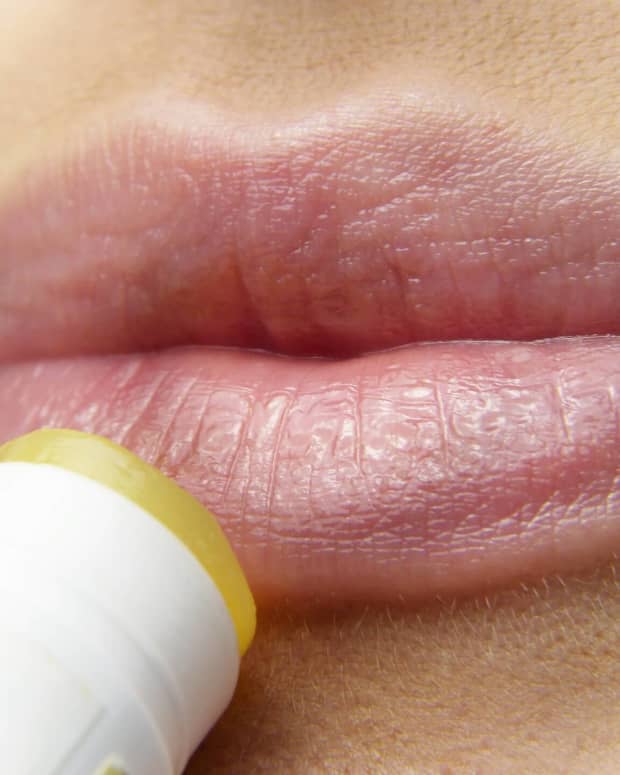
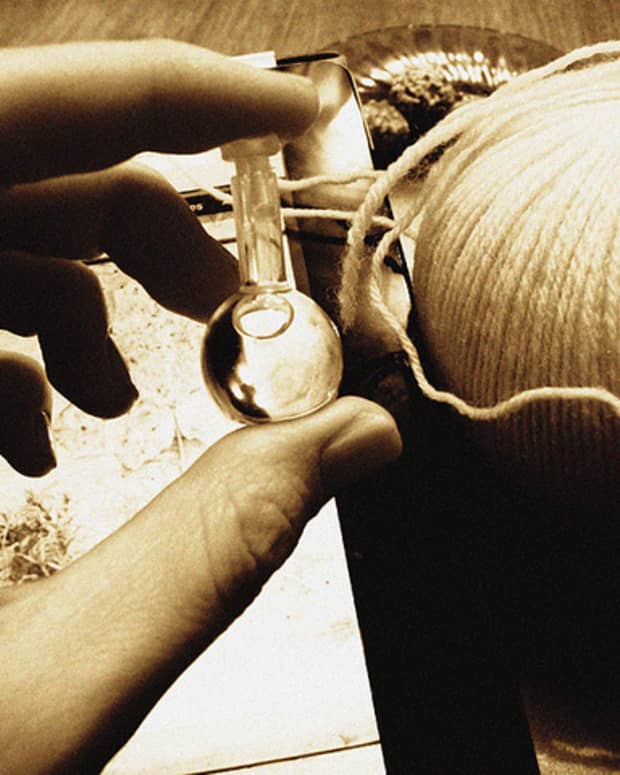
DIY lip balm to keep your lips healthy.
Gilberto Santa Rosa, CC-BY 2.0, via Wikimedia Commons
What Can You Put in DIY Lip Balm?
There are a plethora of ingredients you can add to your lip balm, and of course your ingredients will vary according to your goal. Do you want your lip balm to be moisturizing? Add cocoa butter. Do you want it to be super moisturizing? Add cocoa butter and shea butter.
Cocoa and shea butter are my moisturizers of preference, but you can also add other oils that have great properties, such as coconut, grape-seed, sunflower or even olive oil. The added benefits of adding oils to your DIY lip balm is that they will add gloss to your lips, while shea and cocoa butter will keep your lips looking matte.
Of course, you can also add vitamins, especially vitamin E which will keep your lips nourished. You can add the contents of 1 or 2 vitamin E capsules to your DIY lip balm.
Some people even choose to add chocolate chips to their lip balms, which gives you a heavenly chocolate taste and smell that will keep you hungry all day long. So if you're trying to eat less, refrain from adding delicious foods to your homemade lip balms.
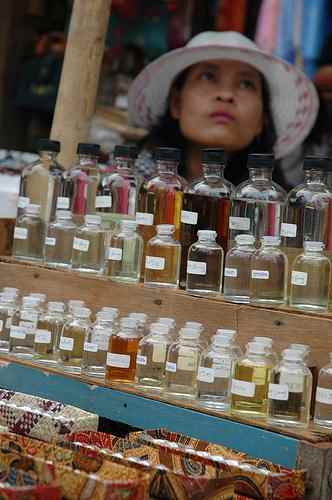
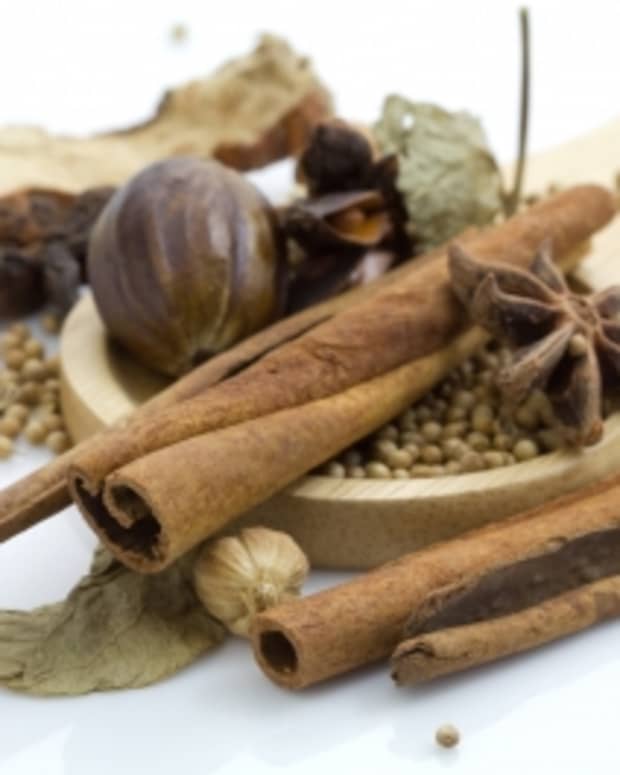
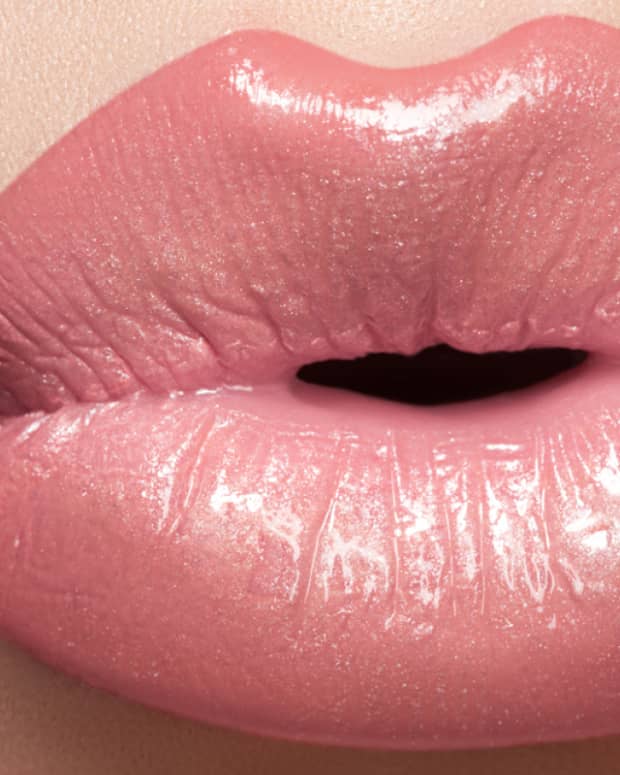
Choose your favorite essential oil to add great smells to your DIY lip balm.
Essential Oils Add Fragrance
The other great thing about making your own lip balms is that you can add any smell you please. I personally like the chocolate-mint smell (it's like having a junior mint in your mouth all day!). There are many essential oils you can add to your DIY lip balm to achieve your favorite smell:
- Peppermint oil is super refreshing and tingly.
- Lavender oil is calming and relaxing.
- Sweet orange will help you wake up and smell the flowers.
- Rose oil is ultra feminine.
I like to go to my local health food store and just check out all the essential oils they carry. Sprouts stores carry a nice selection of essential oils.
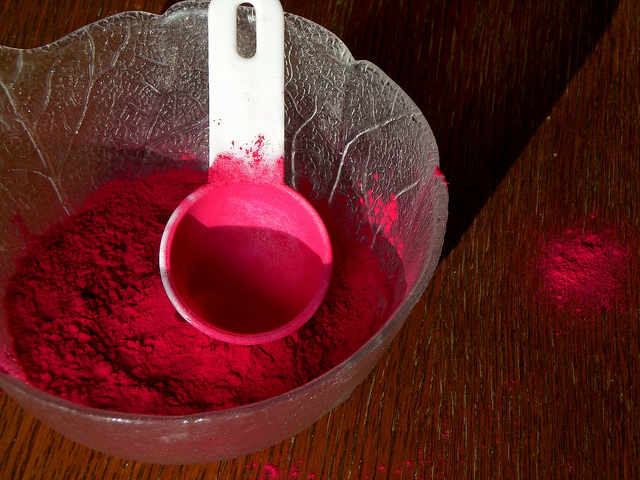
Root beet powder can add a beautiful tint of red to your DIY lip balm.
How to Add Color to DIY Lip Balm
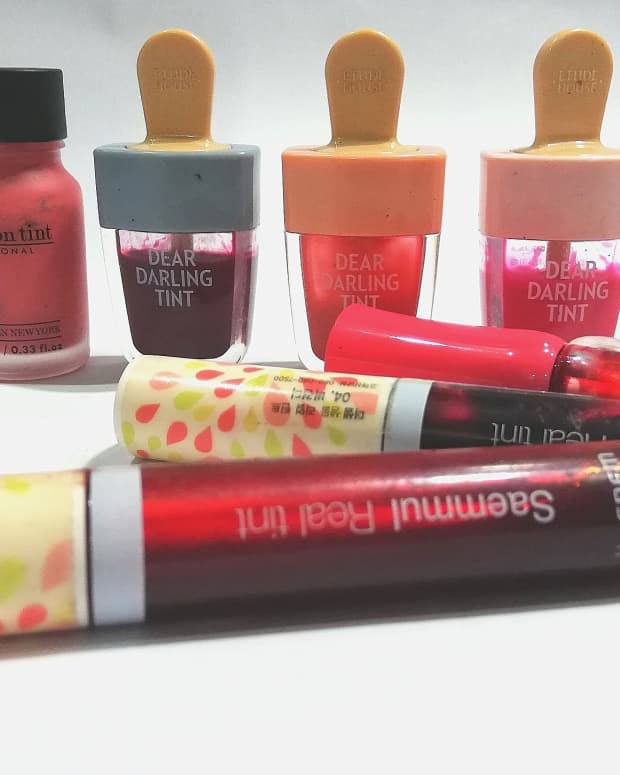
If you want to add tint to your lip balm you can use different things depending on how natural you want your lip balm to be. If you're not particularly interested in keeping it all-natural, you can mix some lipstick shavings into your DIY lip balm mix.
Read More From Bellatory


However, if you want to keep it all-natural, you can use root beet powder, vegetable food coloring or even jello powder. I wasn't able to get the jello powder to mix, but others have done successfully, so I guess it's up to you whether you want to try.
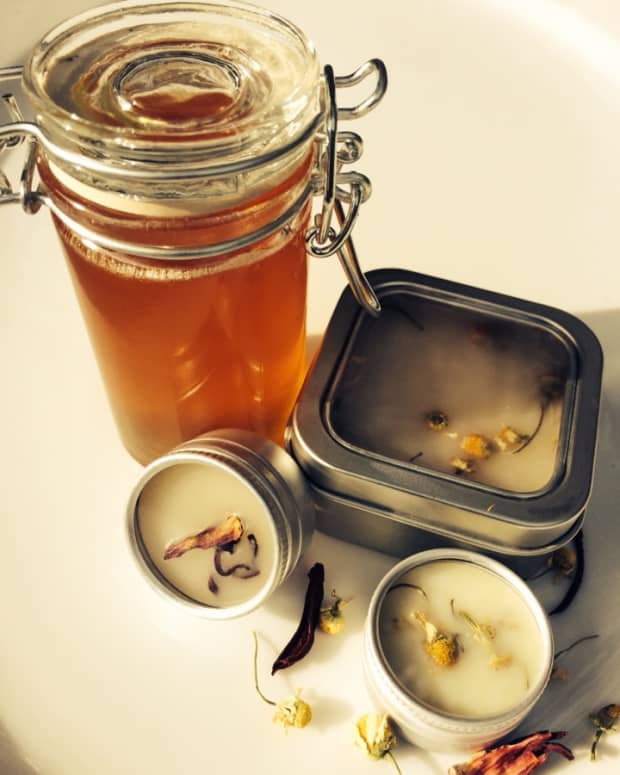
How to Bind Your Balm
To keep your DIY lip balm together, you will need to use beeswax. Without the beeswax, you will end up with a liquidy lip balm that gets all over the place if not placed in the right container.
To mix all the oils and waxes together, you will need a double boiler, or a glass container, a pot and boiling water. This method is commonly known as Bain-Marie. What this means is that you will place all the ingredients in a heat resistant glass-container and place the container in boiling water. This will allow all the ingredients to heat evenly without burning any one of them.
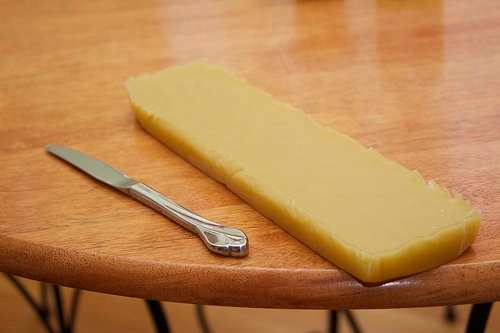
Beeswax is what will keep your lip balm looking store-bought.
Is DIY Crayon Lipstick Safe?
The whole point of making your own cosmetics is to reduce our exposure to harmful chemicals. Lately, there has been a trend of making lipsticks out of crayons to acquire the bold colors that celebrities such as Katy Perry or Lady Gaga wear.
But how safe are these DIY crayon lipsticks?
Consider these facts:
- Crayons are not made from cosmetic wax.
- Crayons are not completely lead-free regardless of what the package says. Crayons contain measurable amounts of lead, depending on the color of the crayon and can contain up to 5 ppm of lead. Lipsticks contain 1.1 ppm of lead, so you do the math as to which is more harmful.
For your own safety, stick to making all-natural lipstick or just buy one from the store. It will have less lead than its crayon counterpart.
This content is accurate and true to the best of the author’s knowledge and is not meant to substitute for formal and individualized advice from a qualified professional.
© 2013 Silver Q
Comments
Silver Q (author) on November 04, 2013:
Hi Meghan:
Yes, DIY projects are the best! Thank you for reading and commenting!
Meghan Chau on November 04, 2013:
Love this :) DIY projects are so fun
Silver Q (author) on November 03, 2013:
Hi Casey White:
Glad I could be of help! The best part about making your own lip balm is that you can add any color, smell and taste you want. I'm sure your grand daughters will have a bald making their own. Thank you for reading and commenting.
Mike and Dorothy McKenney from United States on November 03, 2013:
I have three little granddaughters and this is just what I have been looking for. They love to make their own make-up. Good job!!
Silver Q (author) on November 02, 2013:
Hello Angryelf:
Yes, weather can be quite harsh on the lips. For me it was hard to find a lip balm that matched my needs. But that's the great thing about making your own lip balm: you can control how much and what kind of moisturizers go in there!
Thank you for reading and commenting!
angryelf from Tennessee on November 01, 2013:
Ugh I need to make some! The impending weather is doing just something AWFUL to my lips!!! Great hub!
Silver Q (author) on November 01, 2013:
Hi Vishakha:
Thanks for reading and posting your comment.
Vishakha Bajaj on November 01, 2013:
Great Hub. Thanks for sharing this informative hub.