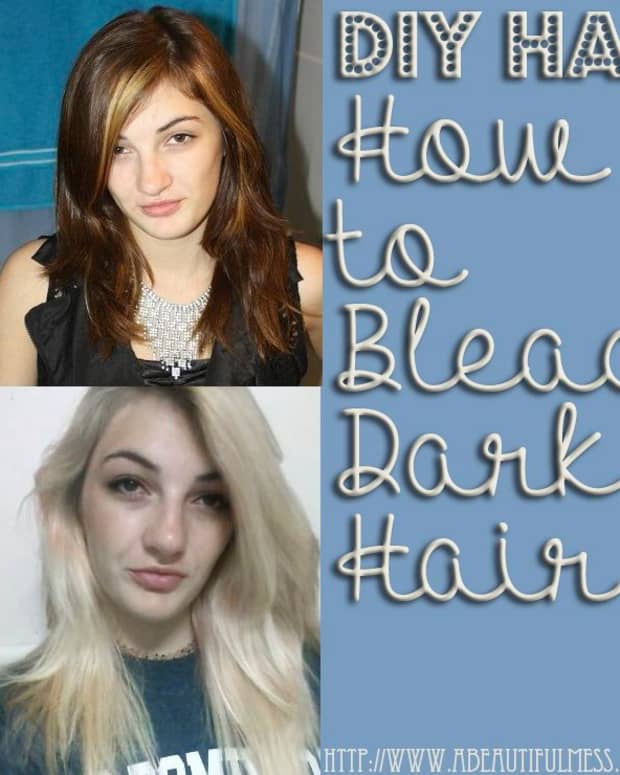
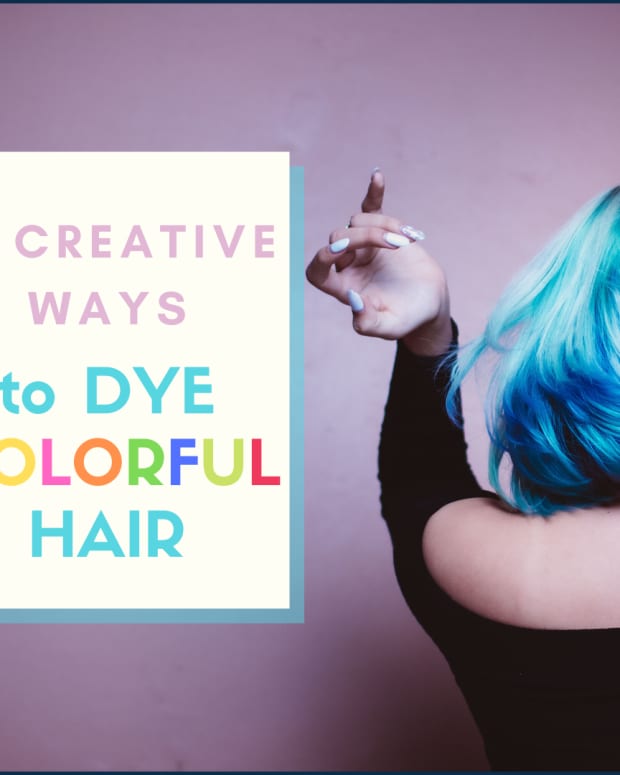
DIY: How to Dye Your Hair at Home
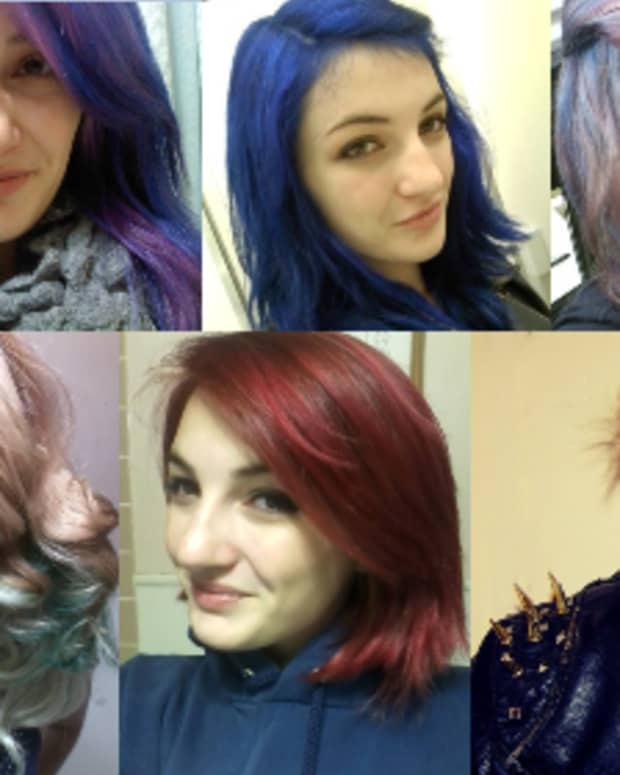
I love to dye my hair all colors of the rainbow. I love all things vintage, and I enjoy creating art, taking photos, and doing it myself.
Learn how to save money by coloring your hair from home.
Dyeing your hair can be a scary thing, especially if you've never done it or seen it done before. After all, isn't it permanent? Well, no, not really! But, hopefully, by the end of this tutorial, your newly colored hair will be so bitchin' that you'll wish it was permanent.
It really is a simple process, one that can be done in less than an hour by yourself from the comfort of your own home. Head to the store and pick your poison!
How to Dye Your Hair at Home
- Step 1: Prepare your hair.
- Step 2: Perform a strand test.
- Step 3: Mix the dye.
- Step 4: Apply it.
- Step 5: Wait and wash it.
- Step 6: Enjoy your new hair!
Materials
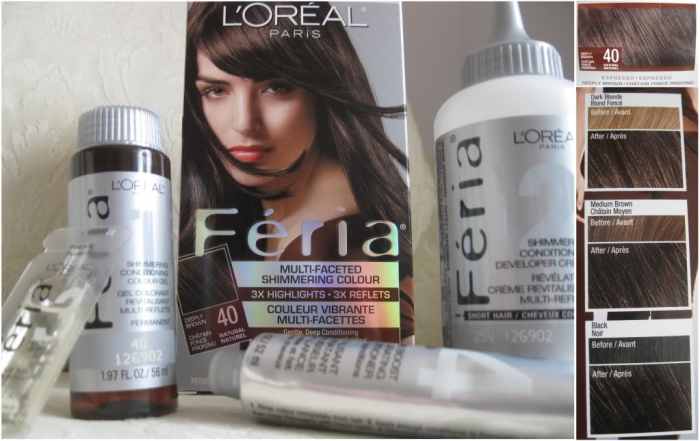
- Hair dye kit: These usually include instructions/information, gloves, colorant, developer, and sometimes, after-color conditioner. Check what's included in the box you're interested in before purchasing! Ammonia-free dyes are available, and preferable for me. Less hair damage, less terrible smell, etc.
- Mirror: Sometimes, two mirrors are helpful (to see the back of your head)—but not entirely necessary.
- Shower Cap: After applying color, it's nice to have some way to keep it on your actual head, instead of all over your clothes and furniture. If you don't have a shower cap, you can ghetto-rig one by using plastic wrap or a plastic grocery bag. Just don't let anyone see you.

author
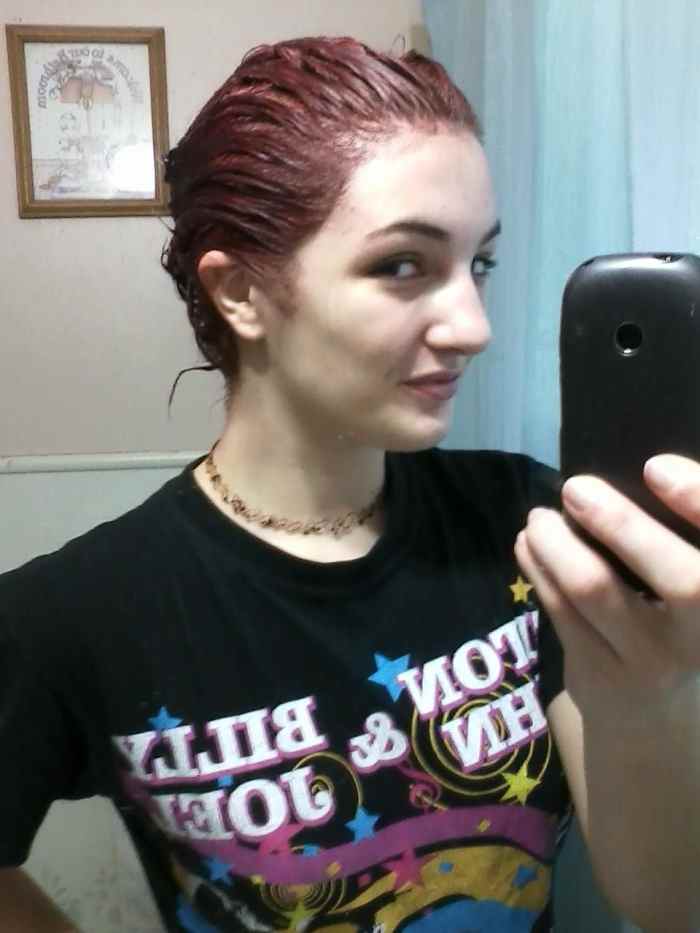
Step 1: Prepare Your Hair
It's recommended that you don't dye your hair immediately after washing it—or else you run the risk of splotchy, uneven color. Give it 24-48 hours after your last wash. The natural oils in your hair will help the color to spread more evenly, and will serve to protect your scalp!
I lied, I did a strand test once, many years ago.
author
Step 2: Strand Test
A strand test is used to see how your hair will react to the dye. If you have any allergies, now is the time you'll find out. You also get to see what color the dye truly turns your hair—sometimes, it's not exactly as planned.
Honestly, I never do strand tests. If I bought the dye, I'm just going to use it and see what happens. My hair is naturally a medium-dark brown, and I've dyed it enough times to know just about what to expect. Usually, dark brown dyes get really dark at first—but after a few washes, my hair looks less black and more of what it was intended to look like. Everything else seems to work just fine.
If you're super nervous and you still want to try the strand test, go for it. Pick a bit of hair that's not-so-visible, so you don't look like a freak if it doesn't turn out.
Using a plastic spoon, mix 1 tsp of hair colorant with 1.5 tsp of developer (bottles will be labeled). Slather that shit on your strand, and let it sit for the instructed amount of time on the box (usually 30 minutes or so).
Wash the dye out and let your hair dry so you can see the full effect. If you're happy, proceed!
Step 3: Mixing the Dye
At this point in time, it's a good idea to put your gloves on. Bottles in the kit should be labeled as colorant and developer, or simply, one and two. If your kit came with conditioner, set it aside and deal with the two main bottles. Pour the smaller bottle into the bigger one, and then replace the lid.
Read More From Bellatory


Next, shake that like Eminem did back in 2006. The mixture should slowly start to change colors.
Make sure the tip of the applicator lid is cut or twisted off, whatever is necessary to get the hair juice flowing.
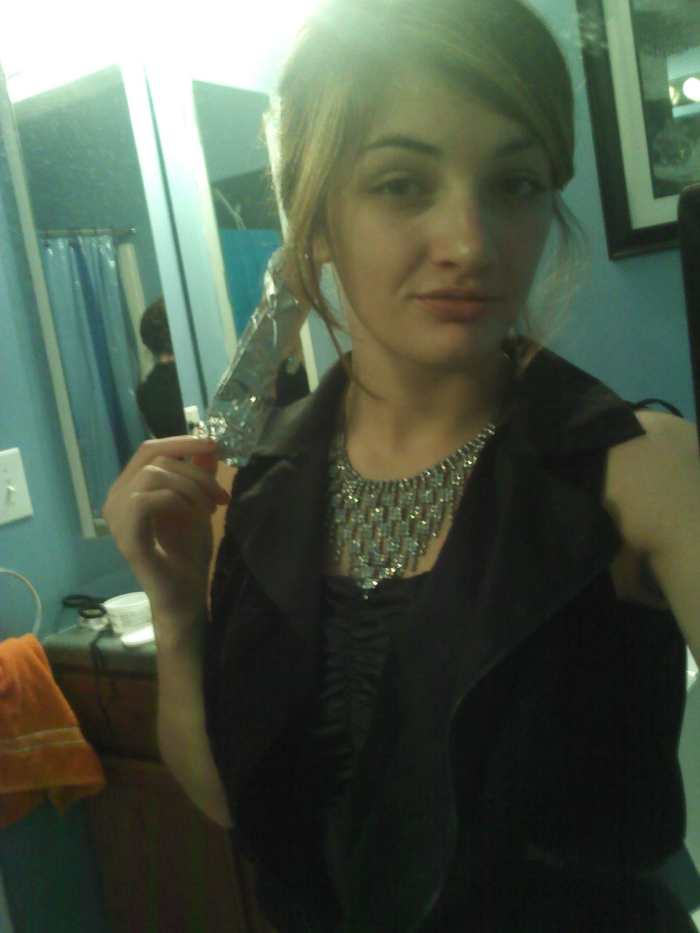
Step 4: Applying
Maybe I should've mentioned this sooner, but it's helpful to brush your hair before applying the dye. At any rate, go ahead and tend to the most visible areas first.
I always start applying dye down my part and around my face first. Once I've got all of my wispies in front covered, I move on to getting my roots saturated with dye. The pointed applicator tip of the dye bottle will make this process super easy—just work down your scalp from front to back and side to side, making sure your roots are totally saturated.
Now you could do the rest of this in an organized fashion, sectioning off hair and applying dye carefully—or you could go free-for-all. I always try to start dying in an organized way, but at some point I always give up and start slathering the stuff all over. After a while, it just seems easier to squeeze a glob of dye into your gloved palm and rub it in like shampoo.
Pay special attention to underneath layers and ends! Really, just try to get everything touching dye. It's easy to miss sections of hair when it gets all wet and clumped up—so make sure to break apart any clumps and get the middle bits dyed too. It's sometimes quite helpful to run a comb through your hair once you think you've covered it all in dye this way you can see how you really did, and try to cover any hair you may have missed.
Step 5: Waiting and Washing
When you're satisfied with the amount of dye coverage you've got, pull your hair into a sticky bun (not the food) and throw on your shower cap, plastic wrap, or plastic bag. If your dye kit came with an after-dye conditioner, make sure to put it near the shower for later.
This next step is crucial to the hair dye process: hop on the couch, turn on Netflix, and watch an old episode of Breaking Bad.
Once you've completed that very important step, strip down like Walter White before a cook (except no tighty-whities) and jump into the shower. Keep the water lukewarm and begin to rinse the color from your hair.
This part can get fun, especially if you're going red. The shower will look like a murder scene, kind of like when Gus cut that Mexican guy's throat in the lab!
When the water begins to run clear, you should apply your after-dye conditioner. If your kit didn't come with any, just put some other conditioner in and call it a day. Don't shampoo, you'll kill your hair and remove a good bit of dye.
Oh, also, it's normal to lose some hair during the wash-out process. Or at least, I think it is. The first time I dyed, I was startled at how much hair came out in the shower. In real life, it wasn't enough to make any sort of noticeable difference.
Step 6: Enjoy!
Okay, so before you can enjoy your hair, you'll have to let it dry. I suggest putting it up in a towel first, and then letting it air dry the rest of the way. Unless you've done something horribly wrong, your hair should feel silky smooth and smell funny. Congrats, you've just dyed your hair! Wasn't that easy?

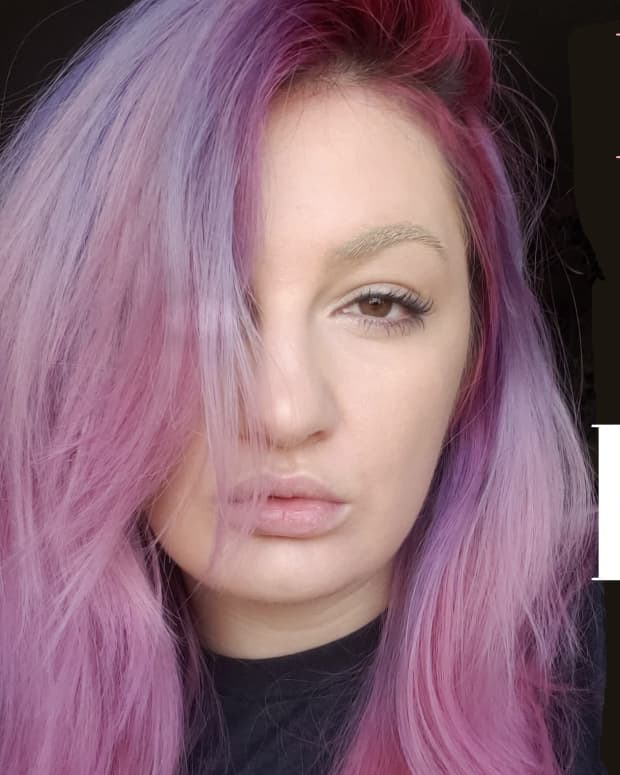
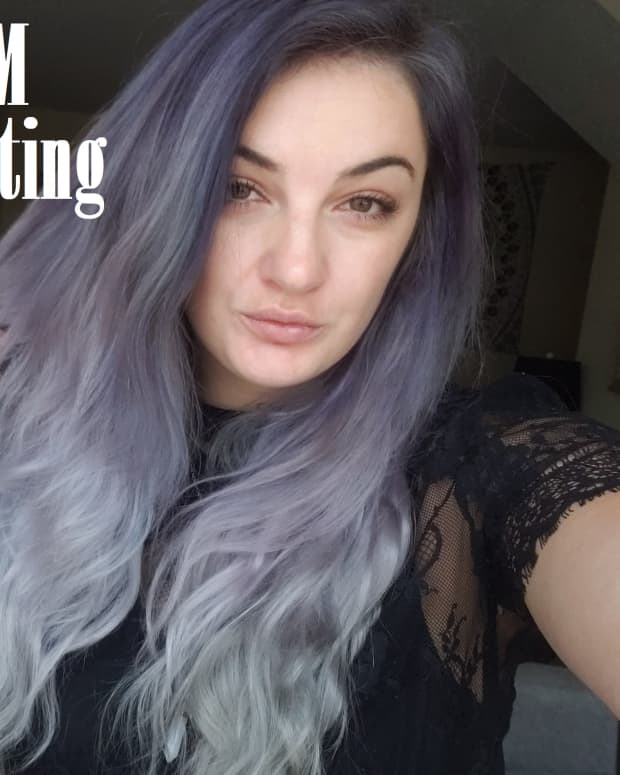
Day after Dye.
author
This content is accurate and true to the best of the author’s knowledge and is not meant to substitute for formal and individualized advice from a qualified professional.