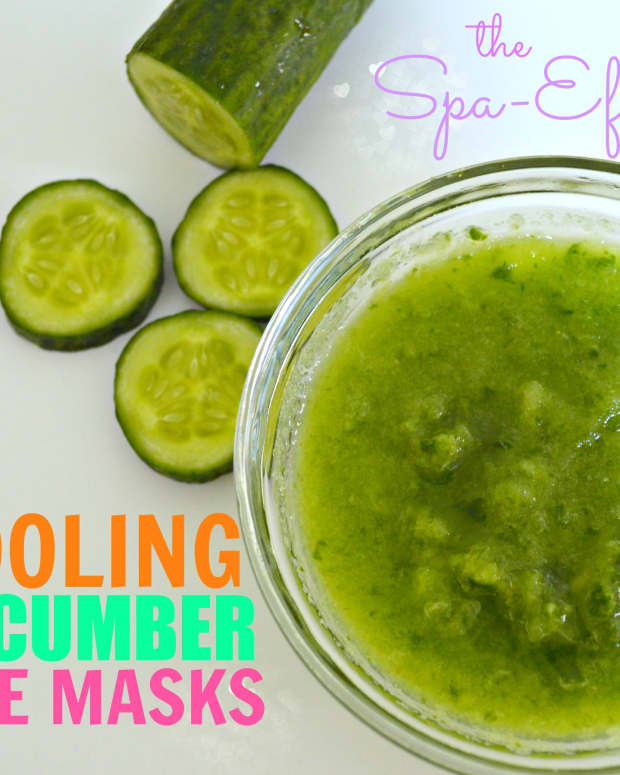
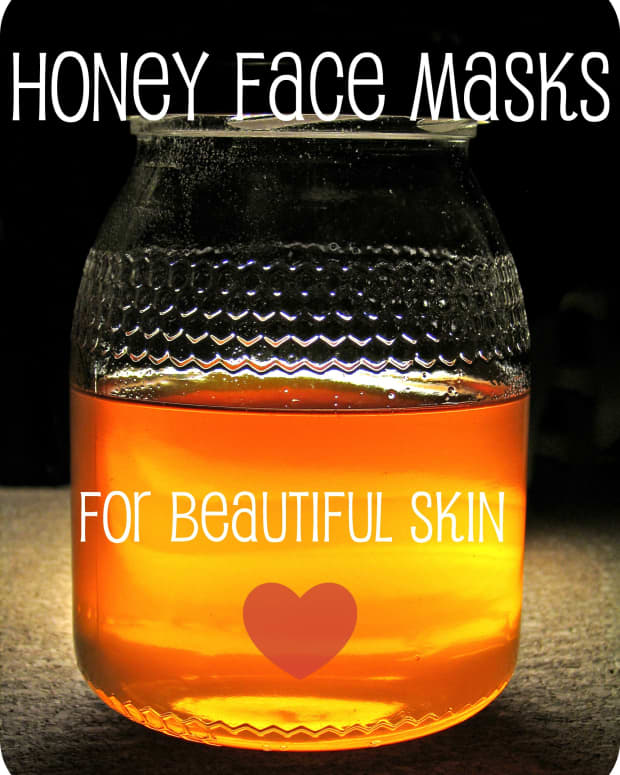
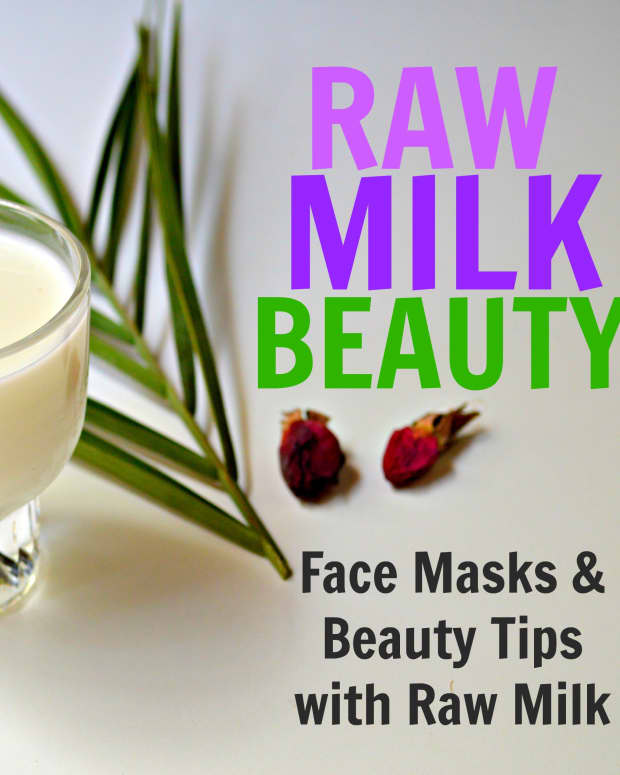
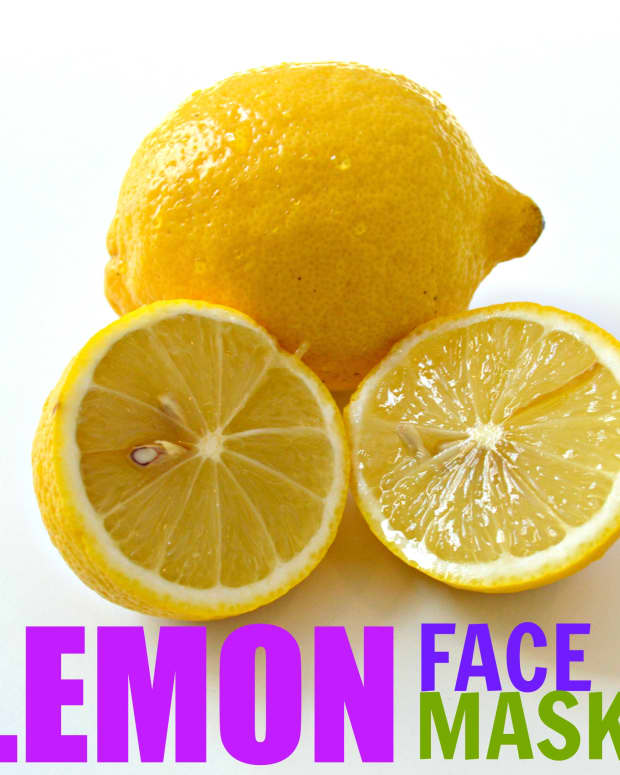
DIY Green Tea Face Mask Solutions for Youthful Skin
I love discovering and sharing DIY beauty tips, especially all-natural solutions that you can easily make at home.
You probably already knew that green tea has lots of beauty benefits, especially when it comes to promoting healthy and youthful-looking skin. But did you know that a topical application of green tea is also a great way of achieving beautiful skin?
Green tea has been shown to inhibit UVB-induced erythema response in the skin and it helps prevent and heal sunburns. It also boosts the skin’s own natural sunburn protection by supporting the production of melanin. This anti-oxidant rich tea contains antioxidant, anti-inflammatory, anti-aging and antibacterial properties that will not only protect your skin but also nourish, heal, and soothe!
Here are three super easy green tea face mask solutions you can make in just a matter of seconds!
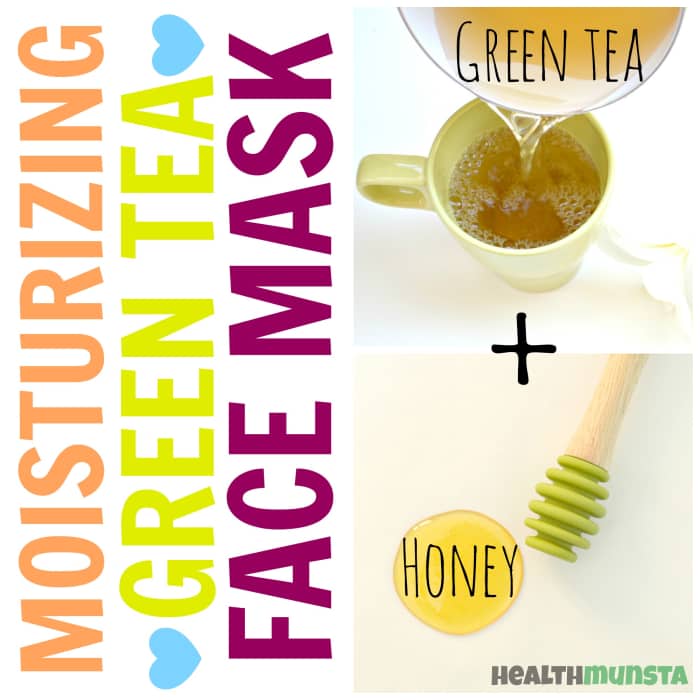
This moisturizing green tea and honey face mask is anti-oxidant rich and contains anti-aging and anti-inflammatory properties too!
healthmunsta, all rights reserved
1. Moisturizing Green Tea and Honey Face Mask
This water-rich green tea and honey face mask will help hydrate and moisturize dry and dull skin. Not just for dry skin, this green tea face mask is also perfect for oily skin. It works by cleansing and regulating sebum in oily and acne-prone skin. The honey will also help soothe severe acne and calm redness. It contains the goodness of honey, which together with green tea will plump up the skin and make it look dewy. Check out more benefits of honey for skin below:
| Ingredient | Benefit for Skin |
|---|---|
Honey | Honey is rich in antioxidants and has anti-inflammatory, anti-aging and antiseptic properties that will help keep the acne away, and promote youthful glowing and soft skin. |
Tips
- Your green tea and honey face mask should not be drippy so make sure to add in the correct amounts of honey and green tea.
- Use organic honey to avoid skin irritations caused by additives found in adulterated honey.
- Gather your hair away from your face with a hair tie and smooth out any stray hairs because this face mask is sticky and can stick to your hair strands.
Ingredients
- 1 teaspoon green tea
- 1 teaspoon honey
Directions
- Mix your two ingredients in a small bowl.
- Simply use your clean fingertips to gently apply the mixture onto your skin.
- Leave it on for about five minutes or until it dries up on your face.
- Using warm water, rinse off the mask thoroughly and pat dry.
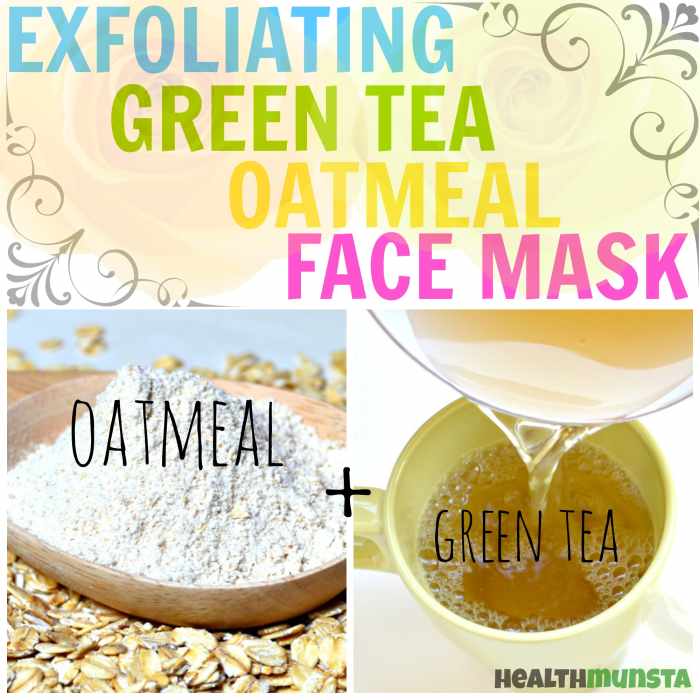
This green tea oatmeal face mask will gently exfoliate dead cells & flaky skin and pull out grime, dirt, sebum and pollution from the pores.
2. Exfoliating Green Tea Oatmeal Face Mask
The green tea oatmeal face mask combo is specifically for deep skin cleansing and exfoliation. Just think of it as a face scrub and mask in one go! Coupled with cooling green tea, this face mask will not only cleanse your skin from deep within, but also alleviate any redness and soften skin. Using oat powder will give you soft & smooth skin. Check out benefits of oatmeal for skin and how exactly oatmeal works in exfoliating skin.
Read More From Bellatory


| Ingredient | Benefit for Skin |
|---|---|
Oatmeal | Oat powder/oat flour has a mild abrasive texture that will help exfoliate skin and remove impurities from within the pores and on the skin surface. Oatmeal is also known to soothe inflammatory skin conditions like eczema and I even use it to soothe painful and itchy acne. |
Tips
- You can just use oat flour instead of making your own oat powder.
- Apply this face mask over your kitchen/bathroom sink to avoid any drips.
Ingredients
- 1 teaspoon green tea
- 1 teaspoon honey
Directions
- Mix your two ingredients in a small bowl.
- Simply use your clean fingertips to gently apply the mixture onto your skin.
- Leave it on for about five minutes or until it dries up on your face.
- Using warm water, rinse off the mask thoroughly and pat dry.
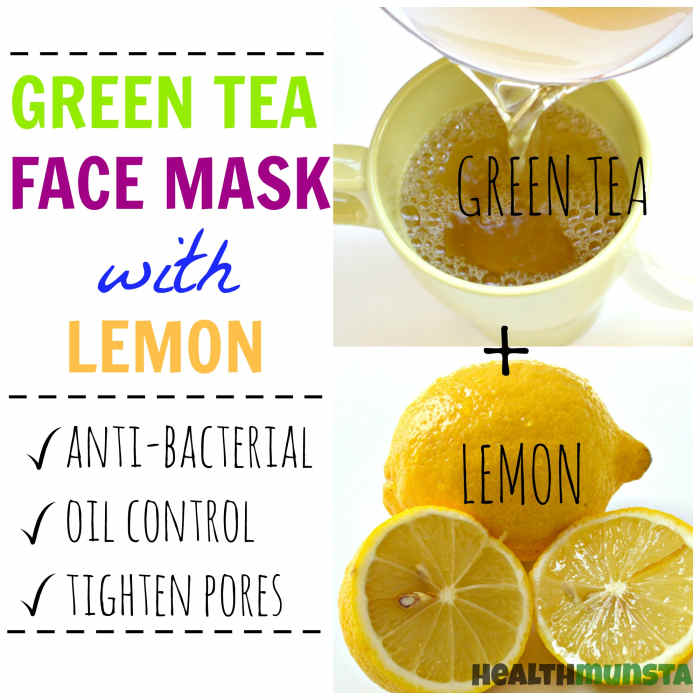
Combining the antibacterial goodness of lemon and natural astringent properties of green tea, this green tea and lemon face mask will help keep acne away!
healthmunsta, all rights reserved
Fight acne and fade away acne scars using this super effective green tea and lemon face mask. Green tea contains powerful antioxidants for skin nourishment and offers natural UV protection. It helps regulate sebum and cleanses the skin from excess oils, thereby helping reduce acne. Lemon is effective in lightening blemishes and acne scars. It also contains citric acid that tightens and firms skin as well as brightens overall skin complexion. Check out more amazing benefits of lemon for skin!
| Ingredient | Benefit for Skin |
|---|---|
Lemon | Lemon is a natural astringent which helps tighten skin & shrink large pores hence getting rid of excess oily skin which causes acne. Its anti-bacterial properties will help keep skin clean and stave off acne causing germs. |
Tips
- Use freshly squeezed lemon for the best results. Don’t add more lemon juice, especially if you have severe acne, because too much of it can cause redness, irritation and burn your skin. Just a squeeze/3-4 drops of lemon will be effective.
- Make sure to avoid the eyes as you apply this green tea and lemon face mask. In case the mask gets into your eyes, immediately rinse with water.
- You can store excess face mask mixture in your refrigerator for up to a week. However, if it starts to smell unusual, throw it away immediately.
Ingredients
- 1 tablespoon green tea
- 1/2 teaspoon lemon juice
Directions
- In a small bowl, add 1 teaspoon of lemon juice and just a squeeze of lemon. Mix this up well.
- Dip a clean cotton pad/ball into the mixture and dab gently onto your face.
- When the mask is dry, use another cotton ball to pat on another layer of the mixture and let dry for three minutes.
- Repeat the procedure until all of the face mask mixture is done.
- Let the final coat of the face mask settle for about 5 minutes.
- Rinse off with tepid to cold water and pat dry.
- Moisturize with a little coconut oil/ shea butter if needed.
This content is accurate and true to the best of the author’s knowledge and is not meant to substitute for formal and individualized advice from a qualified professional.
Comments
Karine Gordineer from Upstate New York on June 08, 2015:
Interesting hub. I will have to try these face masks.