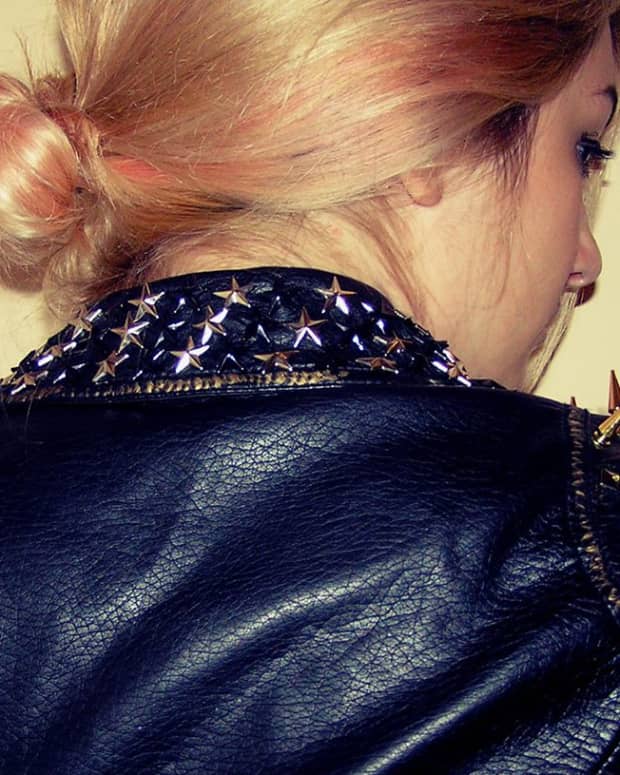
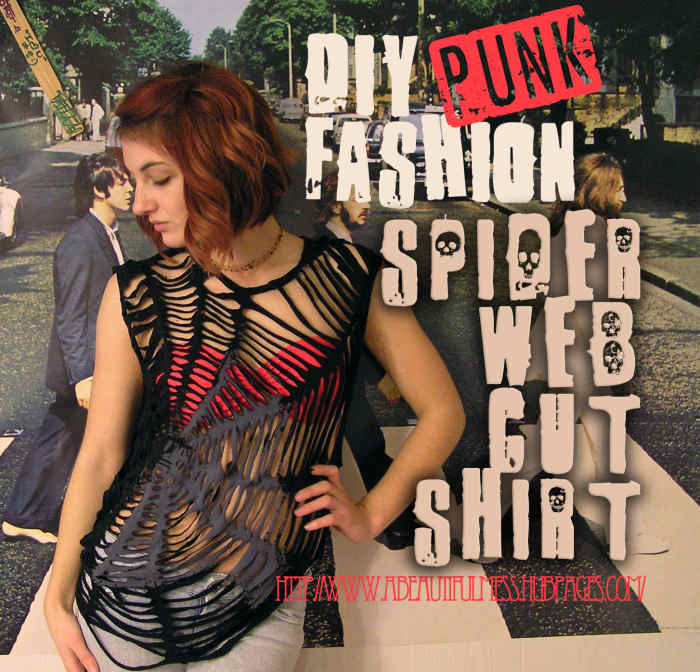
DIY Punk Fashion: Spider Web Cut Shirt
I enjoy fashion and looking trendy on a budget. I also create art, take photos, and save money by doing things myself.
I'm on a quest to create a wardrobe full of one-of-a-kind, DIY clothing. As you guys can probably tell from my other articles, I'm all about cutting up and studding my clothes. Now all I need is to be a rock star!
I saw a photo of a spider-web cut shirt on Pinterest and knew I'd have to replicate it at some point. As with all of my replications, I threw in my own twist. So without further ado, a step-by-step tutorial on how to create this awesome web shirt.
Materials
So you can do this the easy way or the hard way. The easy way is to just use your shirt and scissors. The back of my shirt had a logo on it though, and I wasn't digging that look. I decided to go the hard way and cut the back of the shirt off and replace it with sheer fabric, but it looks just fine either way!
- T-shirt
- Scissors
- Sheer Fabric
- Studs

Sorry, Star Trek. I have bigger and better plans.

Step 1: Cut Sleeves
So first off, you want to cut your sleeves off. Just lay the shirt flat on the ground and cut just inside of the sleeve's seam.
Step 2: Outline
Once you've cut your sleeves, turn your shirt inside out and use a marker to outline the web. I used a silver sharpie on my black shirt.
Pick a spot for the center of the web to be, and draw a small circle. Then, draw a vertical line and a horizontal line that goes straight through it. Add in a few diagonals, like a little compass rose.

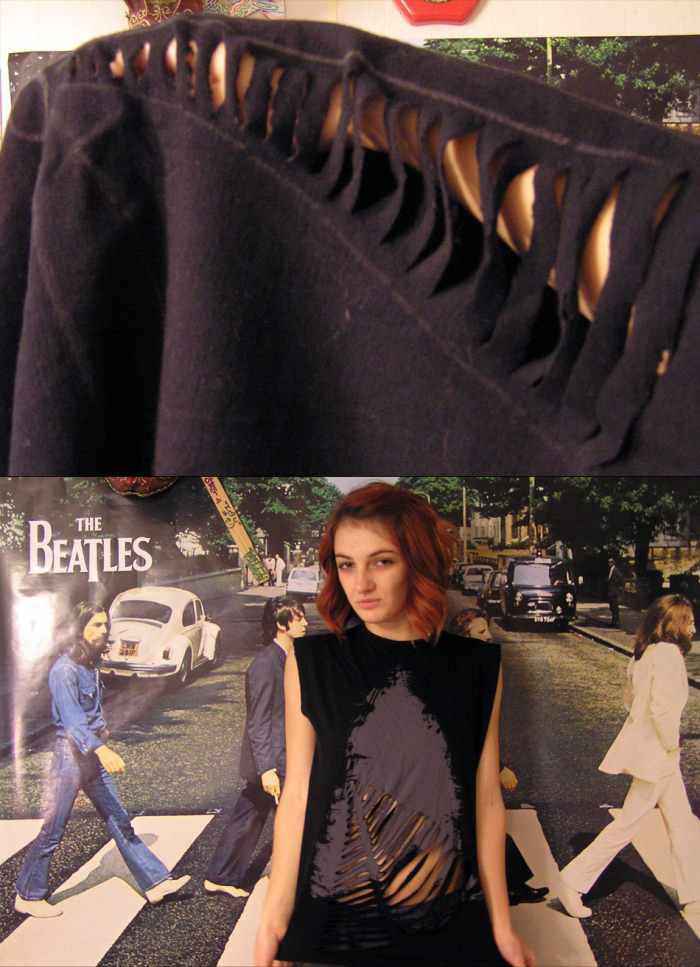
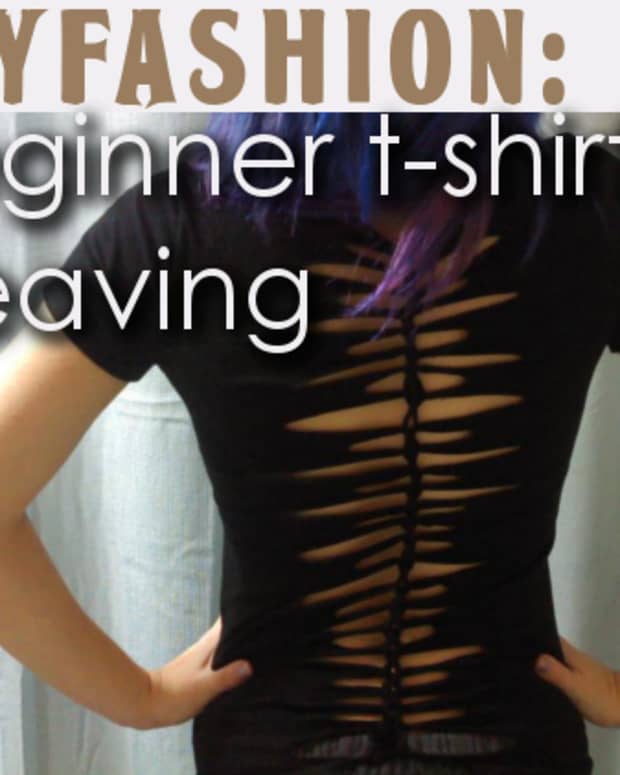
Step 3: Cutting the Web
Next, you'll want to start cutting. Pick a section to start with, and begin at the middle—just outside of the circle you drew. You'll want your cuts to start and finish about half a centimeter away from the lines you drew.
I spaced each cut out by about a centimeter, and I only cut on the front half of the shirt.
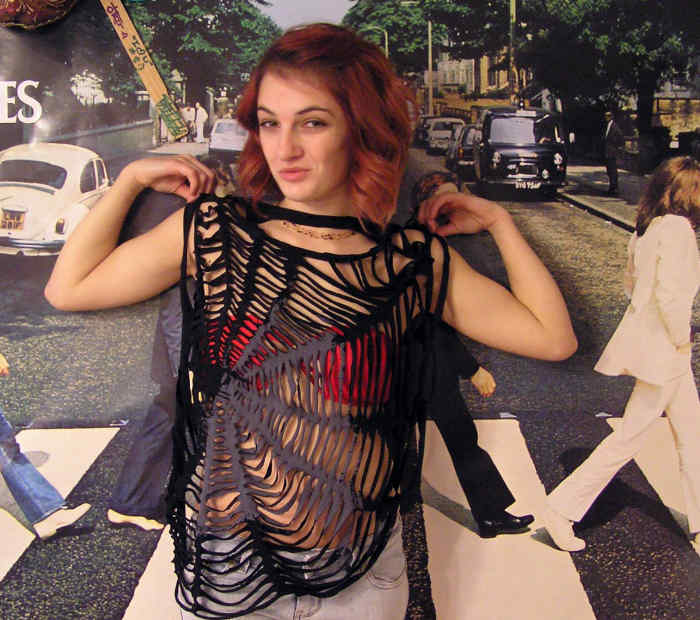
Once you've finished a section, stretch it out so that the strips of fabric start to roll up. Move on to the next section, and work your way around the shirt. It's a very long process, but it looks awesome in the end!

Step 4: Touching Up the Edges
Once I was done cutting the web pattern, I decided to cut about two centimeters off of the neckline, to make it more open. Then, I took my scissors and cut all the way around the bottom of the shirt, taking off the bottom hem.
I cut the bottom so that the lowest part of the web was the bottom of the shirt. It became sort of angled, and draped down on one side. I cut the bottom on the back of the shirt at a diagonal as well.
Read More From Bellatory


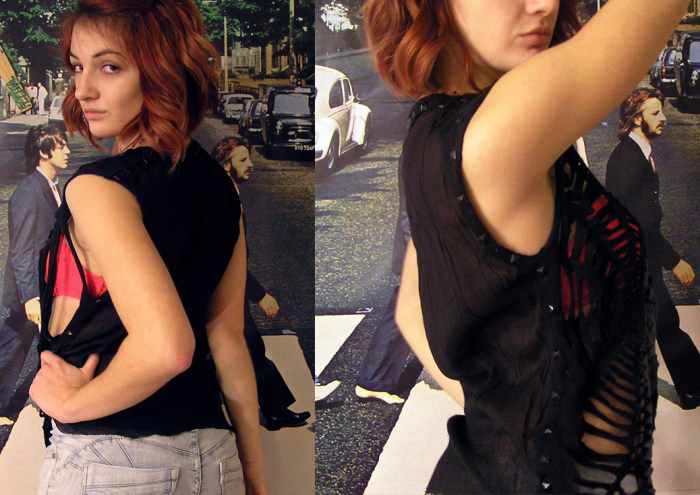
Step 5: Adding a Sheer Back
Certainly, you could stop right after step 4. However, my shirt had a logo on the back that I didn't like, so I got ambitious.
I cut the entire back off of the shirt, making sure to leave the strips of fabric that completed the neck hole and arm holes. Then, I cut out a section of sheer fabric in the same shape as the web section.
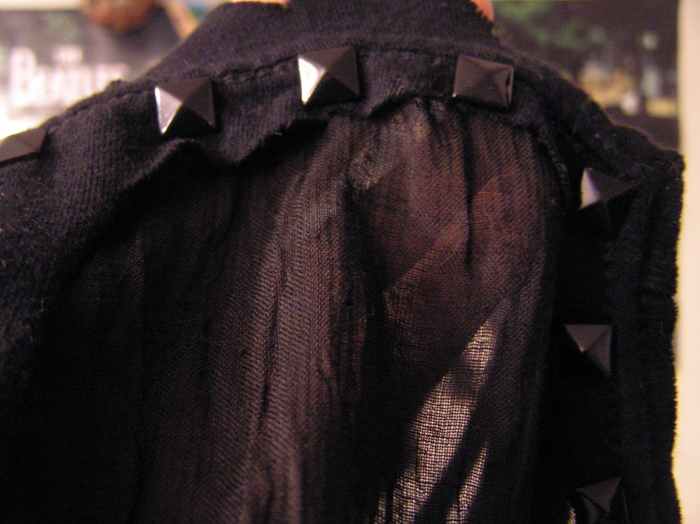
I didn't particularly want to sew, mostly because my sewing machine is in another room and it's cold in there—and I hate being cold. Instead, I got innovative and grabbed some black pyramid studs.
I lined up the sheer fabric underneath the back of the neck hole from the front (web) side of the shirt and pushed several studs in to secure the two fabrics together. I spaced the studs about an inch apart. I repeated this down the sides of the shirt as well. In the end, there were studs lining the back of the neck, the shoulders, the back of the arm holes, and down the sides of the shirt. The best part? The two sides are now fastened, with no sewing involved.
To finish it up, you can hem the bottom of the sheer fabric—or, just paint along the bottom edge with clear nail polish. This will keep the ends from fraying.

More DIY Fashion
I hope this tutorial was simple enough and that everything was explained to your liking! I urge you to keep checking back for more DIYs, as I have many more rockstar pieces to create. As for now, try out some of my other fashion DIYs!
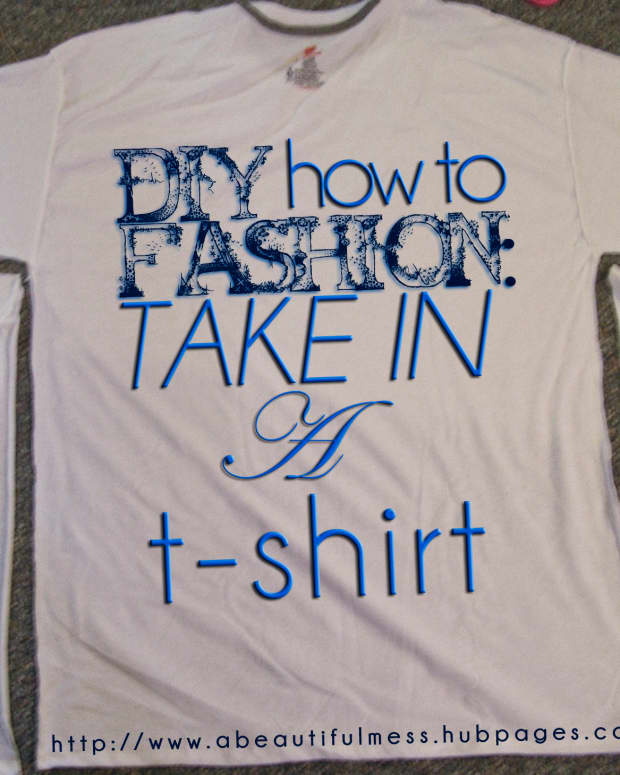
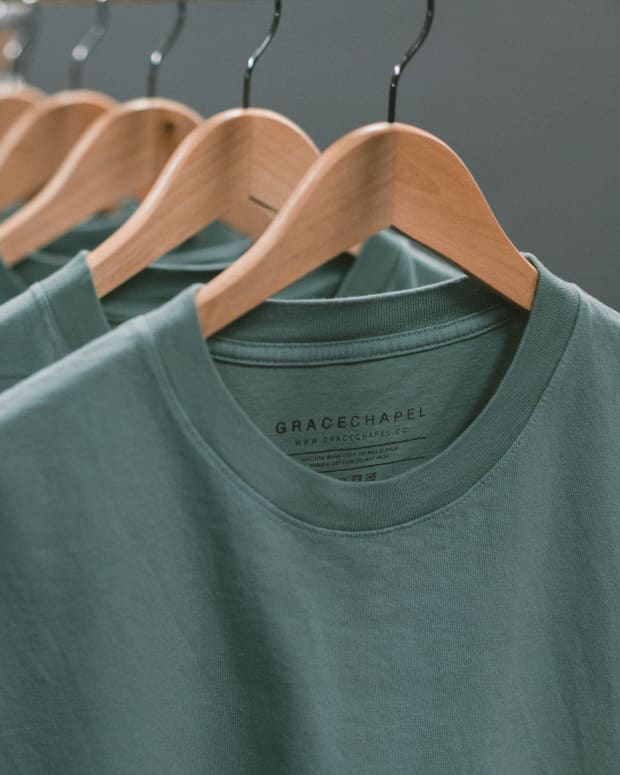
- DIY Fashion: How To Take In a T-Shirt
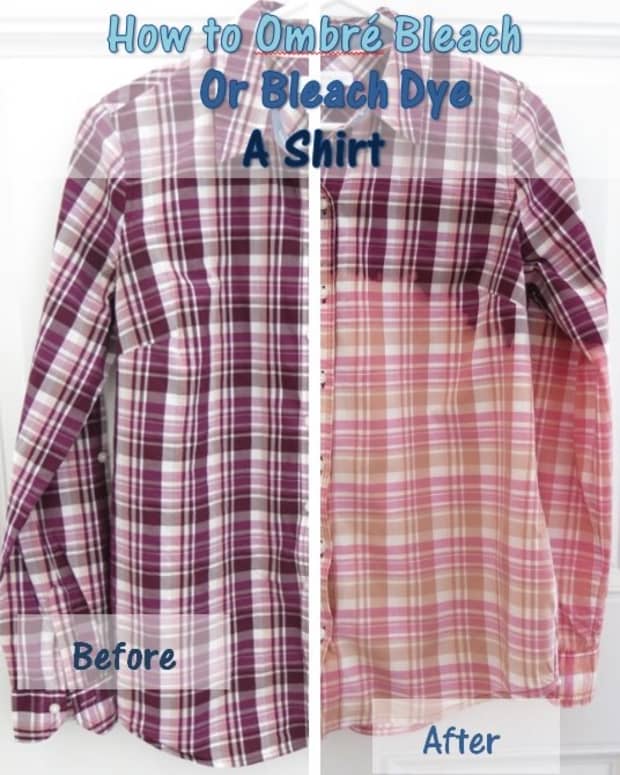
Have any shirts that are just a size too big? Now you can learn how to take them in a size, so you don't look like your shirt is eating you. - DIY Fashion: How to Spray Paint a T-Shirt
Ordering t-shirts for your event or organization can get very pricey, very quickly. With a little spray paint and a plain shirt, you can make your own! - DIY Fashion: Make a T-Shirt Into a Tank Top
It's easy to cut a T-shirt down into a tank top; you don't even need to sew it. Three steps, one optional. - DIY Fashion: 10 Ways to Make a Cut Shirt
Want to spice up your wardrobe? Here are 10 ways to do just that - and all you need is a t-shirt and a pair of scissors! Get your creative juices flowing with these easy DIY cutting styles. - DIY Fashion: How to Stud Clothing
If you're looking for a badass DIY way to personalize your clothes, studs are the way to go. Here, you can find where to buy studs, as well as studding ideas and photos!
© 2014 Alex Rose
Comments
Alex Rose (author) from Virginia on March 25, 2016:
Should work out just fine on the back!
Creatively insane student on March 22, 2016:
Hi, I'm just wondering, would the spiderweb pattern work for both sides of the tshirt?? I have a vest top that's too big for me that I want to try this on but with it being too big, I'm thinking of doing the back too, any advice??
Alex Rose (author) from Virginia on February 17, 2014:
Thank you very much!
iphone5amazon1 on February 17, 2014:
You are really a talented person, that was great!