DIY Fashion: Bleached Stencil T-Shirt
I enjoy fashion and looking trendy on a budget. I also create art, take photos, and save money by doing things myself.
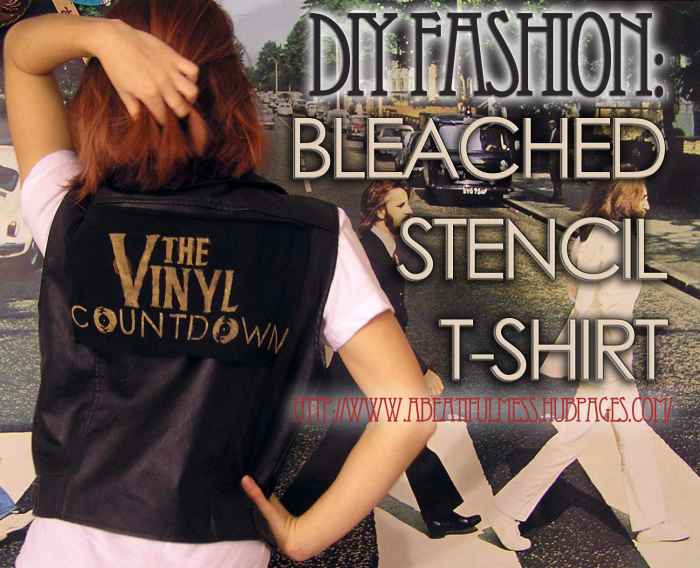
Patch with my design attached to my leather vest.
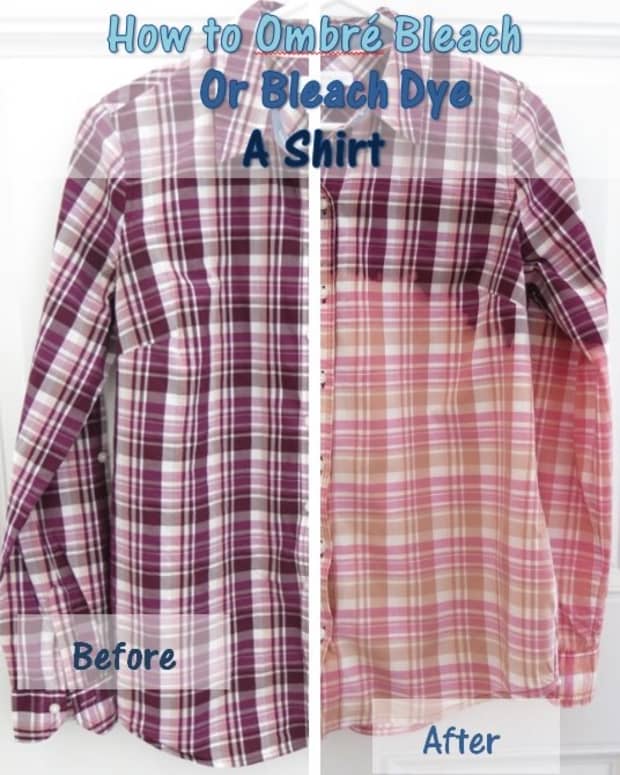
I've made my own spray-painted t-shirts before, but that's not the only way to do a DIY design! Using the same concepts as painting, you can create a design on a shirt using bleach.
I'm actually doing my design on a patch of fabric that I've cut out of a black t-shirt because I want a patch for my leather vest! The design I'm using is the logo for my radio show.
Materials Needed
This is actually a bit simpler than spray painting a design on a shirt, and you'll probably already have most of the materials you need at home.
- Dark T-Shirt
- Cardboard
- Box Cutter
- Double Stick Tape
- Spray Bottle
- Bleach
- Newspaper
If you're making a patch and not an entire shirt, cut a rectangle of fabric that is slightly larger than the stencil you'll be using. My stencil takes up a pretty sizable amount of space, so I cut a rectangle from the bottom half of an old long-sleeved shirt.
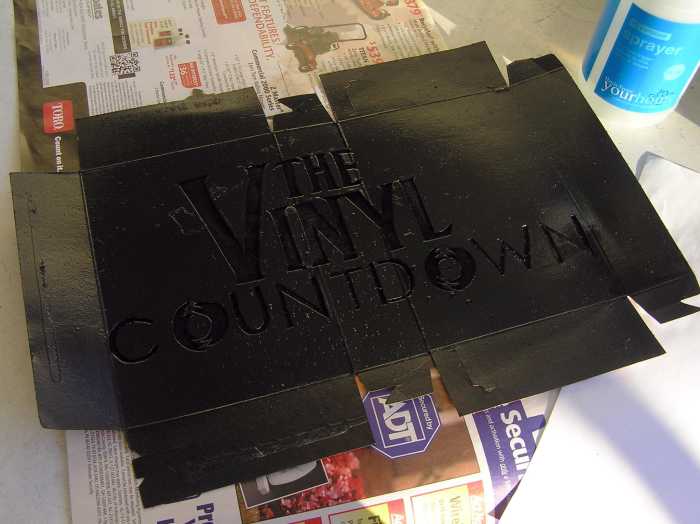
1. Making the Stencil
I free handed my stencil onto the back of a flattened cardboard box. I made my stencil to utilize positive space, meaning that the spray paint will fill the positive space of the letters I've cut out.
If you're not the best at freehanding, you could print out the logo or design you're trying to replicate, and tape it to the cardboard. Then, use your box cutter to cut out the design, much like carving a pumpkin!
Keep in mind, any letters that close (A, B, D, O, P, Q, R, a, b, d, e, g, o, p, q) need to still be connected to the stencil somehow. As in, the negative space on the inside of an "O" (the area that needs to stay dark) needs to be connected to the negative space on the outside—or else you'll just have a giant, bleached circle when you finish. There are two different ways to fix this.
- Cut out a middle piece for the "O," and place it on the shirt when you lay down the stencil.
- Leave the middle piece connected to the stencil by a thin line of cardboard.
For this design, I used the second method and left a thin line attached to the center of the letter. In the photo below, you can see how I did it with the "D."
You can see the two points where the inside of the D was connected to the stencil.
2. Preparing to Bleach
First, you need to mix the bleach solution. Add one part water to one part bleach and pour it into a spray bottle. Shake it up, and give the bottle a few squirts to get the mixture spraying properly. Most squirt bottles can be adjusted to spray a thin stream or a fine mist. You'll want to set your bottle to misty mode!
Read More From Bellatory


If you're bleaching a t-shirt, grab a few pieces of newspaper and lay them flat inside of the shirt. Place it underneath where your design will go, so the bleach doesn't bleed through to the back of the shirt. If you're working with a patch, like I was, you only need to lay newspaper underneath the fabric.
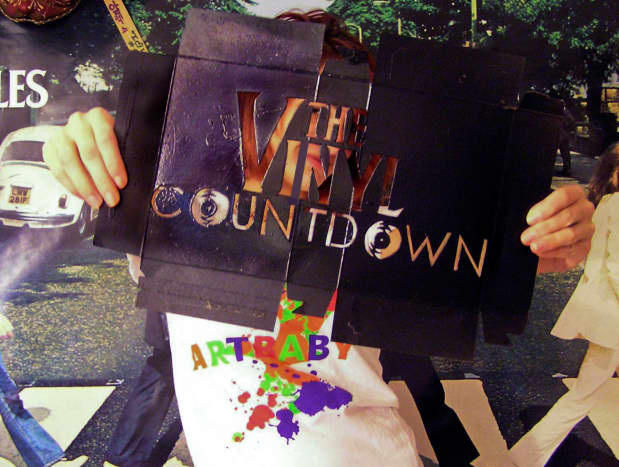
Lay your stencil down. Use double-stick tape to secure it to the shirt. Make sure to apply the tape to the places where the stencil doesn't lay flat. My Vinyl Countdown stencil has lots of detail, so I used a bit of tape between some of the letters to make sure that the design would come out sharp. The better the contact between the stencil and shirt, the sharper the image will be.
Once your stencil is taped down, use the rest of your newspaper to cover up the remaining exposed areas of the t-shirt or patch.

Bleach sprayed on and waiting for it to work.
3. Bleaching the Design
Spray a mist of bleach over the stencil. You'll have to spray quite a few times—I did about 10 sprays. The droplets might sit on top of the fabric, but they need to be absorbed. Take a piece of tissue or paper towel and dab the bleach into the shirt. Now, let it sit for about 10 minutes.
If the shirt isn't light enough when you come back, spray and dab another time. Be careful not to soak the shirt; you don't want the bleach to bleed outside of the lines of the stencil.
When you're satisfied with the color, remove the stencil and lay the shirt or patch out to dry. The longer you let it sit, the lighter it gets. Once it's as light as you want it, rinse it out quickly. Then throw it in the wash to get the smell out.


Results
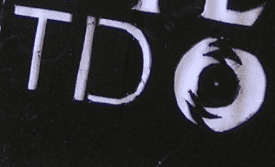
As you can see, the bleaching worked even with all the detail in my stencil. It bled through a little bit, but that's because I went spray-crazy.
All in all, I'd say this is a wonderful method for customizing t-shirts! It'll never fade either. If you enjoyed this DIY and you're hungry for more, take a quick look at some of my others.
Check Out More of My DIY Articles!
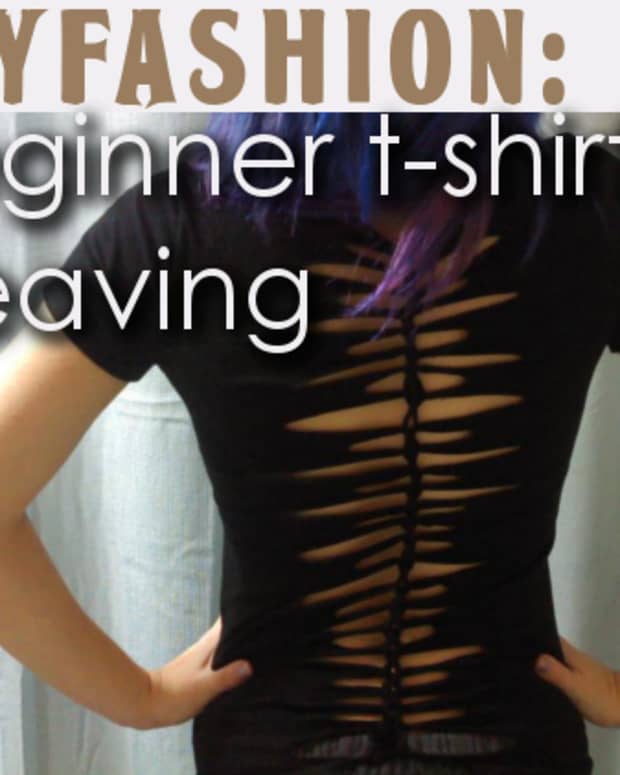
- DIY Fashion: Make a T-Shirt Into a Tank Top
It's easy to cut a T-shirt down into a tank top; you don't even need to sew it. Three steps, one optional. - DIY Fashion: How to Stud Clothing
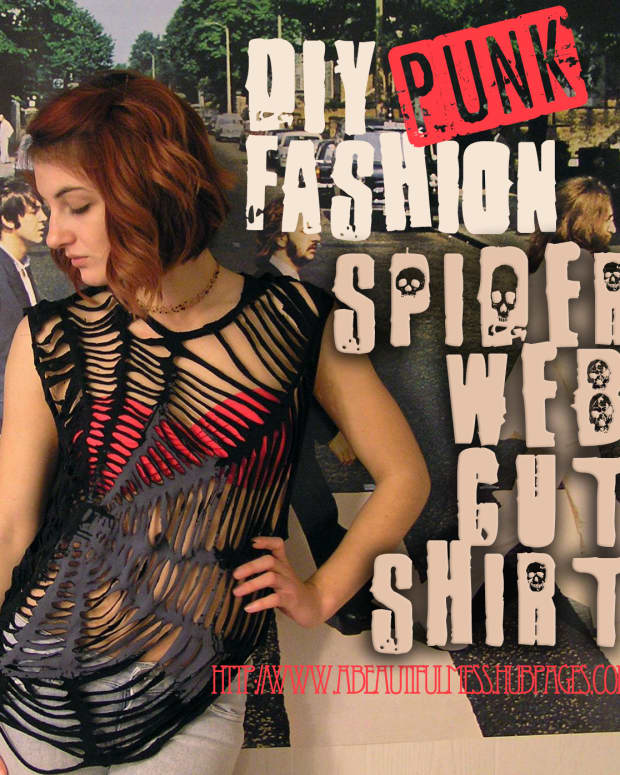
If you're looking for a badass DIY way to personalize your clothes, studs are the way to go. Here, you can find where to buy studs, as well as studding ideas and photos! - DIY Fashion: How to Create Costumes Through the Decades
Using these tips, you can create costumes from the 1920s to the 1990s! Whether it's for Halloween or a themed party, you can find plenty of ideas in these eight decades of vintage inspired costume. - DIY Fashion: How to Spray Paint a T-Shirt
Ordering t-shirts for your event or organization can get very pricey, very quickly. With a little spray paint and a plain shirt, you can make your own!
© 2014 Alex Rose
Comments
Ceres Schwarz on February 18, 2014:
The bleached stencil t-shirt looks very nice as can be seen in the images. This doesn't seem all that hard to do and it's a good way to make and design shirts yourself instead of just buying them.
Sanjay Sharma from Mandi (HP) India on February 17, 2014:
Beautiful Hub, Voted up.