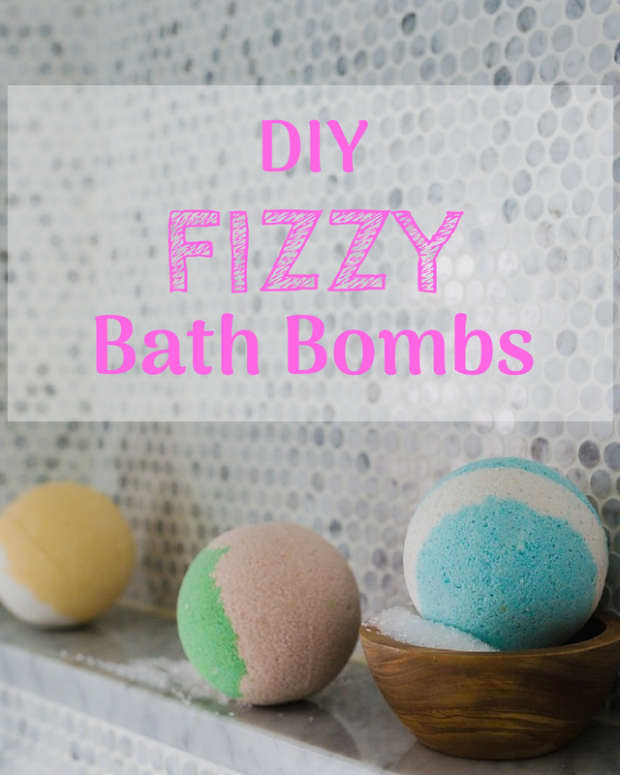
DIY Lush Bath Bomb Recipe
I'm a fan of DIY. I have tested this bath bomb recipe many times, as well as fun variations of it.
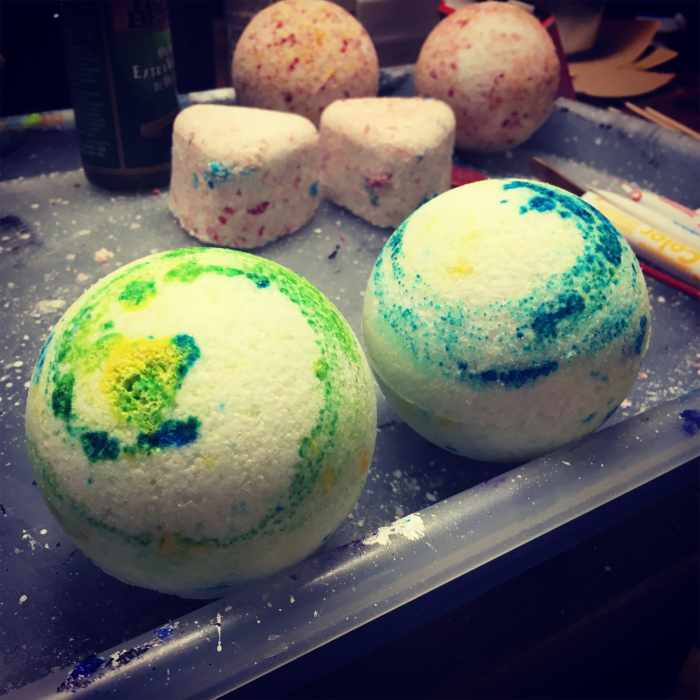
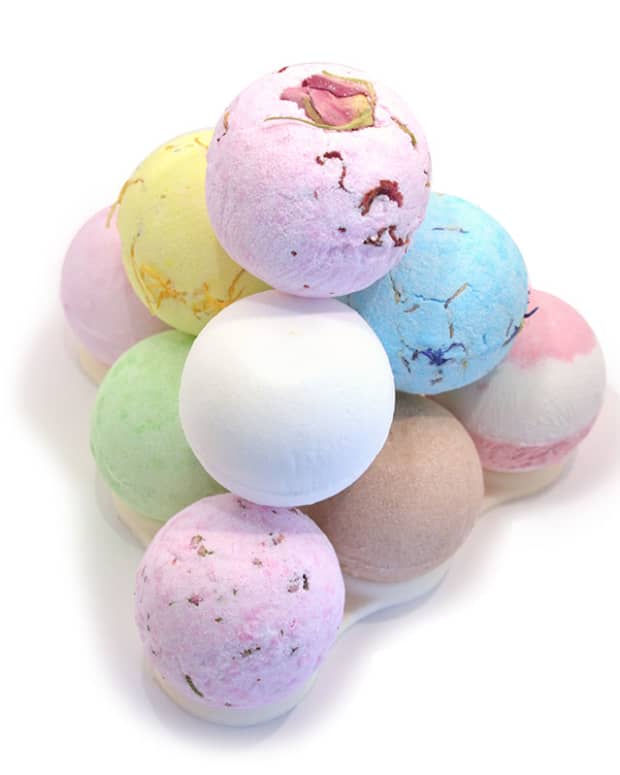
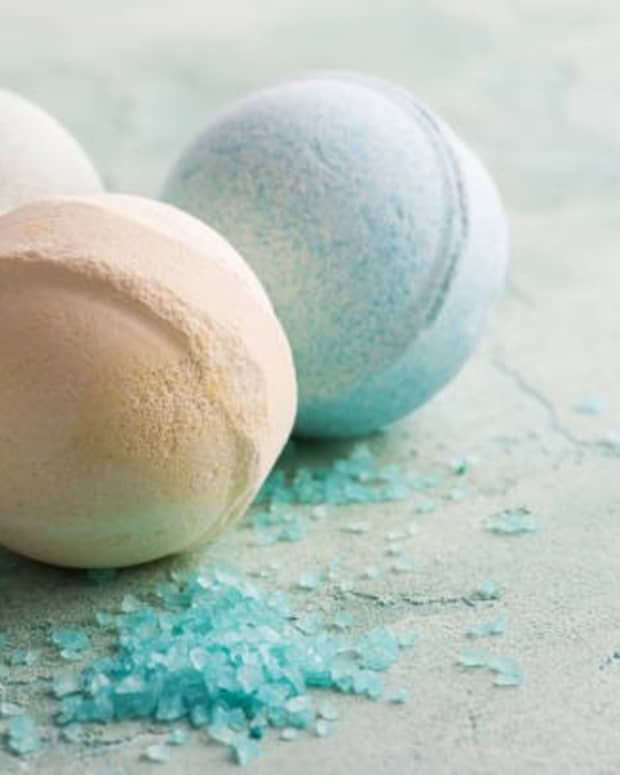
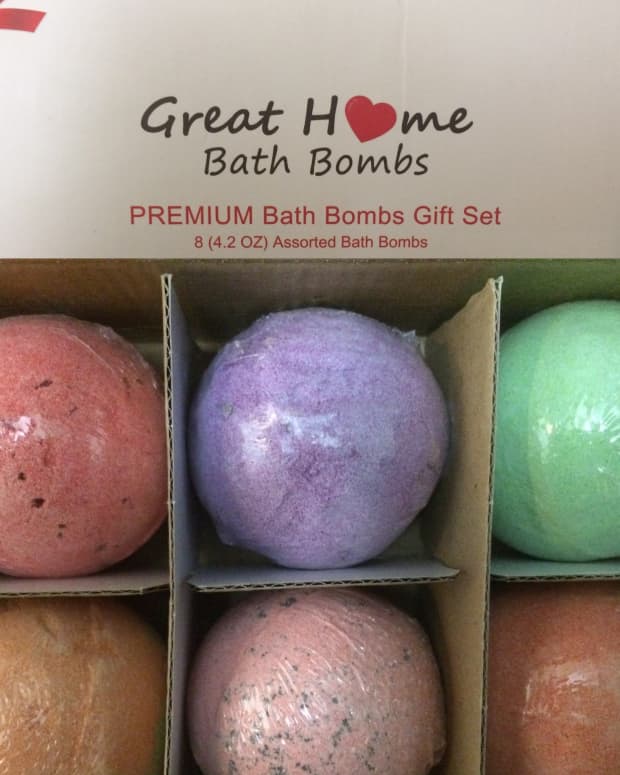
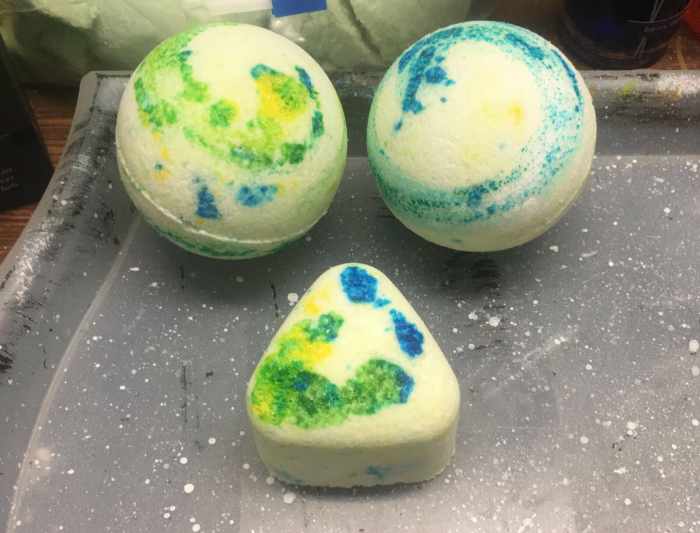
My favourite set of bath bombs, made by swirling two different food colourings in the form. Warning: fingernails will be stained for a few days!
This version of how to make bath bombs doesn't use cornstarch, as it can cause infections and other possible health problems. My recipe includes instructions on how to use food colouring on the mold. I hope it inspires you to try different finishing styles and looks.
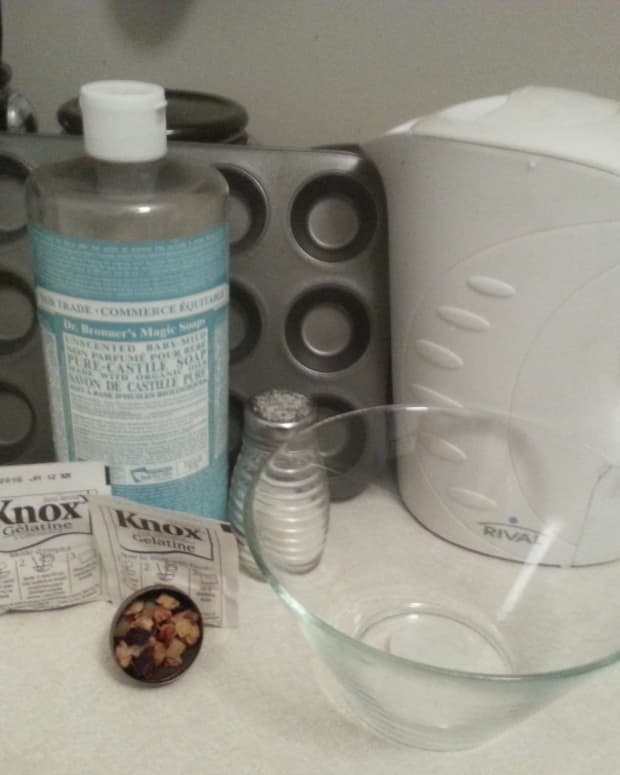
Items Needed
- Mixing Bowl
- Measuring Cups (1/2 and 1 Cup)
- Measuring Spoon (1 Teaspoon)
- Whisk/Spoon
- Form/Mold
Ingredients Needed
| Ingredients | Amount |
|---|---|
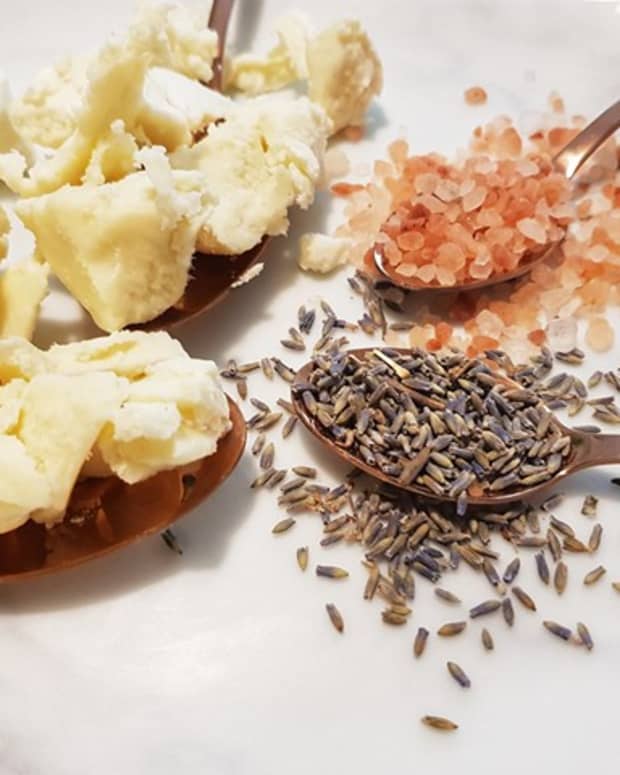
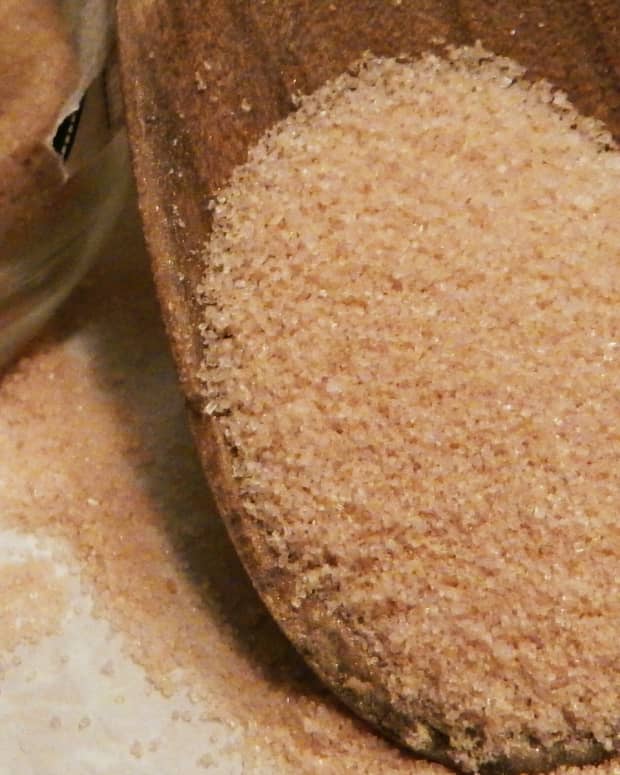
Bath Salt or Epsom Salt | 1/2 Cup |
Citric Acid | 1/2 Cup |
Sodium Bicarbonate | 1 Cup |
Olive Oil | 3 Teaspoons |
Water | 3 Teaspoons |
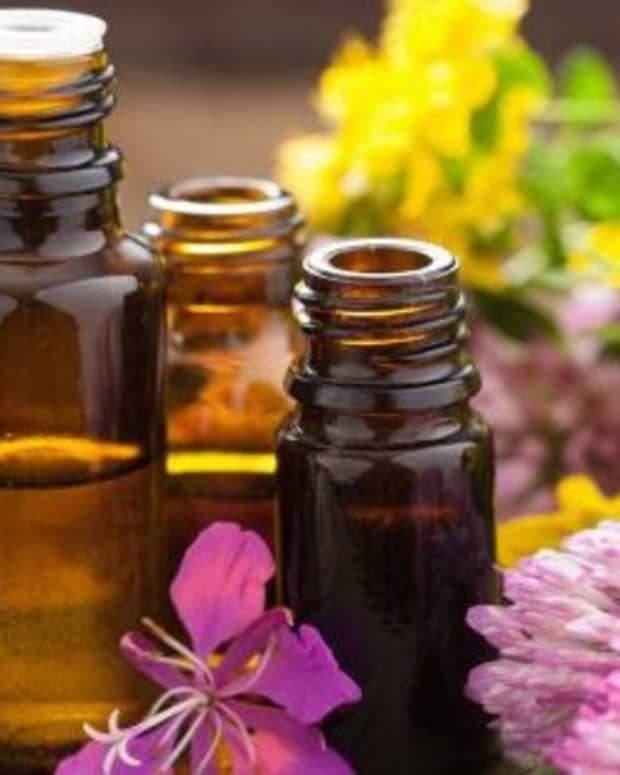
Essential Oil or Scents | 2 Teaspoons |
Food Colouring | 10 Drops |
You can put the food colouring separately in the batch to create a speckled design!
Instructions
1. Measure out 1/2 cup of Epsom salt, 1/2 cup of citric acid, and 1 cup of sodium bicarbonate.
2. Mix the dry ingredients.
3. Add 2 teaspoons of essential oil or scent.
4. Add 3 teaspoons of olive oil and water. Don't worry if it starts to fizz when adding the water. This means that there is enough citric acid and that the mixture is going well.
5. Add a few drops of food colouring with the water if you want the colour to be more even.
6. Mix well.
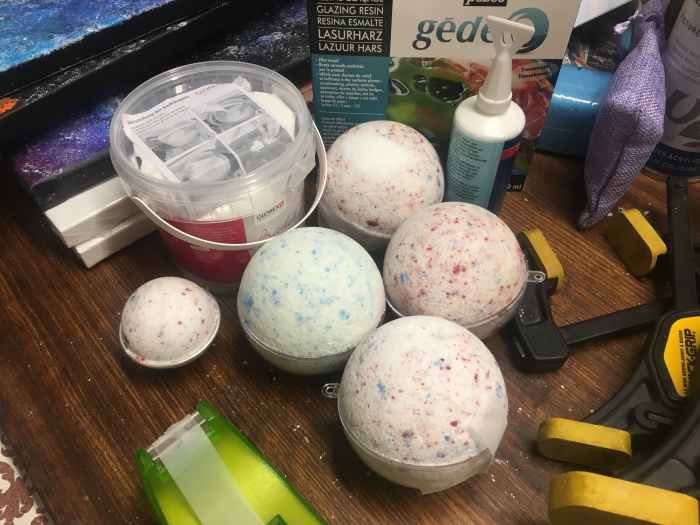
My Milky-Way Set!
7. Add a few drops of food colouring. When adding the food colouring separately, it will create a speckled design.
8. Check to make sure the mixture feels like damp sand. If not, then add another teaspoon of water.
9. Put a tiny bit of olive oil in your form or mold. The form or mold can be a silicon form, an ice cube tray, or a special bath bomb mold.
10. Put some food colouring on your form and swirl it around with your finger. This will create a unique finish.
Read More From Bellatory


11. Pack the mixture into a mold or form.
12. Compress the mold or form.
13. Leave it to dry out for a few days or for 5 hours in the fridge.
14. Carefully remove the bath bomb.
15. Enjoy!
If you had some trouble following the instructions, then try this quick video that goes through the steps!
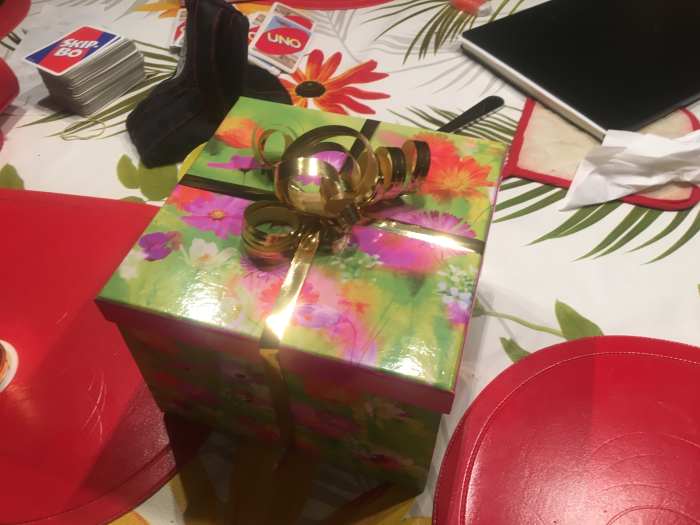
It's easy to make a set and give them as a gift! Great for anyone who enjoys baths and downtime!
This content is accurate and true to the best of the author’s knowledge and is not meant to substitute for formal and individualized advice from a qualified professional.
Questions & Answers
Question: I am new to making bath bombs and I am trying to get some experience before my granddaughters arrive for the weekend. We had attempted a different recipe, but that had so much oil the bombs after being wrapped in plastic, became bath blobs. We still loved them. I went to Hobby Lobby & bought the plastic bath bomb forms and made last night. Out of 5 bombs, 3 came apart after they came out of the freezer and thawed a bit. Is this a lack of moisture or what else I might do?
Answer: It is due to a lack of moisture. However, I caution you when adding more water. If they get too wet, they expand in the form and are very hard to come out. The finished bath bombs are also denser and have more air bubbles. I suggest adding probably a teaspoon of water for the bath bombs.
I hope this helps and that your granddaughters enjoy the bath bombs.
© 2017 Monique K-G
Comments
Anonymous on December 06, 2017:
Love it - great product.
Monique K-G (author) from Switzerland on December 06, 2017:
This is a really fun pin and a great recipe for bath bombs that I tested multiple times, and learnt to make different and unique variations of. I hope you enjoy it!