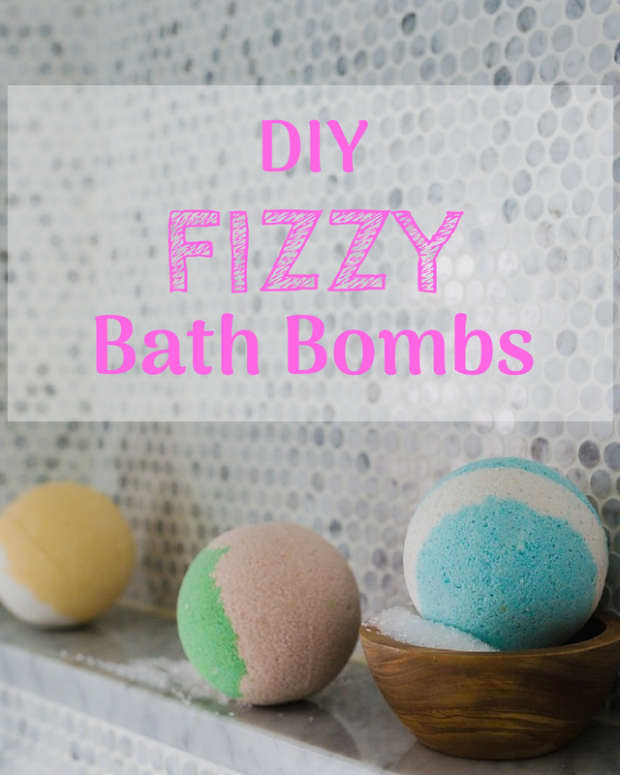
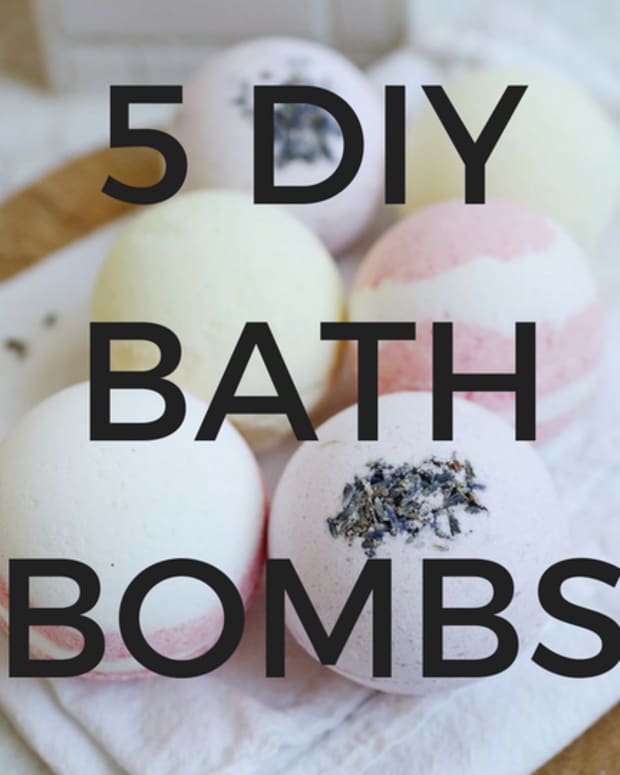
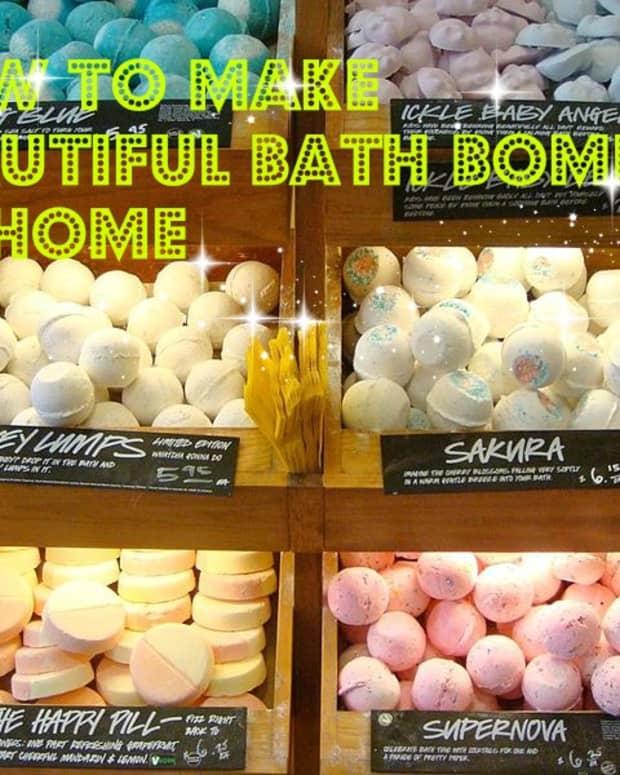
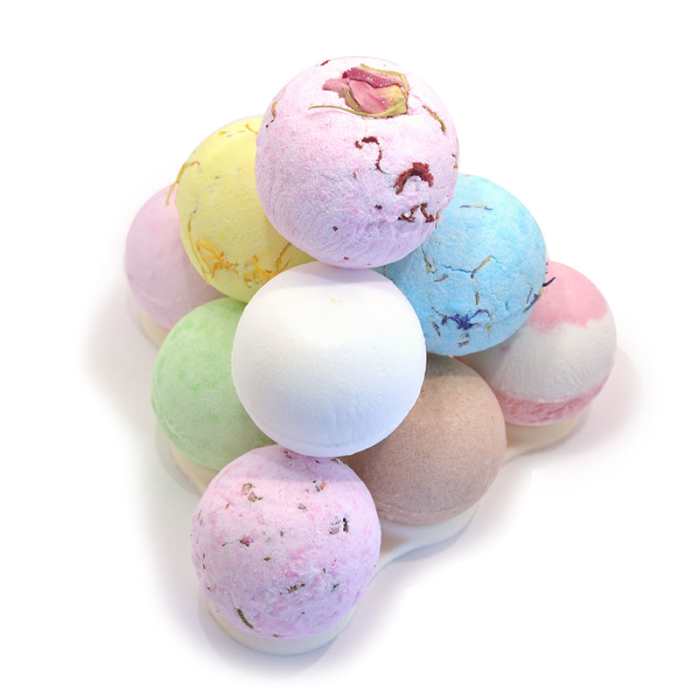
DIY Bath Bomb Guide and 7 Inspiring Recipe Combinations
I love bath bombs and I enjoy telling people how they can make them in their home.
Making your own at-home spa products is a great way to save money and have control over the ingredients, so you don't have to worry about any allergic reactions.
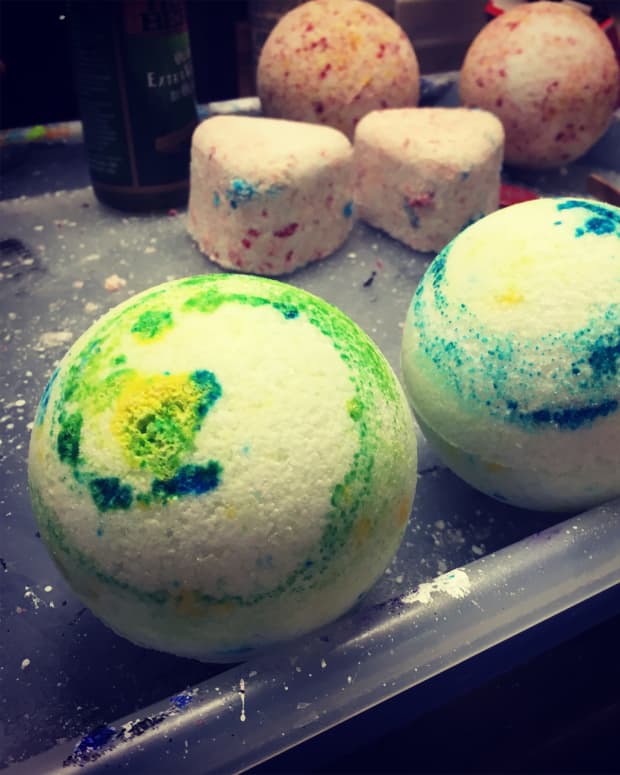
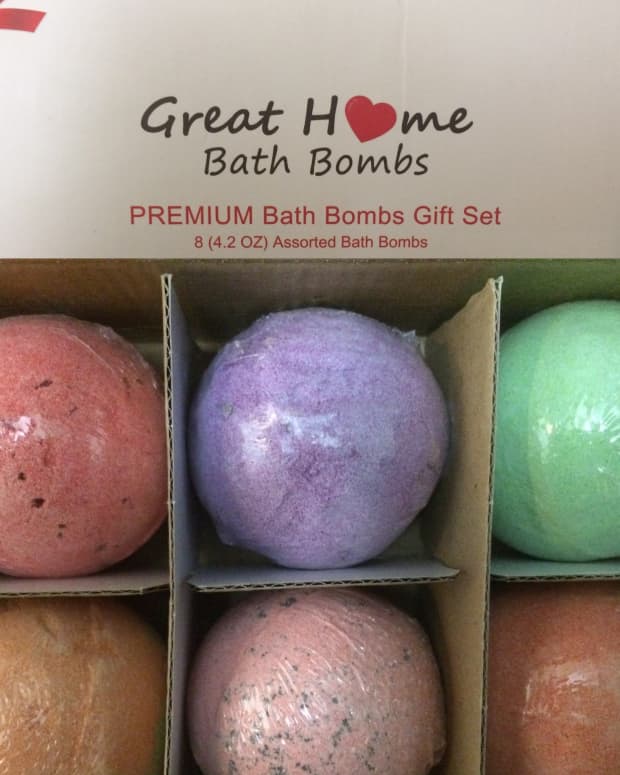
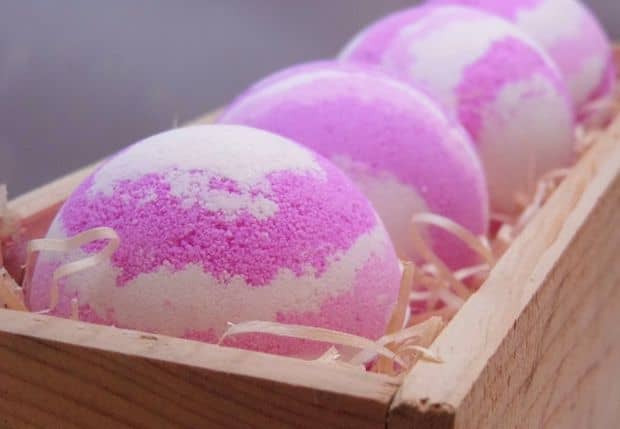
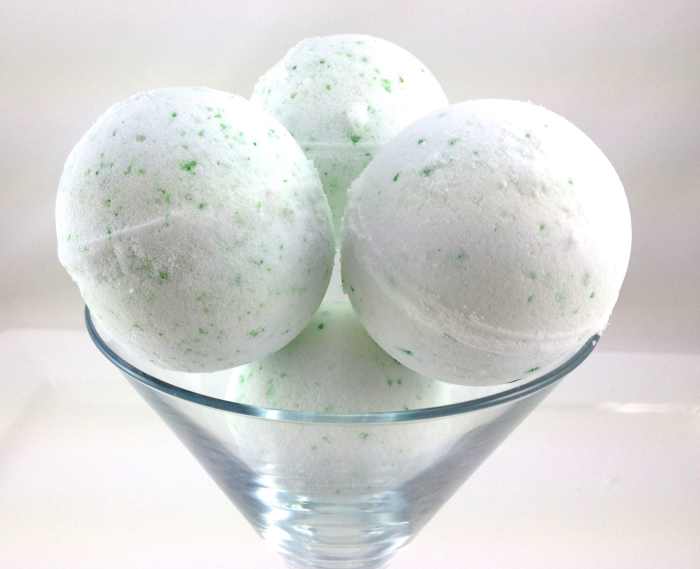
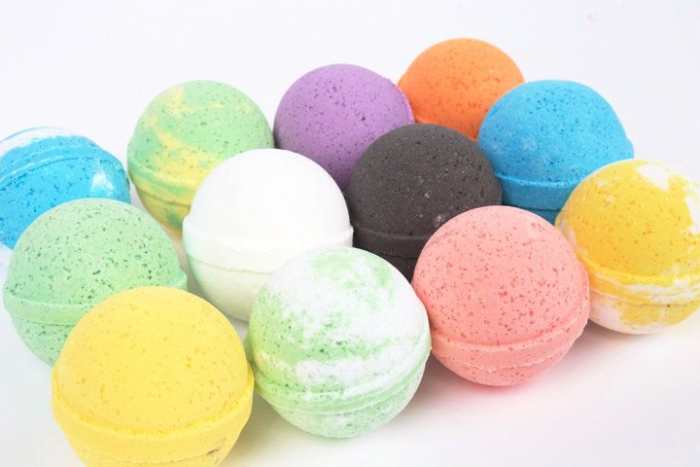
Bath bombs are great pampering items that can be customized to almost any scent, shape, or add-in you can think of using. You can buy bath bombs, some as high as $7 or more each or make them for much less. These can even make great craft projects for a party or you can use them as gifts.
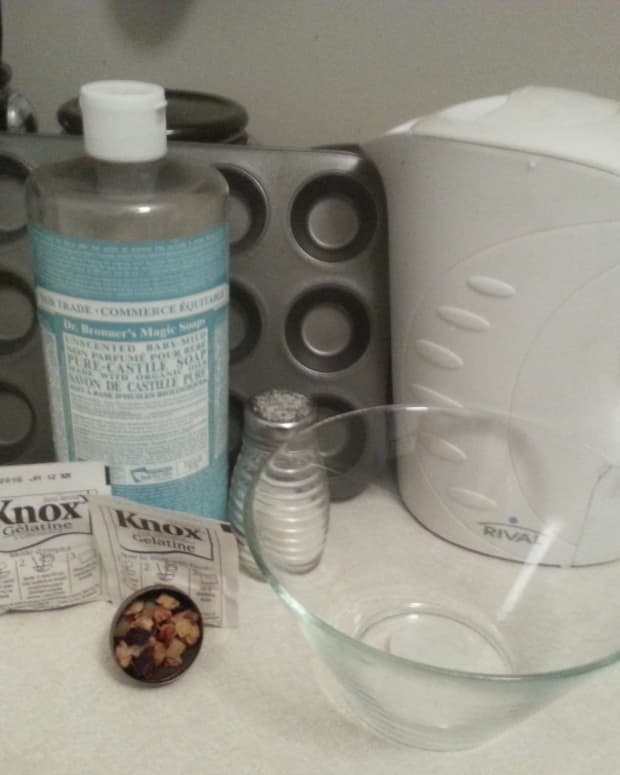
A Few Tips & Tricks
The bath bomb basic recipe is a great place to start and you can customize and experiment from there easily to create your own special combinations and favorites.
A few tips before you start:
- Mix the dry ingredients in a bowl and whisk to make sure it is well combined and there are no large clumps or lumps.
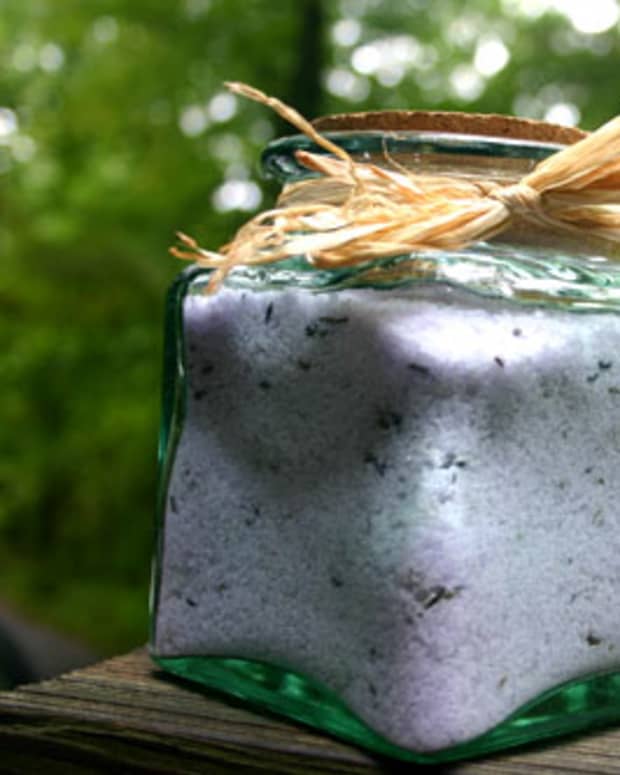
- A mason jar, or any other glass jar with lid, is best for mixing the wet ingredients.
- If you add the wet too fast and it starts to fizz, whisk down until the fizzing stops.
- Let these dry! It is best to let them dry overnight and do not try to dry them faster in the oven they will burst and make a huge mess (same for the microwave). Just be patient.
Almost any solid form can be used to mold these. A muffin tin, soap molds, plastic ornament balls, metal meatball maker, ice cream scoop, and even a tennis ball cut in half works. I suggest only solid forms as silicone tends to be more difficult to press the mix into firmly.
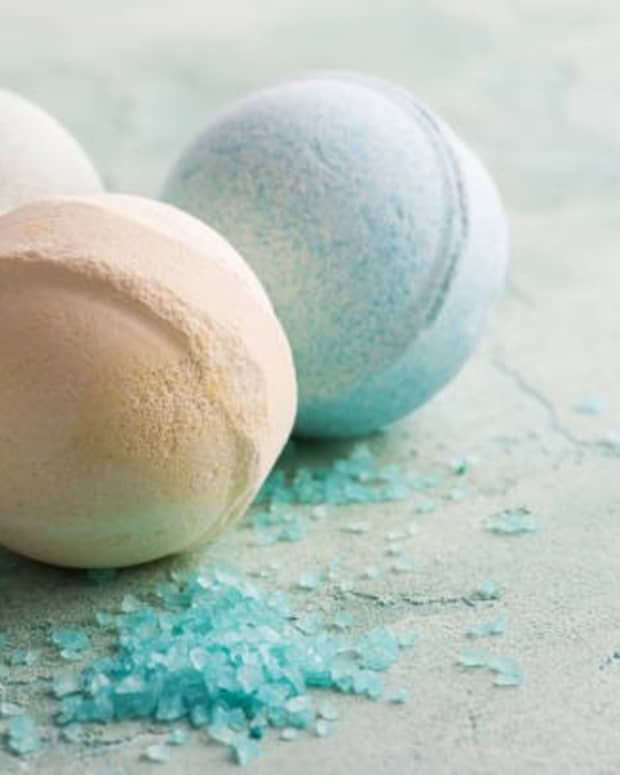
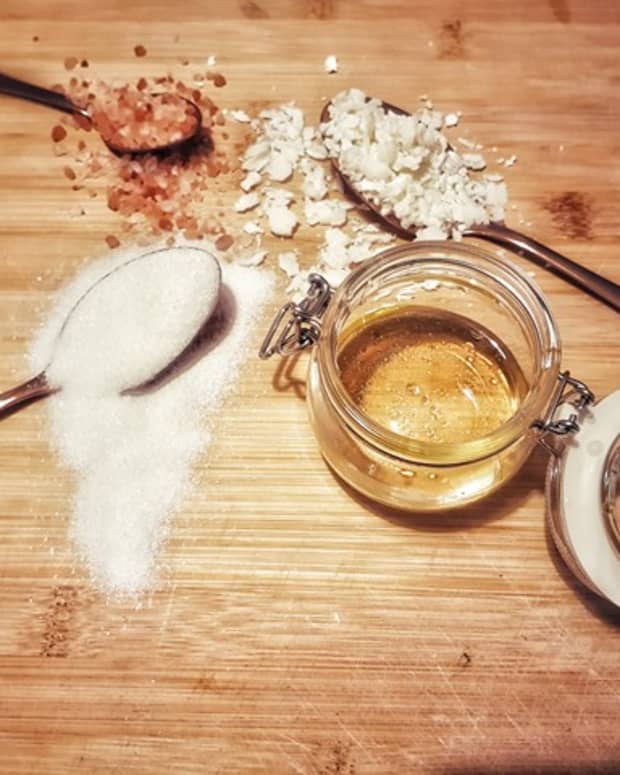
Basic Recipe
It's best if you measure these on a kitchen scale for accuracy and best results. You can also use the approximate measurements also provided if necessary.
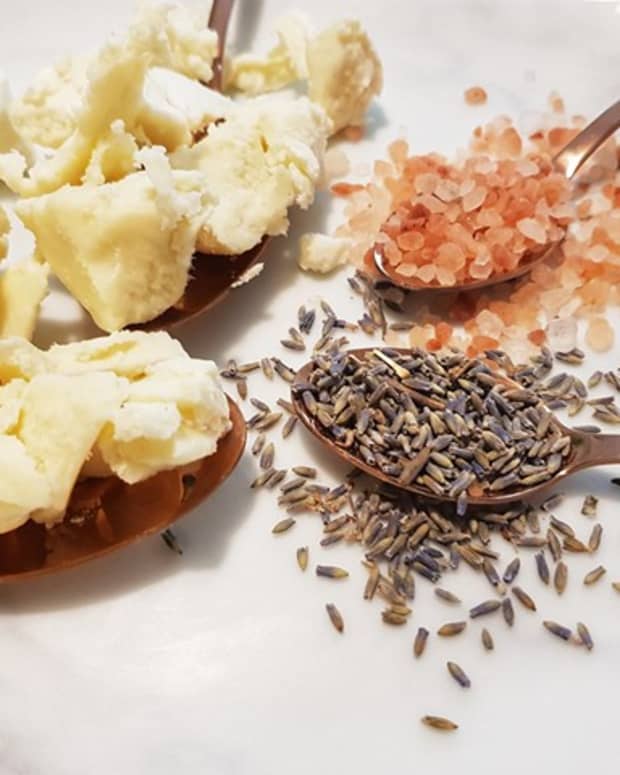
- 8 oz baking soda (just under 1 cup)
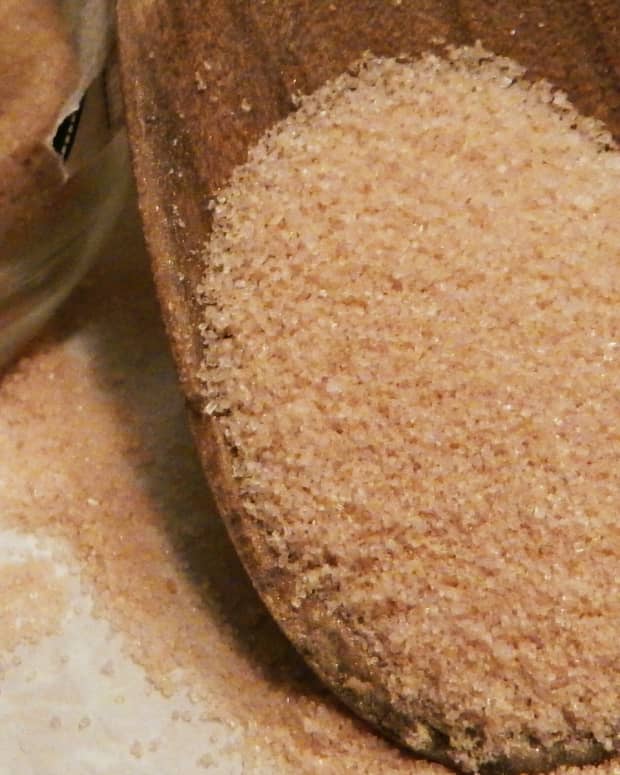
- 4 oz Epsom salt (slightly rounded 1/2 cup scoop)
- 4 oz citric acid (1/2 cup)
- 4 oz cornstarch (3/4 cup)
- 1 tablespoon water
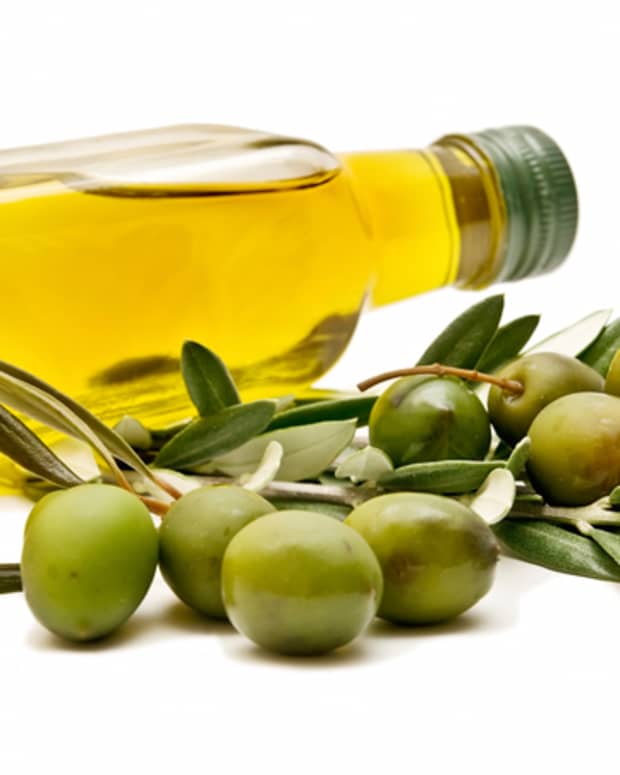
- 3 tablespoons oil (almond, avocado, grapeseed, hempseed, fractionated coconut or olive)
- 20-30 drops essential oils
- 3-5 drops food coloring (optional)
Instructions
- Mix the dry ingredients in a large bowl and whisk together. Combine the wet ingredients in mason jar and shake well to combine completely. Slowly pour the wet ingredients into the dry as you mix. When combined the mix should be able to retain some shape when pinched. If necessary you can add a little more oil to get it to this consistency.
- If the mix is too wet or too dry you will not have a solid and fizzy bath bomb and as you experiment with different oils, mix-ins and additions the amount you need may need to be altered slightly to achieve this consistency.
- I recommend using the basic recipe with some inexpensive oils for your first try so you can get the perfect texture without wasting expensive oils.
Now that you have the basics and you have been creating some new favorites for yourself, here are a few variations to keep you inspired!
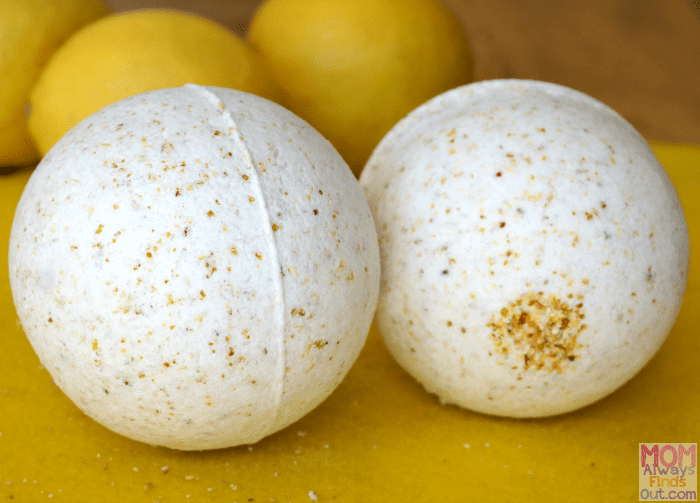
1. Vanilla Lemon Bath Bomb
This will make 1 large ornament, 60mm bath bomb.
Ingredients:
- 0.33 cup baking soda
- 1/6 cup citric acid
- 1/6 cup cornstarch
- 1 tablespoons Epsom salts
- 1/4 teaspoon water
- 0.67 teaspoons coconut oil, melted
- 5 drops lemon essential oil
- 1/6 teaspoon vanilla extract
- 1 tablespoons dried lemon zest
Instructions:
Read More From Bellatory


- Mix the dry ingredients in a large bowl, and whisk thoroughly to mix. Set aside.
- Mix the wet ingredients. In a small bowl, combine the wet ingredients: coconut oil (melted), water, essential oil, and vanilla. Stir to mix.
- Whisk the wet ingredients from step two into the dry ingredients bowl from step one. Mix well until thoroughly combined.
- Working quickly, test the mixture to see if it will lightly stick together. If it does not hold, spritz very lightly with water and mix. If you add too much water the ingredients will fizz and you will have to start over!
- Once the mixture lightly holds together, press it into the mold. Pack it tightly, but do not overfill the mold. If you are using round plastic ornament molds, press each half of the mold together until it closes.
- Let dry for at least six to eight hours or overnight. Unmold and allow to air dry until dry to the touch.

2. Coconut Mango Tropical Bath Bomb
Ingredients:
- 1 cup baking soda
- ½ cup citric acid
- ¼ cup dried coconut milk powder
- 1 tsp aloe vera 200× powder
- 1–4 tbsp. mango powder
- 15 drops lime essential oil
- 1/2 cup Epsom salt
- 1 tbsp oil (olive, grapeseed or your choice)
- Mister with witch hazel
Instructions:
- Blend the ingredients in the first group in a large bowl and whisk together to combine or mix in food processor.
- Blend the Epsom salts and oil together transfer to the bowl with the dry mixture, stir to combine.
- Now it’s time to add just enough liquid to get the mixture to hold together in a mold. Not too much, though, or it will react in the bowl/mold, not in your bath. That’s why we’re using a mister (it’ll spread the moisture better) and witch hazel.
- So, spread your mixture out in your bowl so you have as much surface area as possible and spritz. Then stir thoroughly. And repeat until you can grab a clump of the mixture and it will hold together after a firm squeeze.
- Once the mixture will hold together, pack it into a mold of your choice. Let dry overnight.
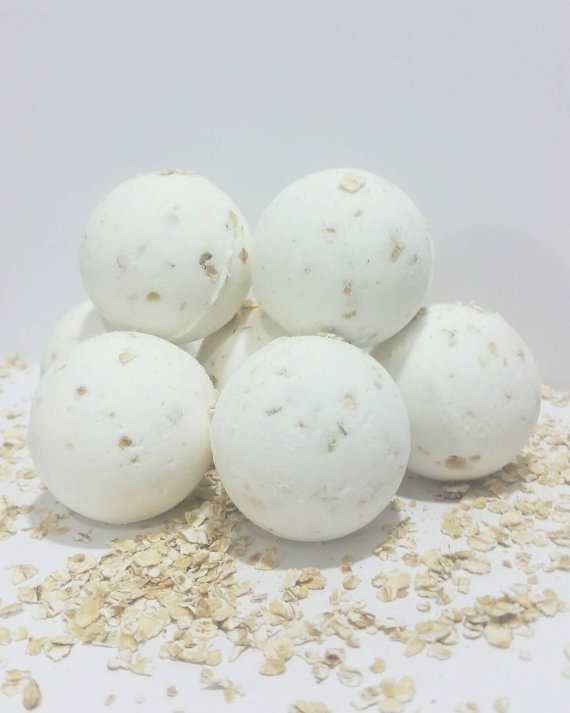
3. Oatmeal Coconut Bath Bomb
Ingredients:
- Crushed oatmeal – 1/4 cup. You can also crush the oatmeal by hand and control how fine you want your crushed oatmeal.
- Baking soda – 1 cup.
- Citric acid – 1/2 cup.
- Sea salt – 1/2 cup.
- Coconut oil – 2 tablespoons
Instructions:
- Mix together the dry ingredients in a large bowl and whisk to blend well and remove any clumps.
- Melt to coconut oil in the microwave. Should only take about 15 seconds. Stir to blend and then mix into the dry ingredients.
- Mold the completed mixture and let dry overnight!
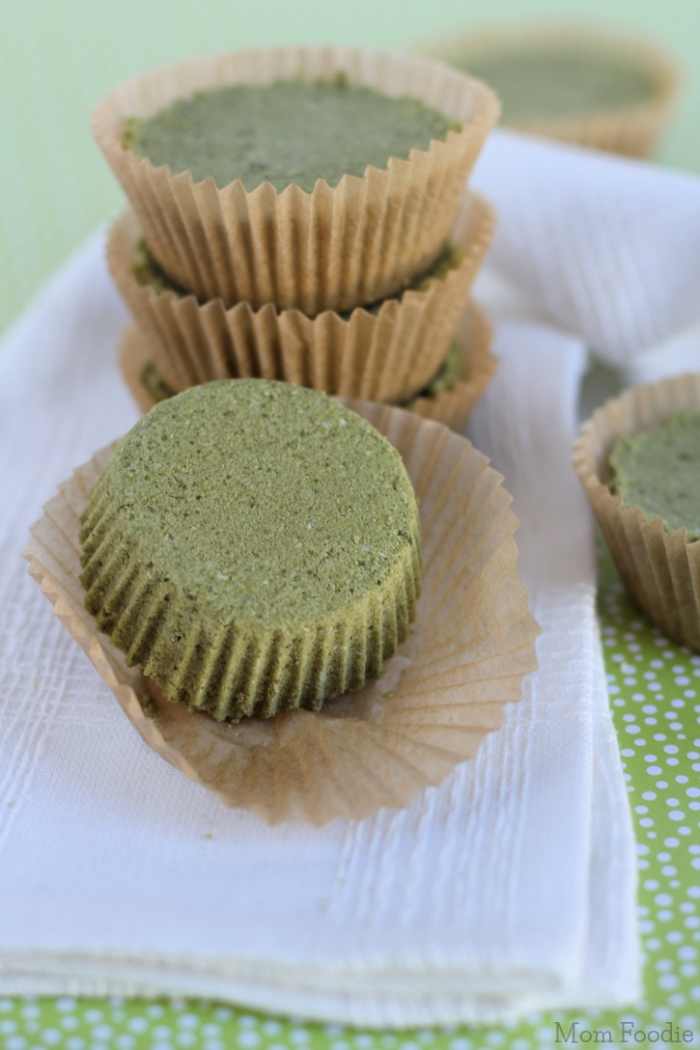
4. Matcha Green Tea Bath Bomb
Ingredients:
- 1 cup baking sod
- ½ cup citric acid
- ¼ cup Epsom salts
- ¼ cup corn starch
- 2 tablespoons of matcha, (powdered green tea, baking grade is fine)
- 2 tbs almond oil (or oil of your choice)
- 2 tsp water
- ¼ tsp essential oil of choice
Instructions:
- Mix the citric acid, Epsom salts, corn starch, and matcha powder together.
- Add the remaining ingredients and mix very well.
- Line a standard size muffin/cupcake tin with paper liners.
- Scoop the bath bomb mixture into the liners, when near the tops, press down with the back of a spoon or your fingers. Then add remaining mixture and press down again. Try to pat the tops relatively smooth.
- Put the bath bombs aside to dry for at least several hours.
- Once dry they will be firm. Gently shake or blow off any crumbs.
5. Achy Muscle Soothing Bath Bomb
Ingredients:
- 1/2 cup baking soda
- 1/3 cup Epsom salts
- 2 Tablespoon cream of tartar
- 2 Tablespoon coconut oil, melted
- 1 teaspoon peppermint oil
- 1/2 teaspoon fresh rosemary, chopped (optional)
Instructions:
- Start by combining dry ingredients and chopped rosemary in a medium glass bowl. Whisk to blend. Whisk in coconut oil and peppermint oil.
- Using a spray bottle, spritz water to moisten mixture as you stir. The mixture should be crumbly, but hold when squeezed.
- Scoop mixture into bomb molds and press firmly. Allow to set and dry at least 4 hours in a cool, dry area.
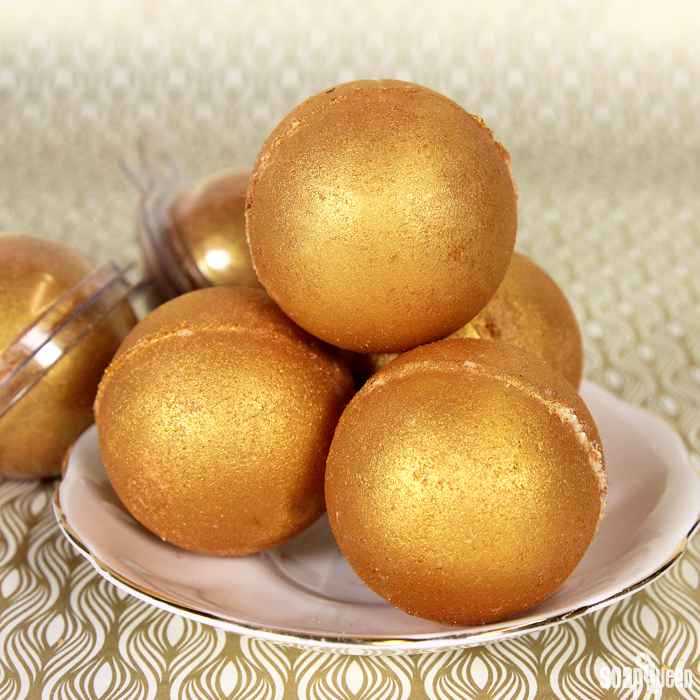
6. Golden Touch of Midas Bath Bomb
This is a little more labor intensive but is really a great effect when you are done. This will leave the bather with a golden sparkle on the skin and might have some in the tub but it washes out easily. This will make six to eight bath bombs per recipe.
Ingredients:
- 3 cups baking soda
- 1½ cups citric acid
- 7 mL champagne fragrance oil
- 7 mL orange peel cybilla fragrance oil
- 1.5 oz. meadowfoam oil
- 1 oz. cocoa butter
- Coral Orange La Bomb Colorant
- King’s Gold Mica
- 99% isopropyl alcohol
- Optional: witch hazel
Instructions:
- In a large bowl, add the baking soda and citric acid. Use your hands to break up any clumps.
- Pour the meadowfoam oil and cocoa butter in a heat safe container and place in the microwave using 30-second bursts until the cocoa butter is completely melted. Add the mixture of melted oils into the dry ingredients. You may want to allow the oils to cool slightly, as you need they could burn your hands during the next step if they are extremely hot.
- Use your hands to work the oils throughout the dry ingredients. Continue to mix until the oils and dry ingredients are completely combined. This may take several minutes.
- Add about 10-12 drops of the Coral Orange La Bomb into the mixture and begin working the colorant throughout the mixture. This can take a few minutes, just keep mixing! Add more colorant if you’d like the color to be a little more saturated.
- Add the Champagne Fragrance Oil and Orange Peel Cybilla Fragrance Oil to the mixture and use your hands to thoroughly mix in the fragrances.
- Check the moisture of your fizzies. When squeezed with your hand, the mixture should hold its shape. If not, add spritzes of witch hazel into each container, mixing between every couple sprays, until the texture is similar to wet sand. Try to work as quickly as possible!
- Fill two halves of the bath bomb molds, gently pressing the bath bomb mixture in each to make sure they hold their shape. Mound a little extra mixture in the center of one half of the mold. Match the eyelets of each side up, and press together. To avoid any imperfections on your bath bomb, make sure to direct pressure to the edges of the mold rather than the center.
- Allow the bath fizzies to harden in the mold for 24 hours. Then, carefully remove them from the package. Fill a bowl with a few tablespoons of King’s Gold Mica.
- Spritz the outside of one bath bomb lightly with 99% isopropyl alcohol.
- Gently roll the bath bomb into the King’s Gold Mica until completely covered. Use your fingers to carefully “brush” off any excess mica.
- Repeat this process for each bath bomb, until all are covered. Carefully place the bath bombs back into the mold and package until ready to use. Before placing them back into the package, you may want to wash the mold for a clean look. Just make sure they are completely dry before placing the fizzy back into the mold!
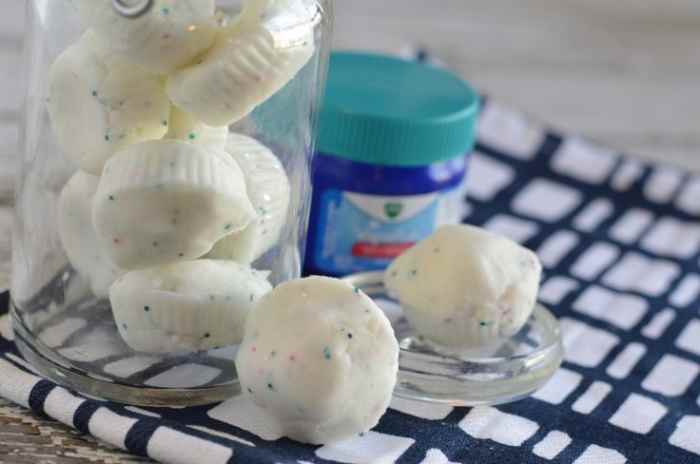
7. Vaporub Shower Bomb
When you need to clear the sinuses or fight a cold, this is a pampering way to feel better fast by placing on the drain in the shower and inhale while showering.
Ingredients:
- 1/2 cup of baking soda
- 1 cup of cornstarch
- 5 tablespoons of Vicks Vaporub or you can use baby Vicks for a less intense smell.
- 2-3 teaspoons water
Instructions:
- Add the corn starch and Vicks in a bowl and mix to combine. (Note: This will be strong smelling so maybe wear gloves if your sensitive or open a window.)
- Add the baking soda and mix well.
- Add water 1 teaspoon at a time until the mixture holds together well.
- Mold the mixture into your ice cube tray or other molding tray.
- Freeze until solid, 2-3 hours. Store in a jar until needed.
Bath bombs are a great way to pamper yourself, create wonderful gifts or even help you get a better nights sleep with soothing oils for relaxation. This can be a fun and healthy way to help sooth babies and kids in their bath time for a better sleep or for clearing stuffy noses.
The combinations of colors, scents, moisturizers and mix-in are endless and can be shape into almost anything or any theme you desire for holidays, parties or events. Let you creativity run wild and have a pampered bath time!
This content is accurate and true to the best of the author’s knowledge and is not meant to substitute for formal and individualized advice from a qualified professional.