Beginner's Guide for DIY Gel Nails
Kara Foster loves researching and experimenting—especially when it comes to hair or nails. She'll put in the work and share what she learns!
How to Get the Perfect Gel Nails Manicure at Home
I'm the kind of girl who would rather go out without makeup on than without nail polish. Yet, despite my obsession with nails, I always assumed that using gel polish at home was a little too advanced for me. It turns out I was wrong. I finally took the plunge and realized it's a totally achievable goal for almost anyone. That being said, there is a bit of a learning curve.
So, I thought this article could be a quick one-stop-shop to a gel manicure. I'll teach you some basics, which will save you research, and I'll outline some of the mistakes I was making, which will spare you some serious aggravation.
What You'll Need:
- Rubbing alcohol or 100 percent pure acetone (ideally both)
- Cotton ball or face cloth (the latter is more eco-friendly)
- Cuticle stick (optional)
- Gel polish of choice (some brands come with basecoat and topcoat)
- LED nail lamp
- UV gloves (optional—but I like to be safe!)
- Nail file or buffer (optional)
Step 1. Understanding the Basics
Since there is already a ton of great information out there, I won't waste your time re-hashing applying nail polish. If you're totally brand new to doing your own nails and need tips and tricks for applying the polish, I'll leave you some great resources at the end of this article.
Personally, I will admit that I was making a lot of mistakes and assumptions when I first started out. Hands down, I think my biggest misunderstanding about gel polish is that I assumed it would offer me a quick fix. Curing under a UV light was going to save me a whack of time, right? Not really.
Whether you're using a one-step polish like the one offered by Sensationail, or a three-step polish like the one offered by Sally Hansen (both great products), you should expect to spend a minimum of 30 minutes on your nails. Realistically, give yourself an hour, so you don't end up frustrated.
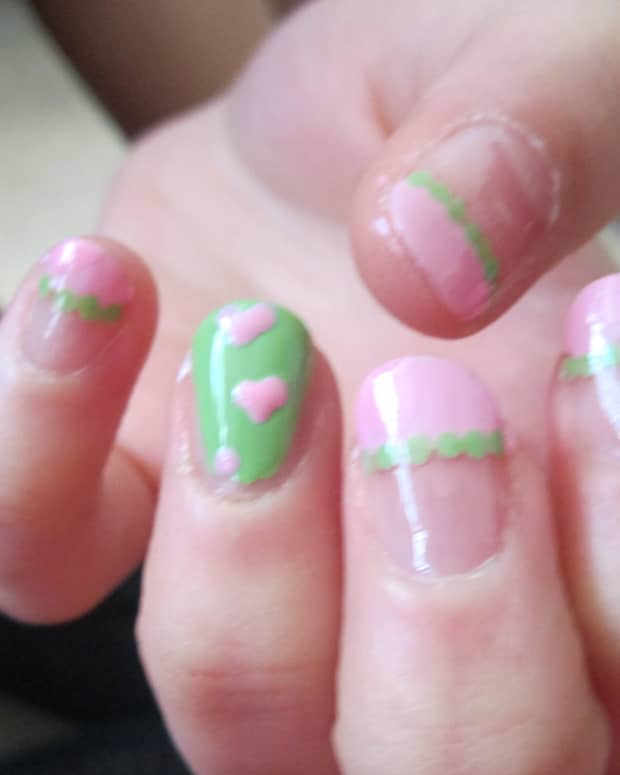
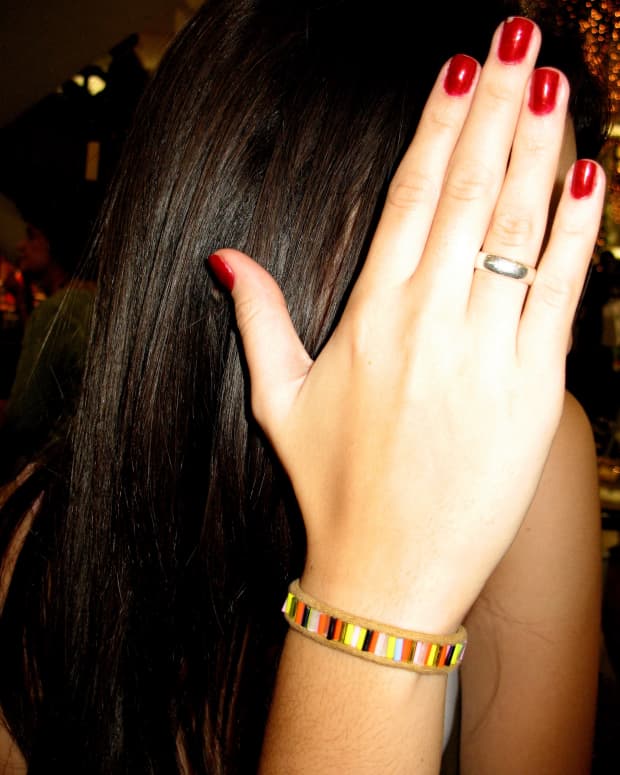
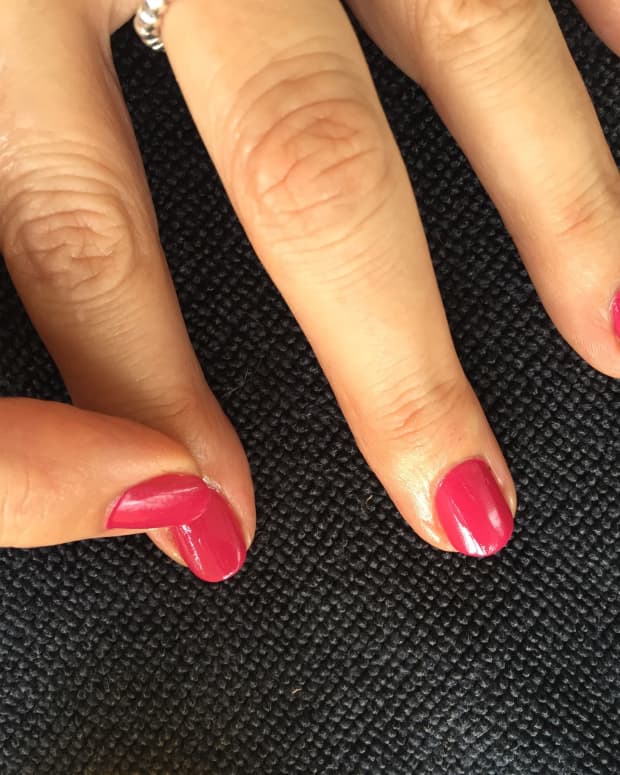
Treat each nail like a little art project. It will be worth it—trust me. When I did my first manicure, I painted in fairly thick, quick strokes, and ended up with equally thick chips within a day or two, which was a bummer. You can see from the first picture that I was afraid to push back my cuticles and left ragged edges. I also didn't take the time to get as close as I could to the edges. It really didn't look much better (or last much longer) than regular nail polish!
Step 2. Prepping and Painting
I’ll be honest that the manicures were a little trying on my patience, at first. I felt like it was taking forever, and it gave me a new appreciation for professional manicurists who stay bent over and focused for hours on end. However, after putting in the time, I noticed a huge difference in the longevity of my paint.
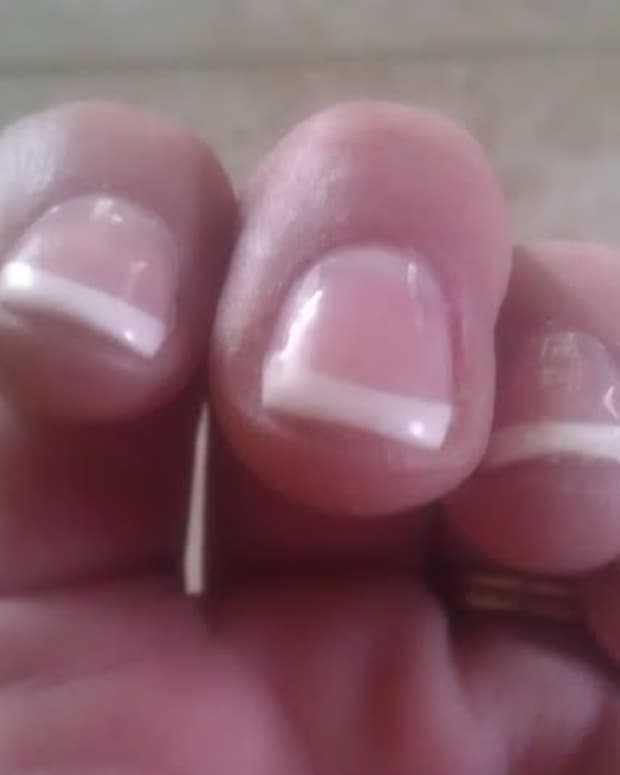
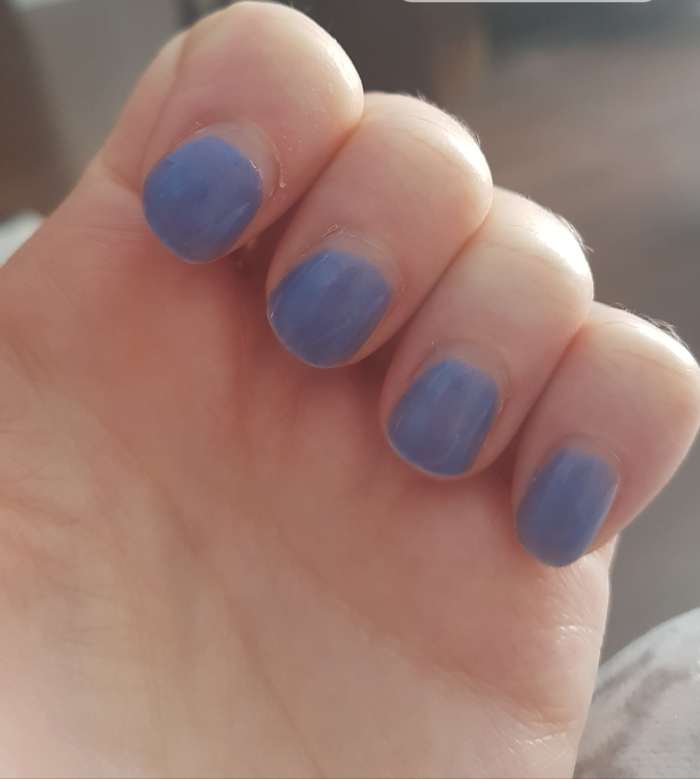
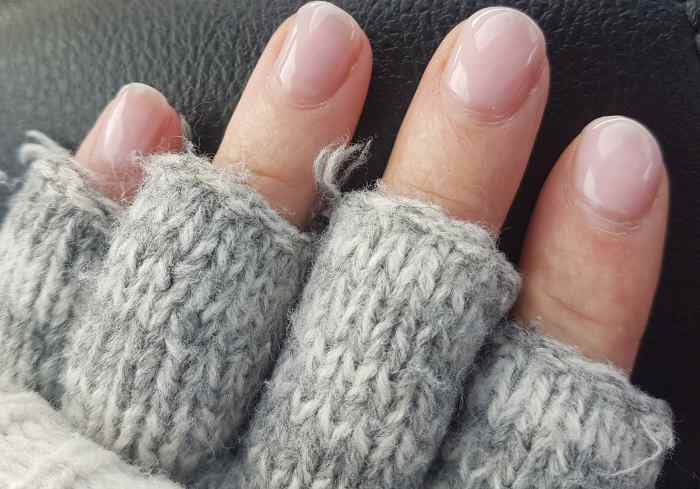
I type at a computer all day, every day at the office, and was pretty pumped that I didn’t even see the tiniest chip after several days. You can see in the second picture (light pink polish, above) that my lines are better, there isn’t as much of a gap between my nail bed and the polish, and the nails look overall better than they would with regular polish.
Does it look like a professional did it? No, of course not. I am still learning and perfecting. One thing I am still kind of hung up on is causing damage to my nails. I was admittedly afraid to even touch my cuticles, wanted to skip buffing, and was worried about drying out my nails with too much prep work. But, I sucked it up and realized that this is an extremely important part of the process.
Read More From Bellatory


Take Care of Your Cuticles
If you’re like me, and the thought of cutting your cuticles makes you nauseous, know that there is a huge difference between removing/cutting, versus just pushing back your cuticles. It’s pretty much a fact that you should only be pushing them back, very gently. No reputable source will recommend cutting them, which was a big relief to me.
While a lot of people will use a cuticle stick, I actually find I’m able to just gently push them back using my thumbnails, after I get out of the shower. I try and remember to do this the day before I do my manicure, too. The last time I went to a salon, the first step was soaking my nails, but there is actually a fairly split vote on whether or not this is best since soaked nails may actually expand. If they shrink back after the polish is dry, it only makes sense that this can lead to cracking. It’s probably a personal preference, but I do not recommend soaking right before the manicure.
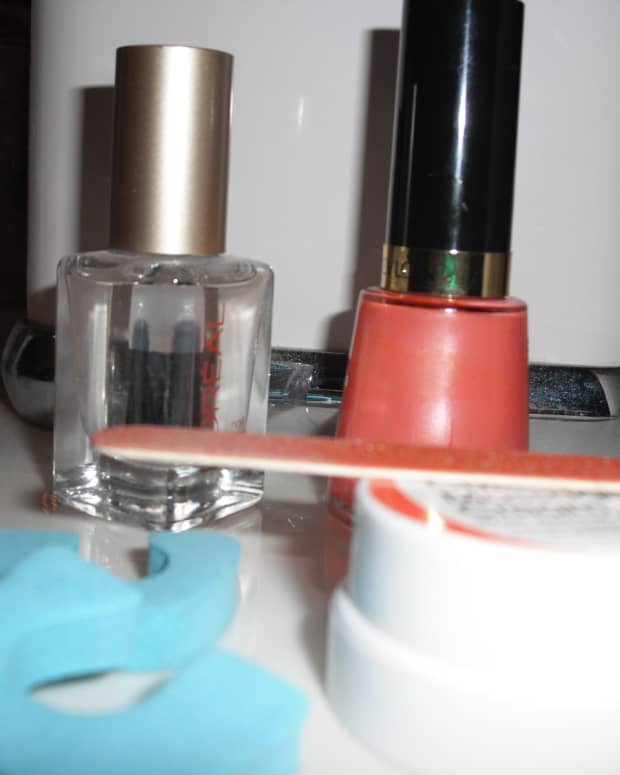
Buffing the Shine Off
What do I do immediately before I paint? I lightly brush a file across the top of my nails, to remove some of the natural shine, which is known as buffing. You don’t have to go overboard, just a bit to rough up the surface and give something for the polish to cling to. I also clean my nails with both rubbing alcohol and acetone. You might be thinking that all of this is a little hard on your nails. It is. But I remind myself it’s not really any different than all of the other things I do for the sake of appearances—like using dye in my hair even though it gets a little more fried each time, or wearing lipstick even though I know it dries out my lips. My list goes on.
Apply Thin Layers
By the third attempt, I forced myself to paint in what felt like thin, painfully slow, strokes, and paid extra-special attention to capping (making sure you completely cover the tip of your nail). It’s a little easier to let your nails grow out a bit, but not completely impossible to cap a short nail, either. I've shared a link on this at the end of this article.
Step 3. Aftercare
Since this whole process beats up your nails a little bit, the key is doing all of these things in moderation and taking steps to minimize the damage. You should moisturize like crazy after the manicure is done.
Cuticle Oil
You can use any oil you have lying around the house (I love coconut) or any plain old moisturizer will do. Just take a few seconds to work it into your nails and cuticles before bed. It doesn’t have to be anything fancy. I’ve been trying to give myself about a week or two between my manicures, and so far my natural nails still look healthy, and I’m not self-conscious about the way my hands look on polish-free days (they aren't too brittle, yellow, etc.).
Tips for a Lasting Manicure
The last comment is that after all of your hard work, don't forget to protect your nails. Yes, gel polish will last a LOT longer than regular—but it's not indestructible! I try to wear gloves while doing dishes, for example, and it saves me the disappointment of having to repair a chip (if this happens I've had great success with giving the chip a quick file to smooth it down, and then re-applying a quick layer of polish and topcoat).
The bottom line is that I am someone who has zero professional training, but with bit of patience, and only a bit of practice, I have great-looking nails that make me happy. If I can do it so can you. Good luck!